Looping Ladybugs Through Dew and Moss

We crafters sometimes become so engrossed in our own creative endeavors, that we often never think about the creative endeavors of others who make it possible for us to create the things that we’re able to craft after a burst of inspiration. How often do you look at the actual design in the gorgeous fabric you just cut into for a project and thought about the surface design skills and hours spent finding the right color combinations and placement for the repeated pattern under your fingertips? Probably not very often, if at all (especially if you work solely in solids).

Yet, without those clever people who can work a computer program to do their graphical bidding, we wouldn’t have an amazing array of textiles at our local quilt shops or amongst the online purveyors to manipulate into our makes. However, for every wondrous fabric print that dances across our path, there’s dozens of others off in the wings who will never get their chance in the spotlight. So when a fabric line is launched, especially for a designer’s first line, it’s a monumental occasion—and deserves a lot of celebrating!

Selection of newly minted pretties from the Dew and Moss collection by Alexandra Bordallo from Art Gallery Fabrics.

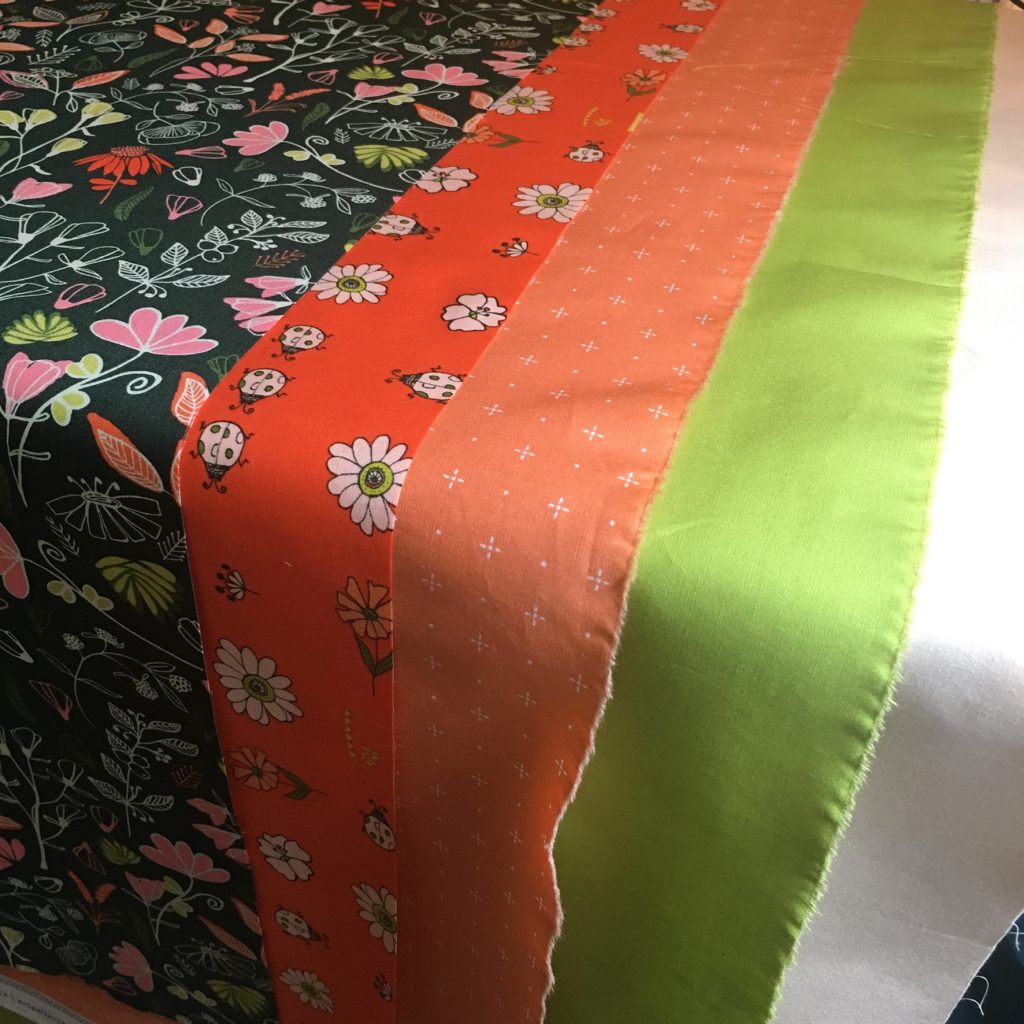
Right now, it’s time to celebrate Alexandra Bordallo’s Dew and Moss line for Art Gallery Fabrics which just launched this August. With a collection of ladybugs, caterpillars, mushrooms, wildflower, and gnome homes with shades of hunter green, saffron red-orange, peach, carnation pink, and spring green, it’s the perfect print for some fall whimsy for those of us who aren’t quite ready to give up the best parts of summer. With the addition of Pure Elements Solids from Art Gallery Fabrics as well to pair with those gnomes and their buggy and flowery friends, the wealth of creative options is as endless as the amount of leaves that will fall during the season.

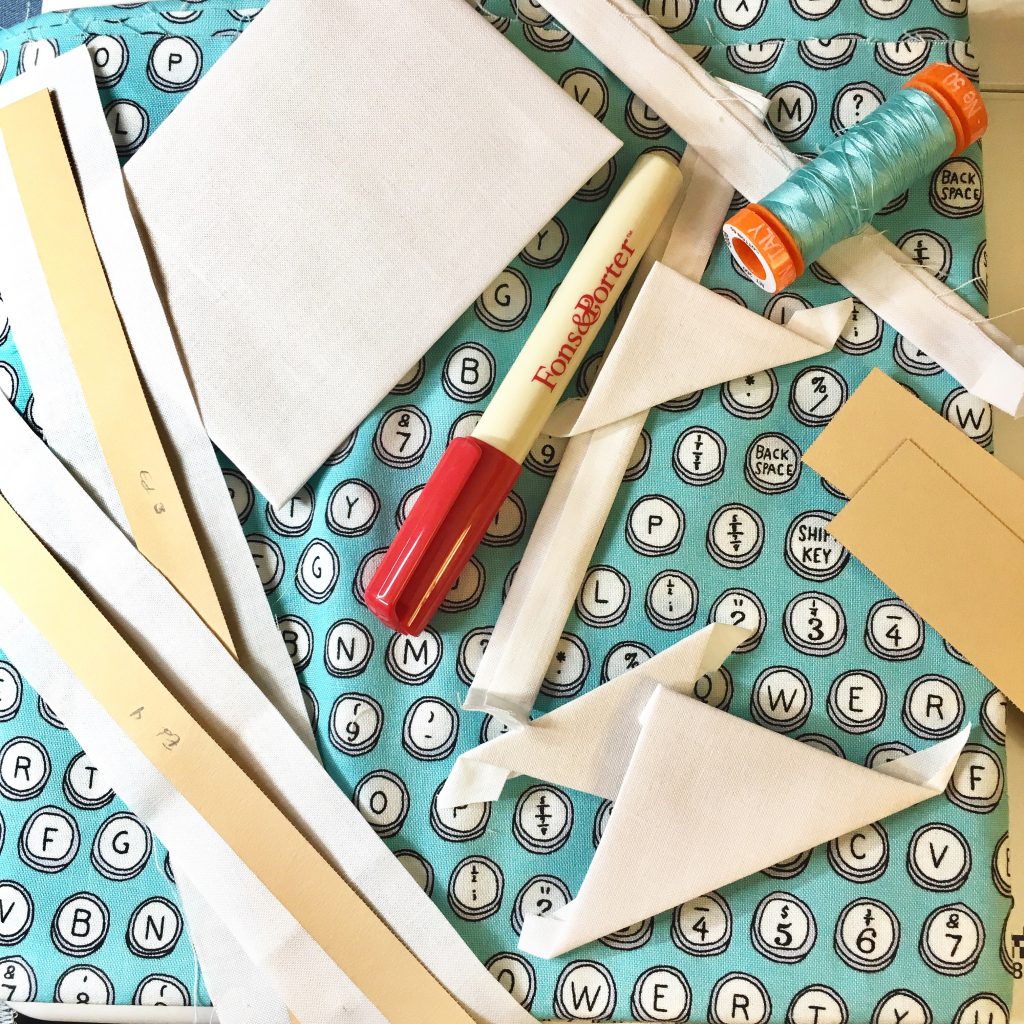
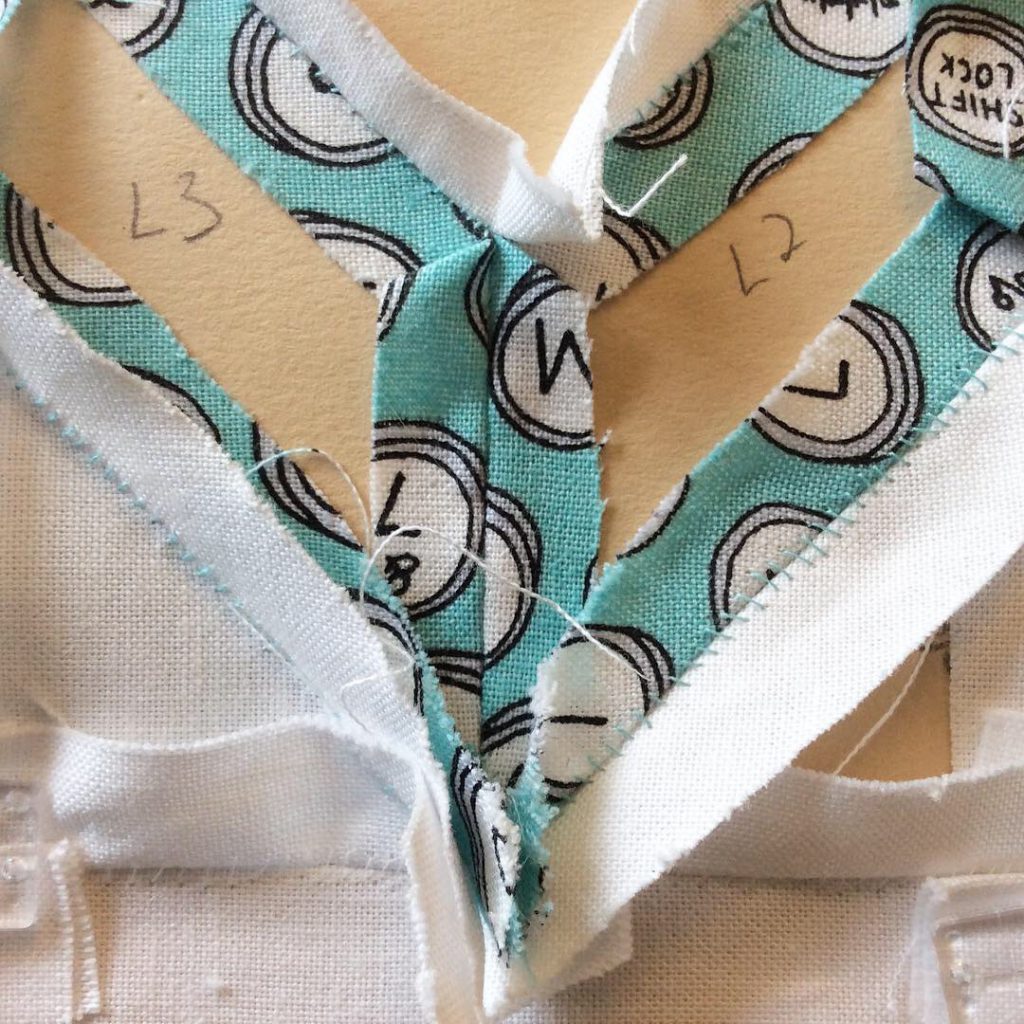
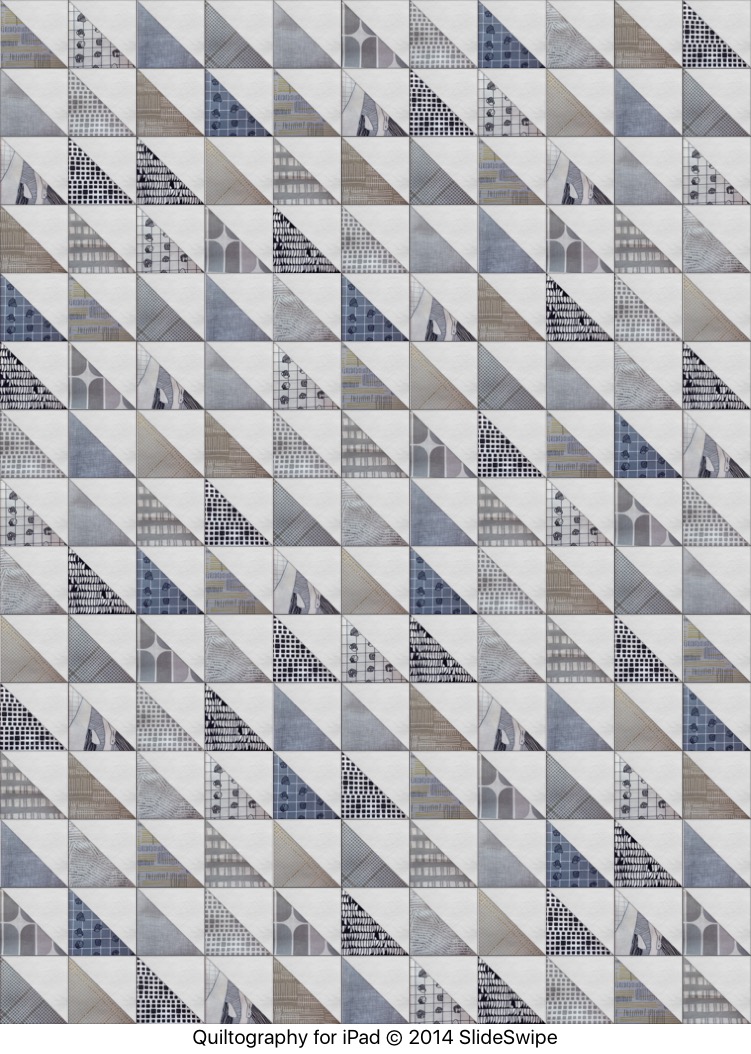
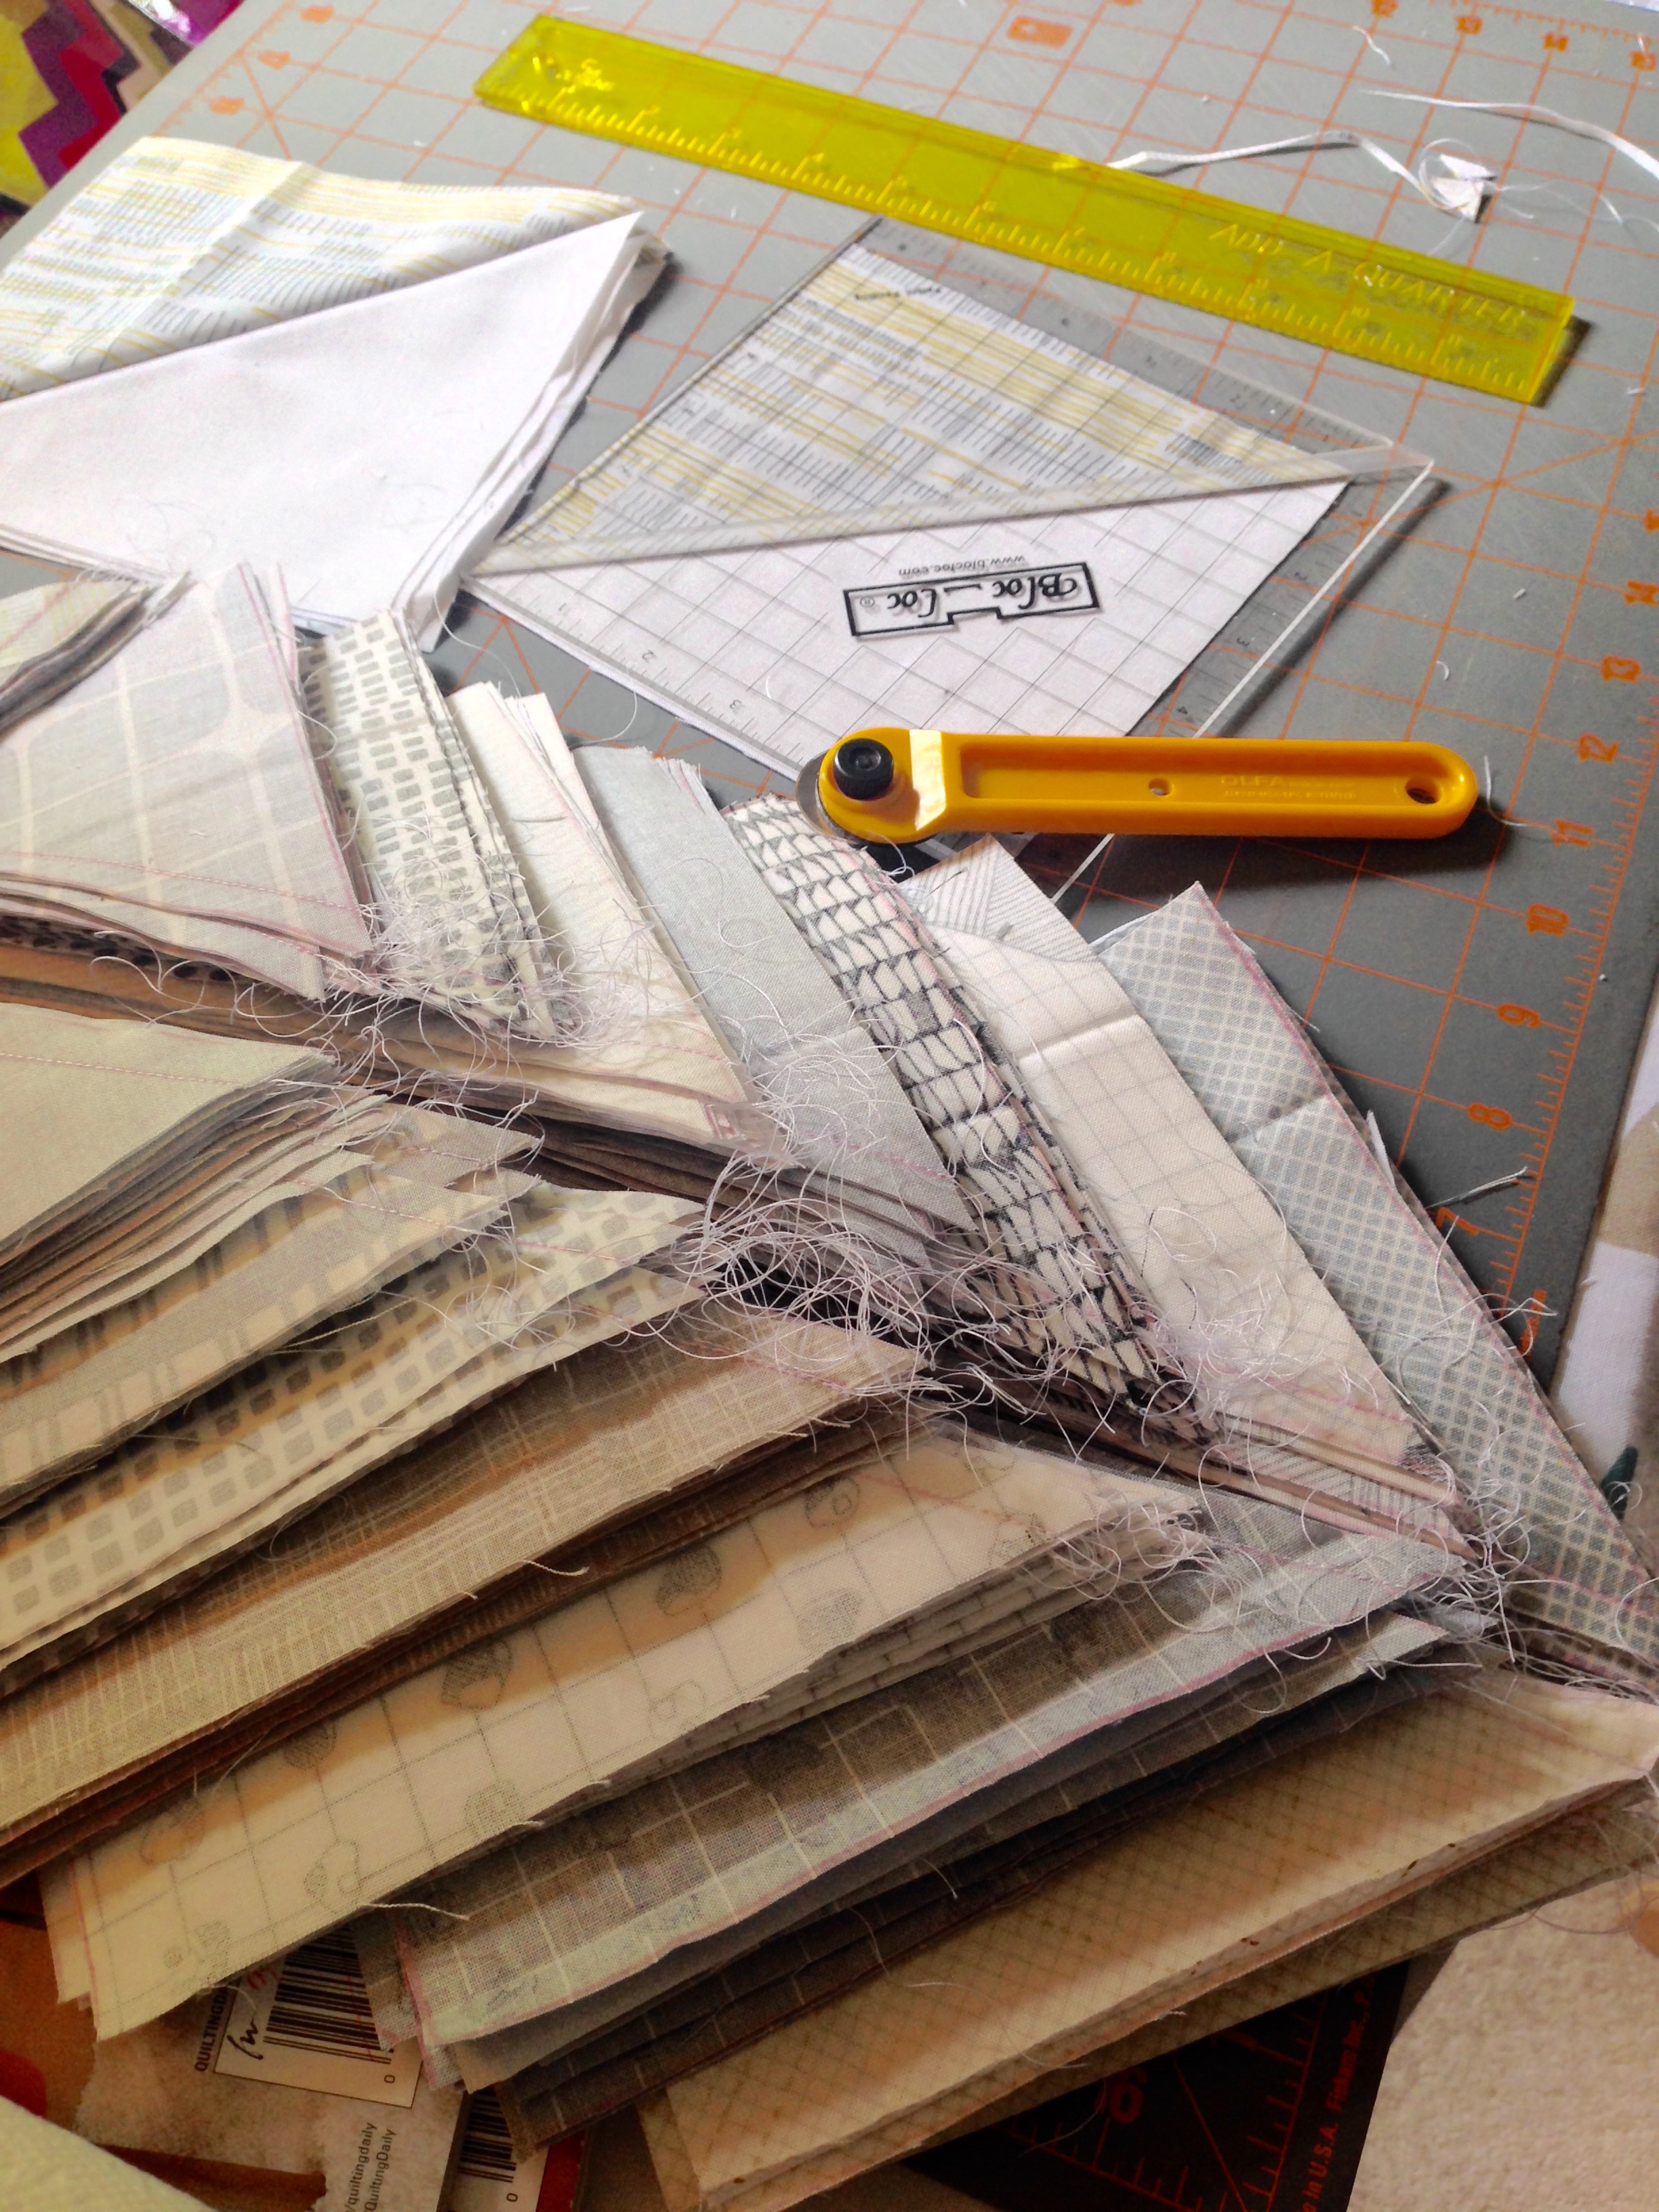
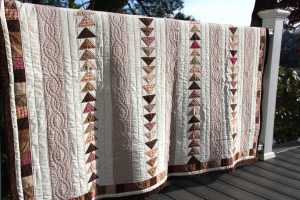
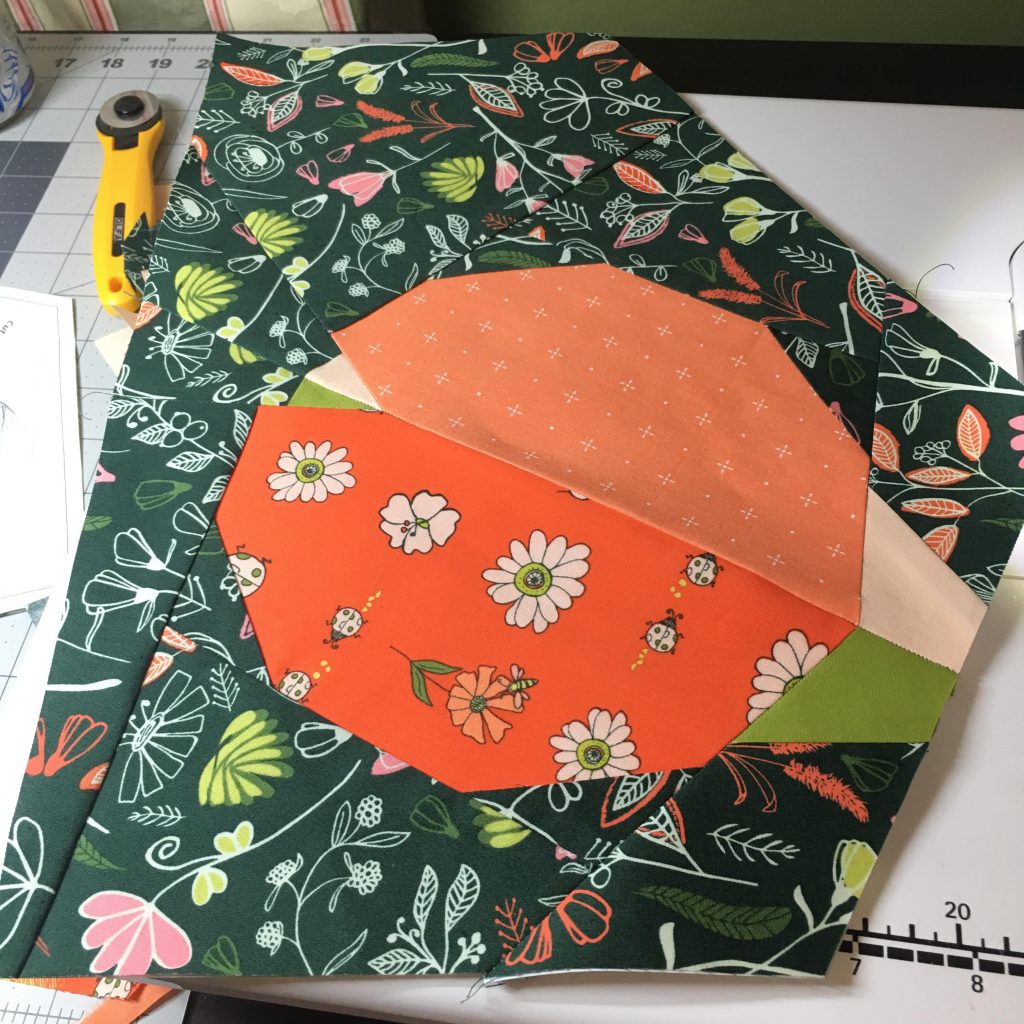
New seasons are a good time for new releases–and for trying new things. When I was asked by Sheri Cifaldi-Morrill of Whole Circle Studio if I had any interest in making her Ladybug Loop pattern in these soft, luxurious fabrics, I readily agreed to the project as it used one of my favorite quilt making techniques: foundation paper piecing. But I also saw the potential for finally using the ruler templates I had taken a class on the year before and also the ones I had recently purchased that were designed by Sarah Thomas of Sariditty.

Using template rulers to help my ladybugs get looped.

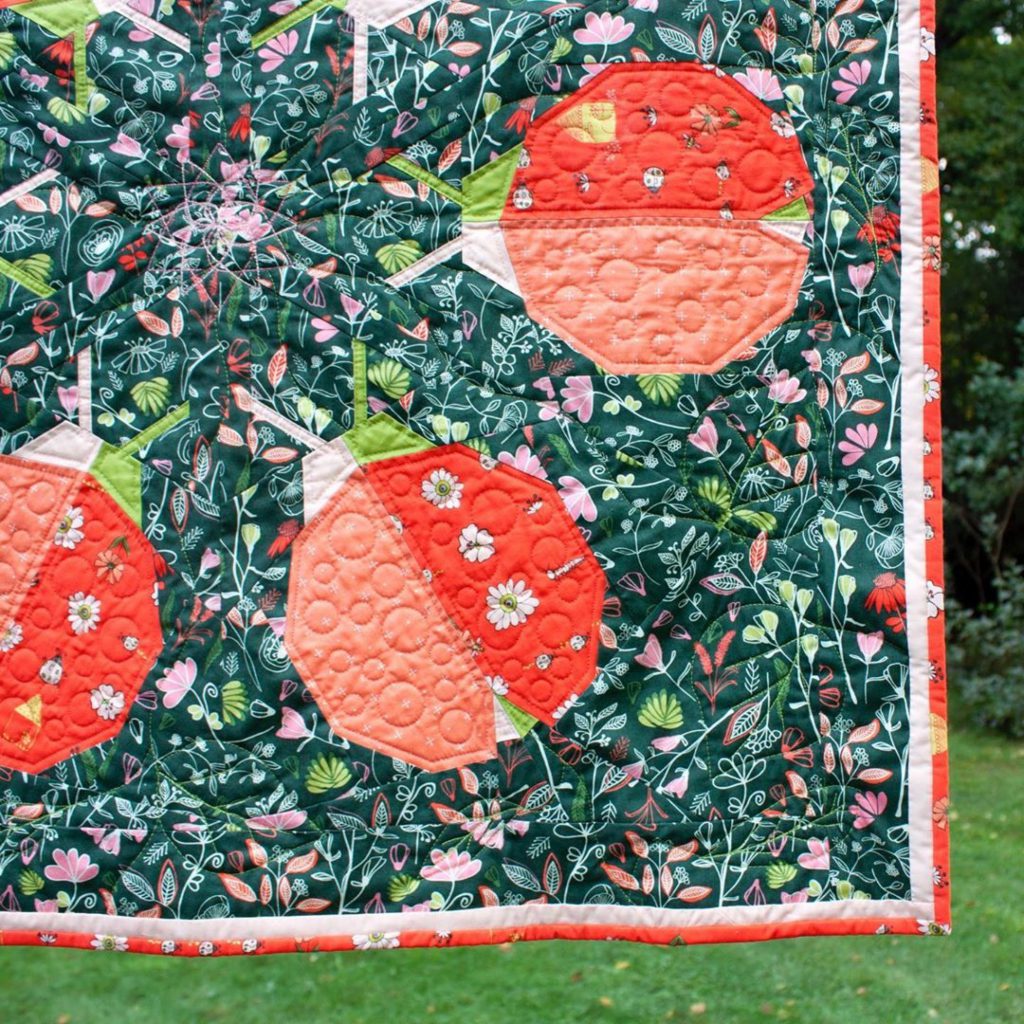
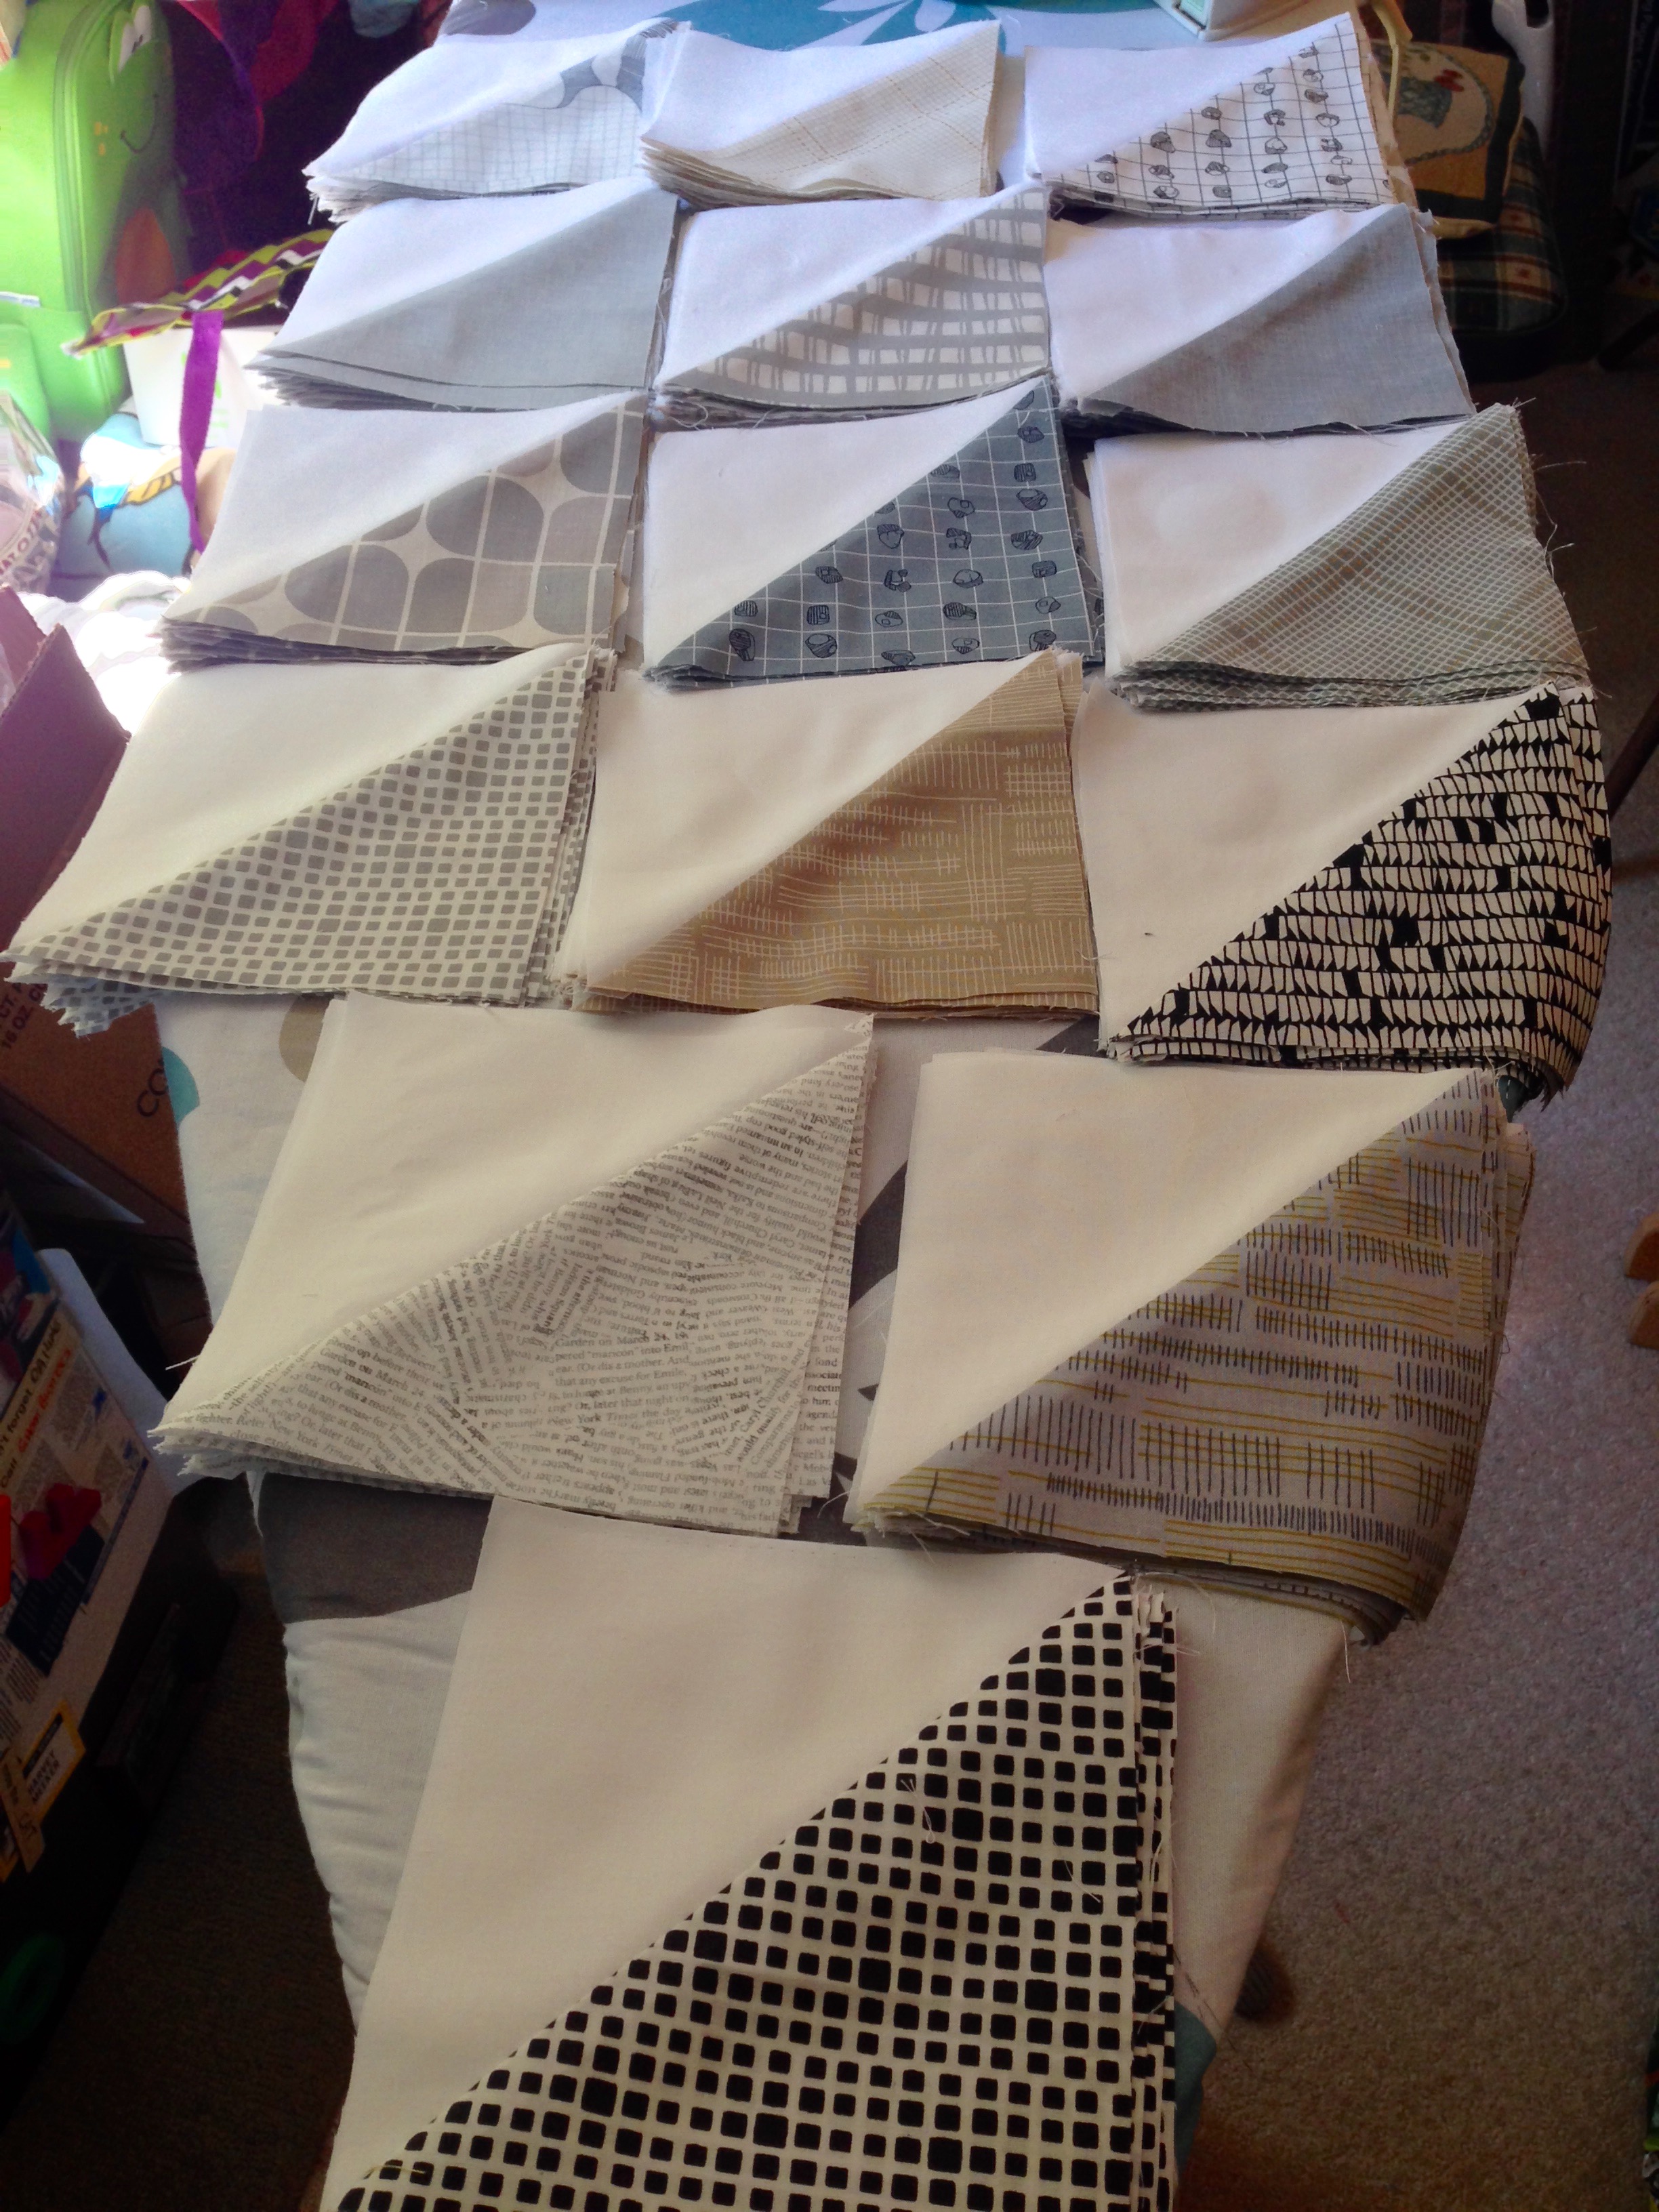
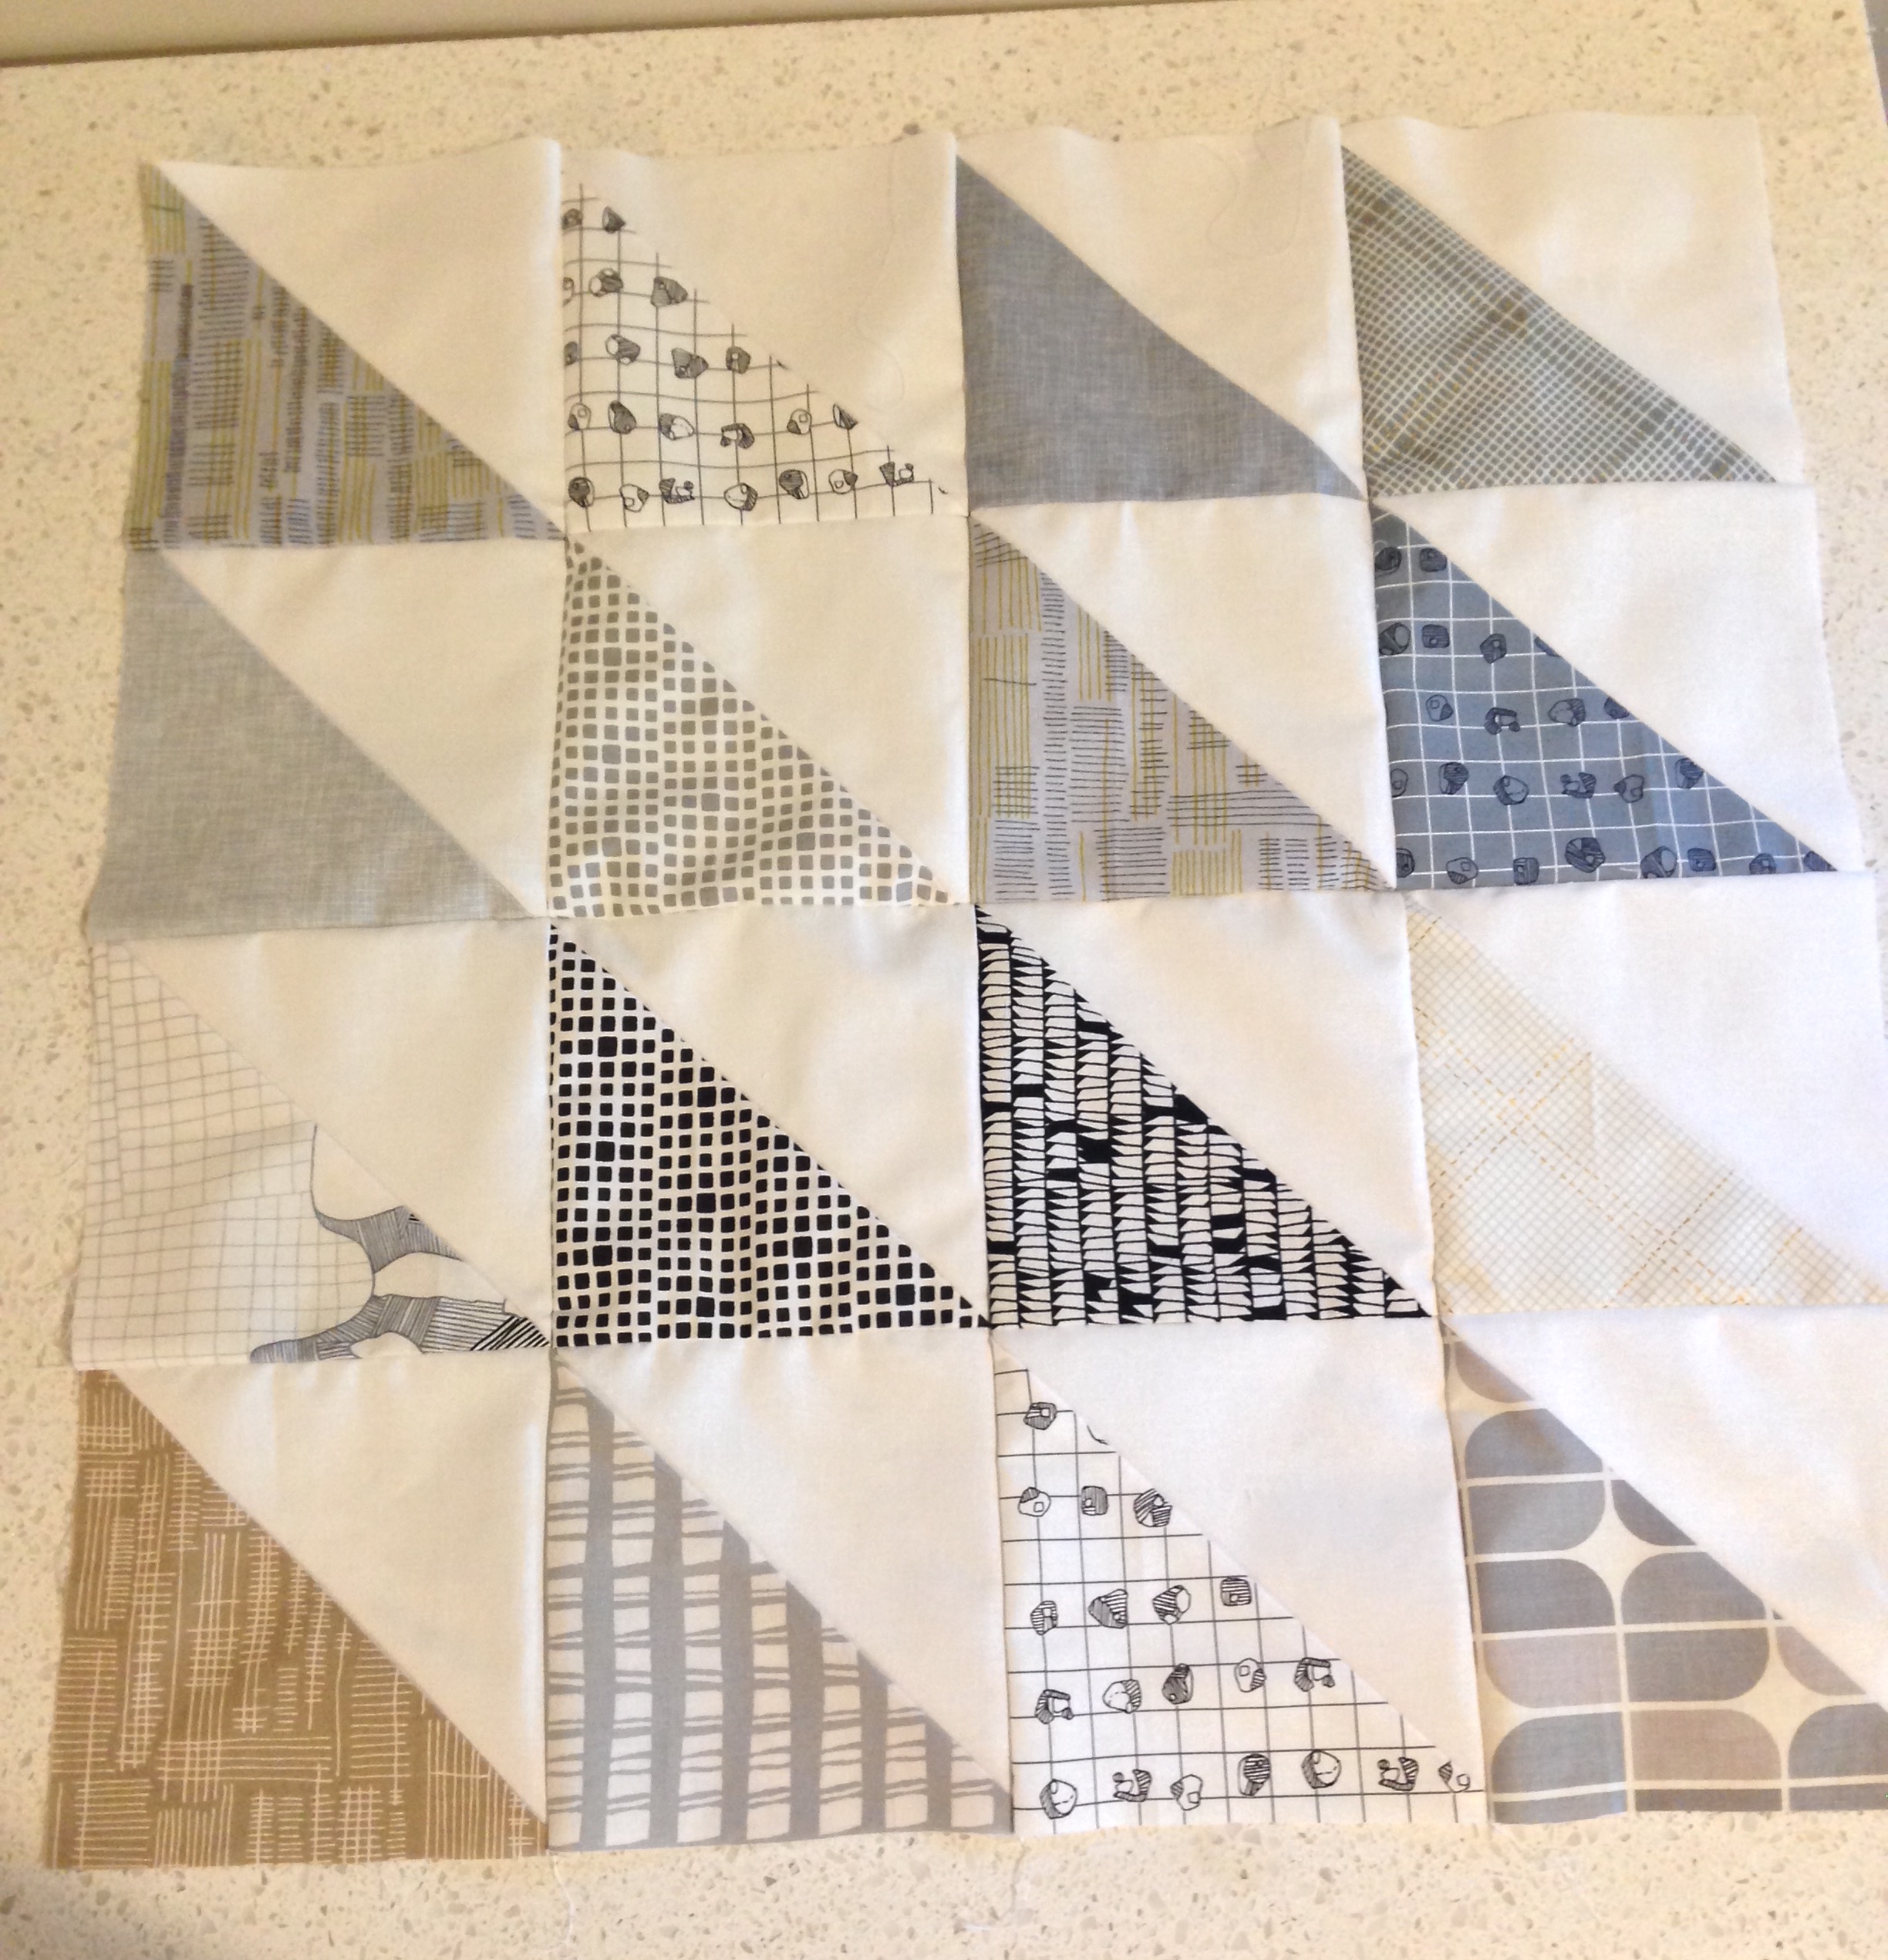
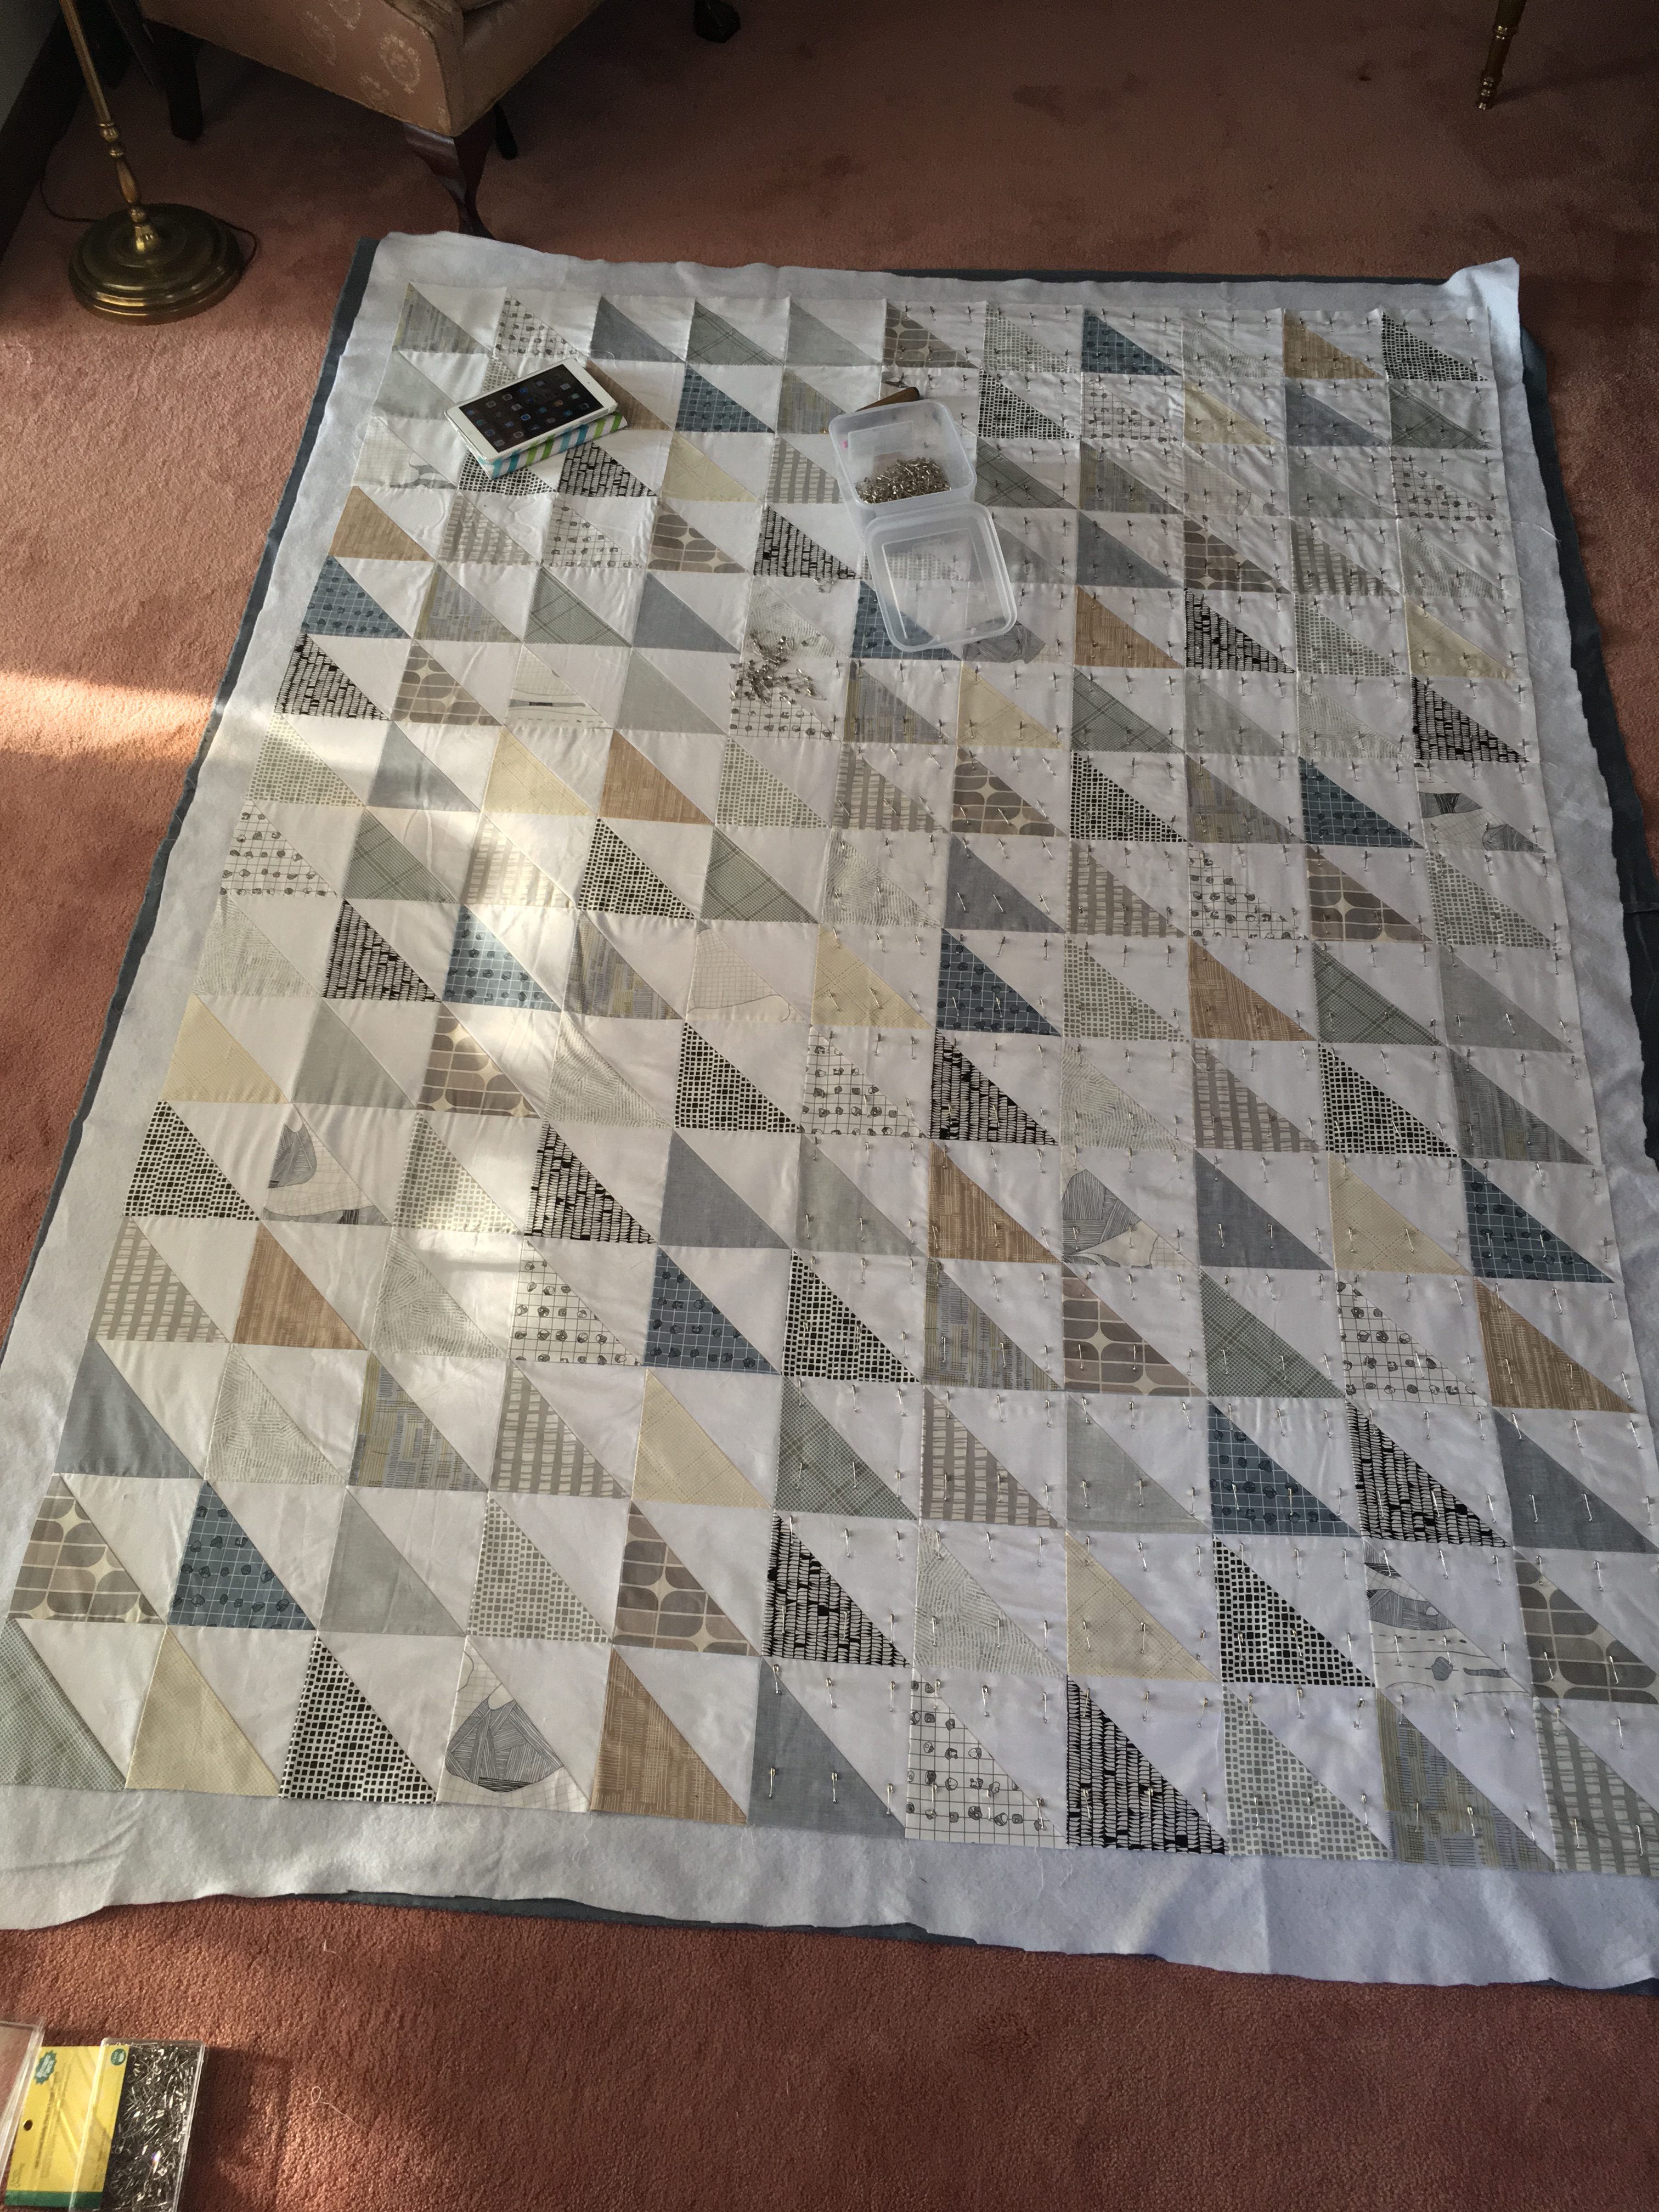
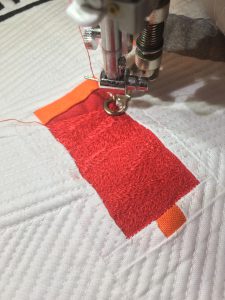
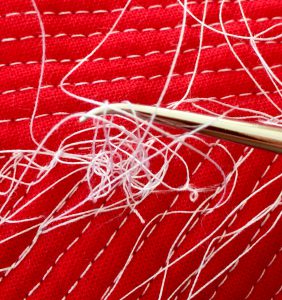
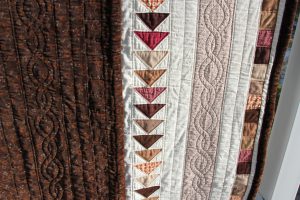
Of course, before any quilting can commence, a quilt needs to be made. Working with this lovely line of fabrics was a joy. It was a constant revelation of little Easter eggs when working with some of the prints and I’d notice a new little bit of the design and find myself smiling. Also, the feel of the cotton is heavenly and very easy to work with as you sew as there’s minimal shedding of stray threads. I never went to bed adding more thread count to the sheet set I already bought. I will admit that it was somewhat daunting to try to keep the glorious “Glowy Bosque” background fabric all directionally pointing upward in the final piece as I was sewing the FPP sections–the back of the template paper had lots of arrows that at one point resembled hieroglyphics.

Piece by piece, the ladybug starts coming out of the field of fabric.

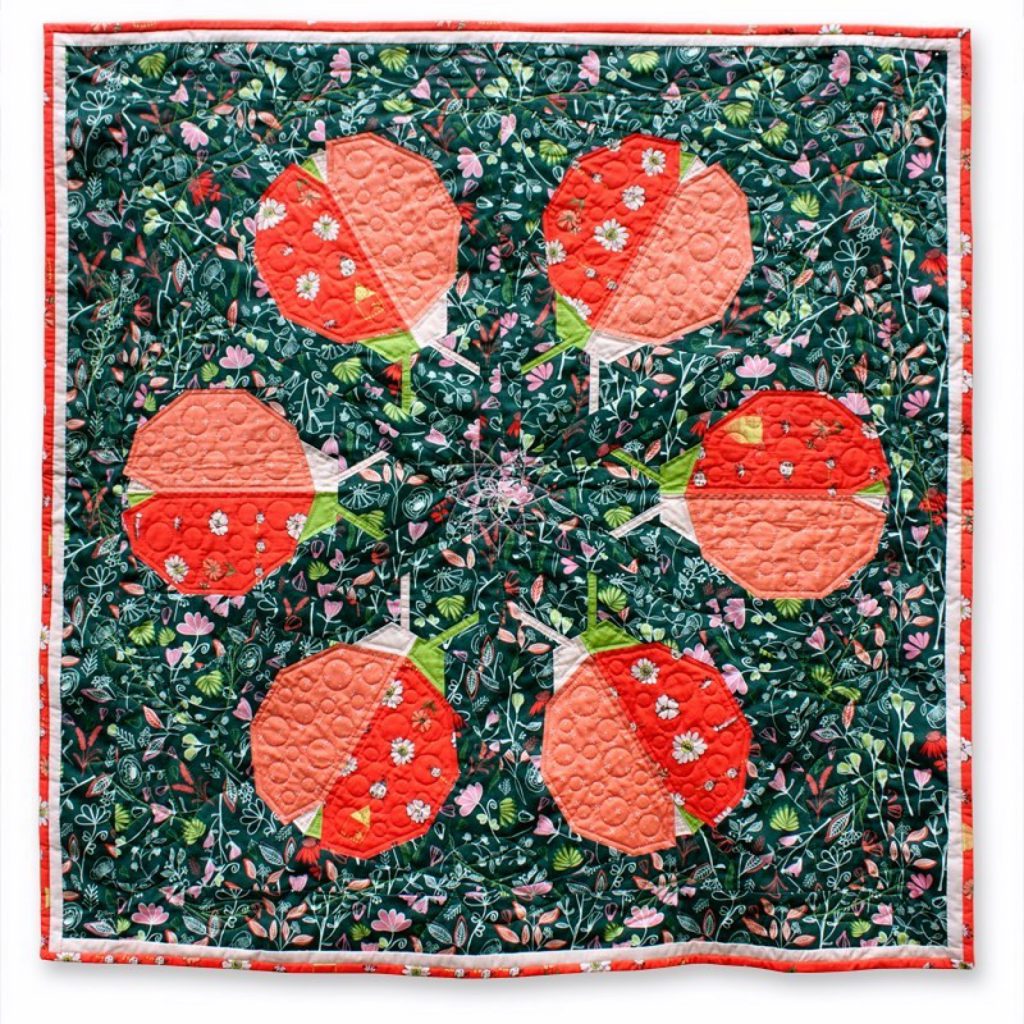
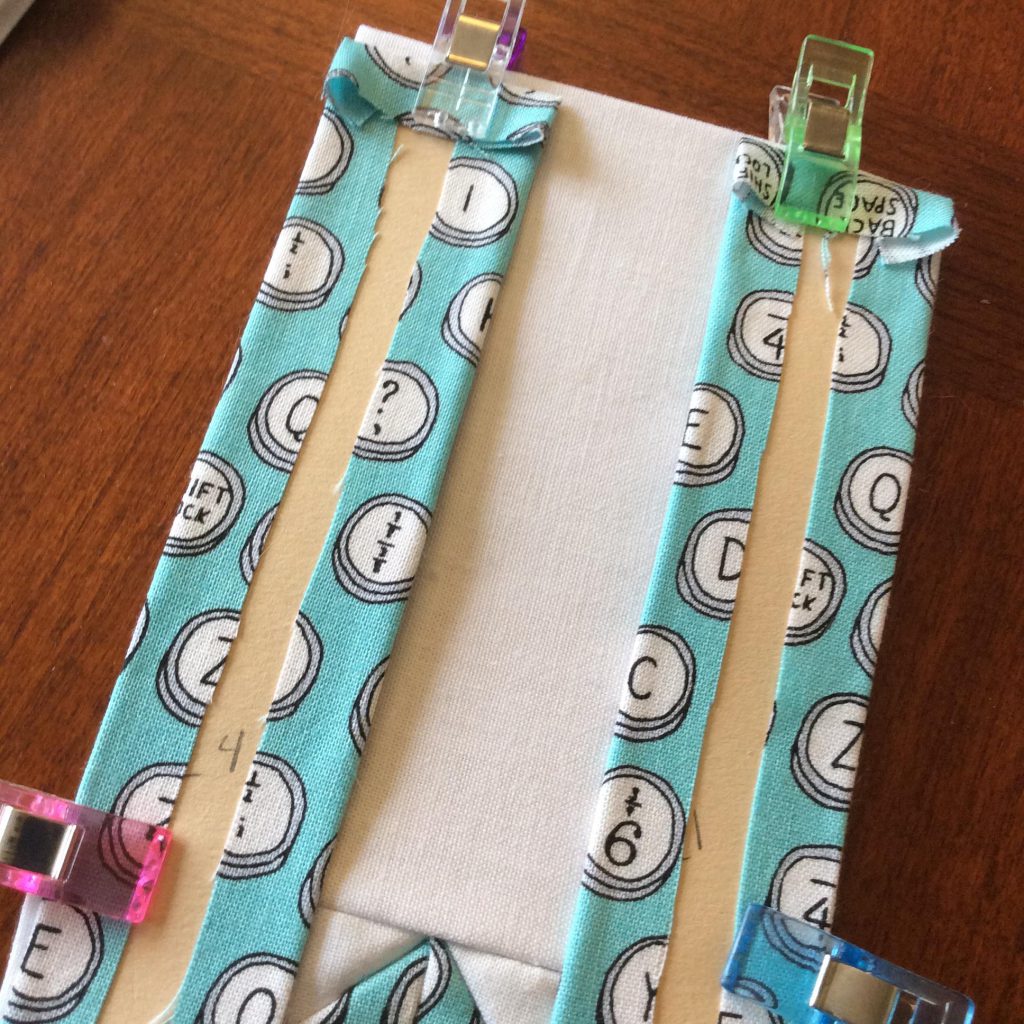
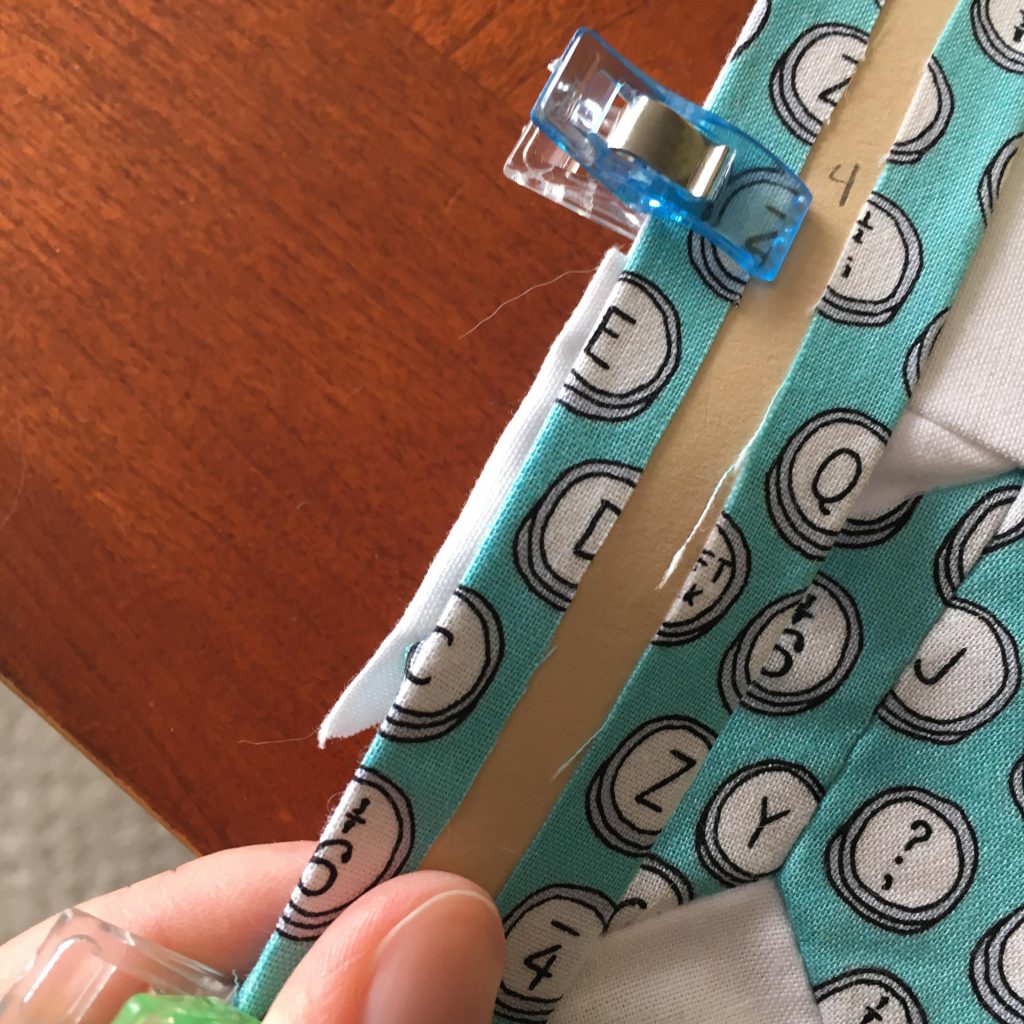
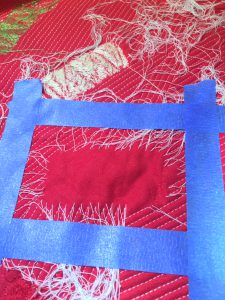
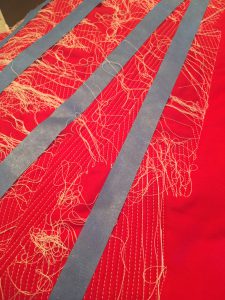
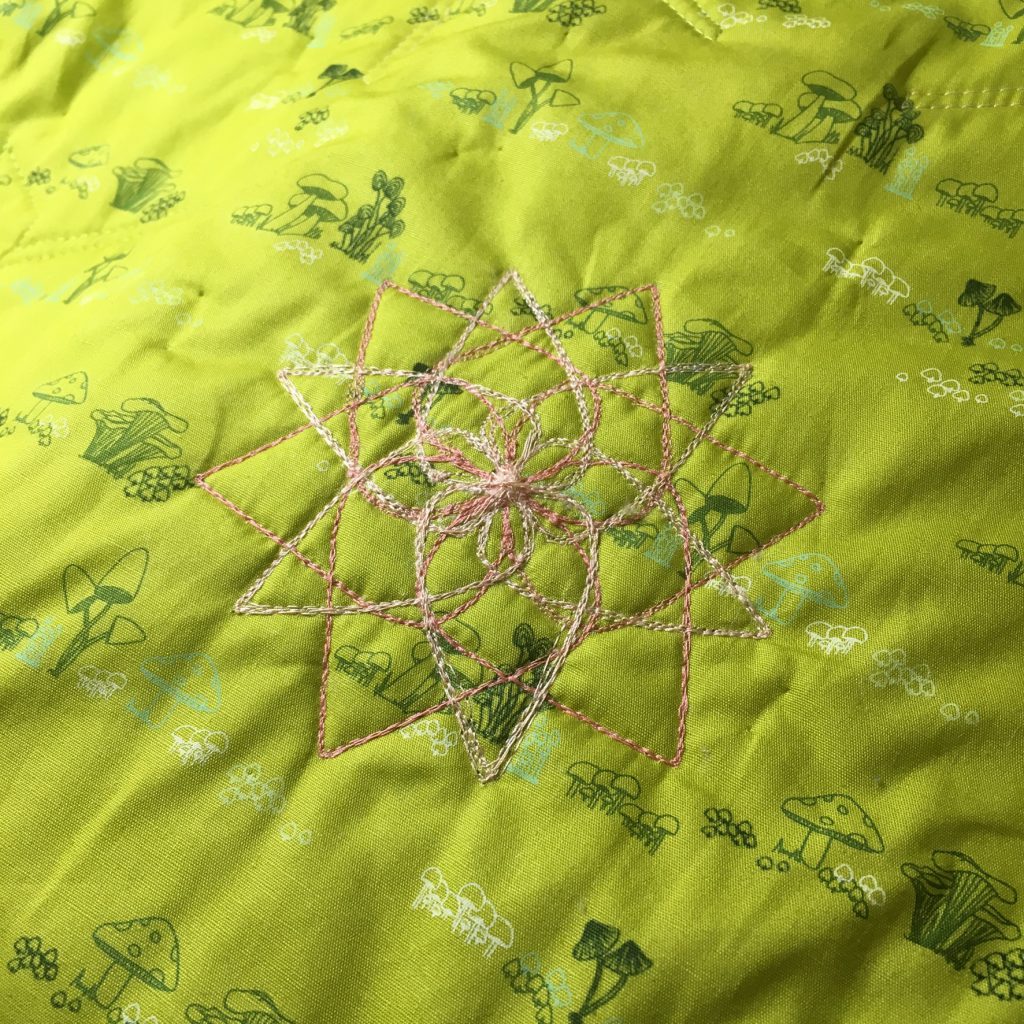
In the end, all the hieroglyphics were worth the extra effort, and final steps could begin. I chose to use the Sariditty “Lotus & Pebbles” template to add the dots to the ladybugs’ wings (Pebbles part of the template) and the large leaves’ outline on the outer edge of the quilt used the “Lotus” part of the template, which were then filled in with free motion quilting to add the leaf detail. The wind waves were added with the “Rolling Wave” ruler. The center flower design was added with Westalee Ruler’s “Circles on Quilts” template.

Easily adding some spots with Sarah Thomas of Sariditty’s “Lotus & Pebbles” quilting ruler template.
Flower in the garden using the Sew Steady Westalee “Circles on Quilts” quilting ruler template.

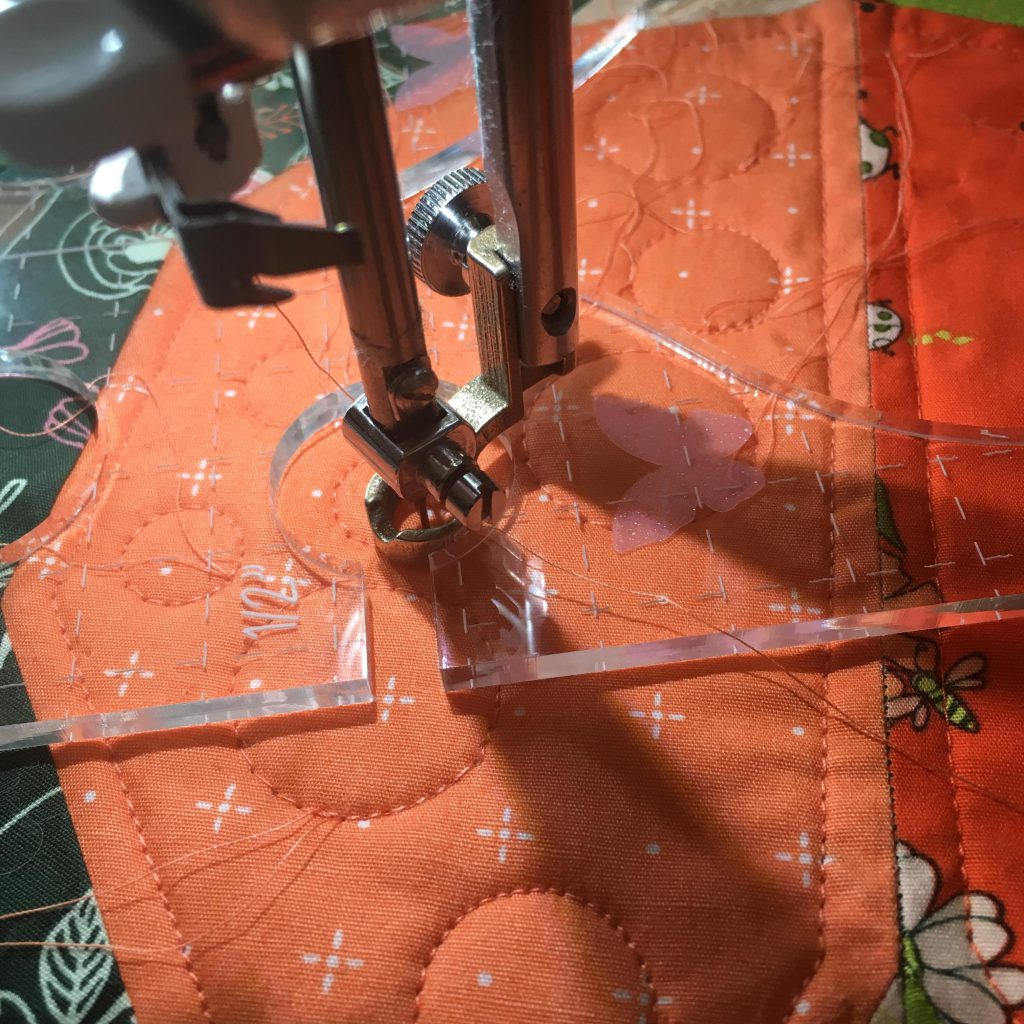
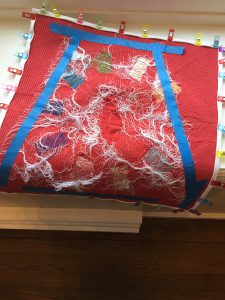
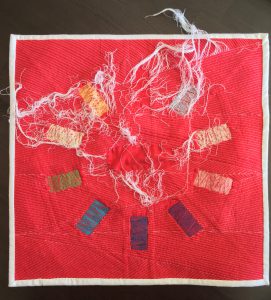
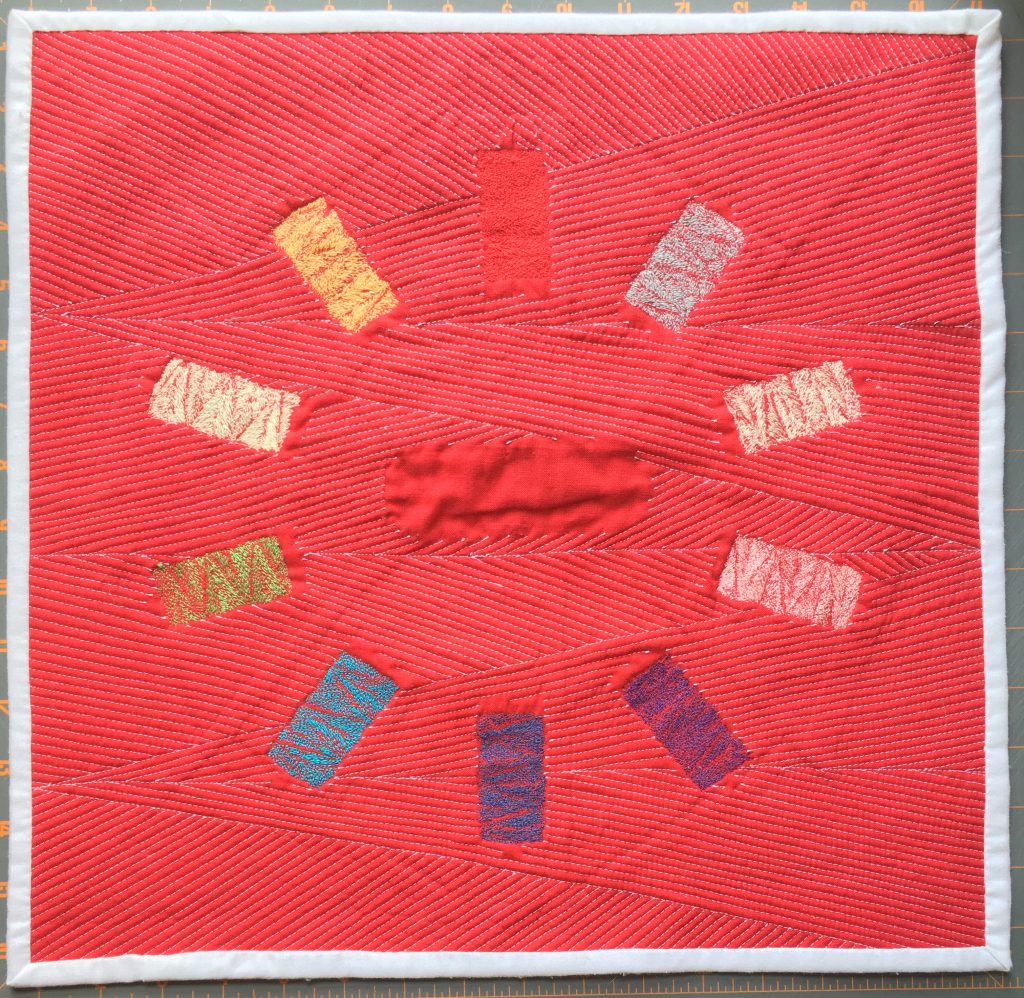
Using Aurifil 50wt thread throughout the quilt in corresponding colors on the ladybugs, but with a little bit of contrasting pinks in the “Glowy Bosque” background, helped breathe a little extra life into this quilt. Plus, this thread is wonderful for the heavy duty task of free motion quilting and ruler work–I find that it stands up to the demands of the needle and the machine beautifully without complaint.

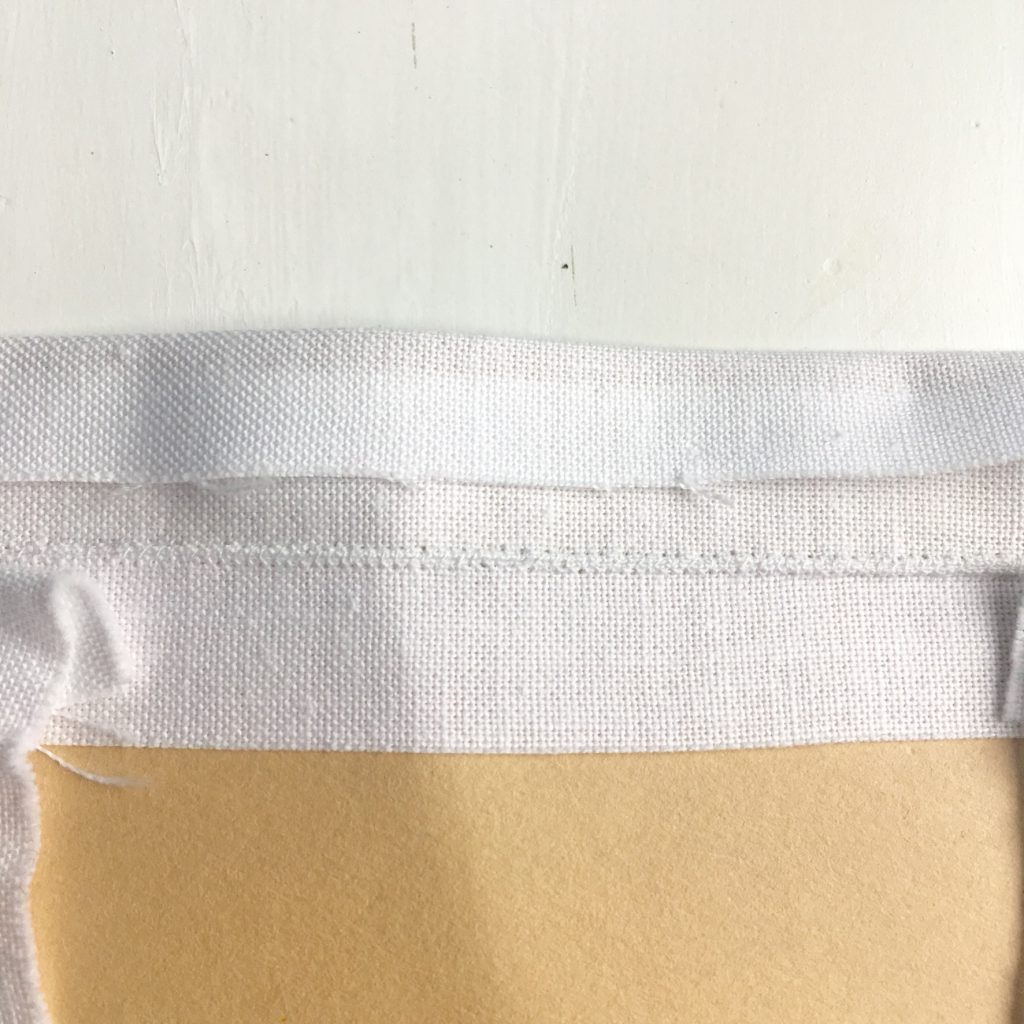
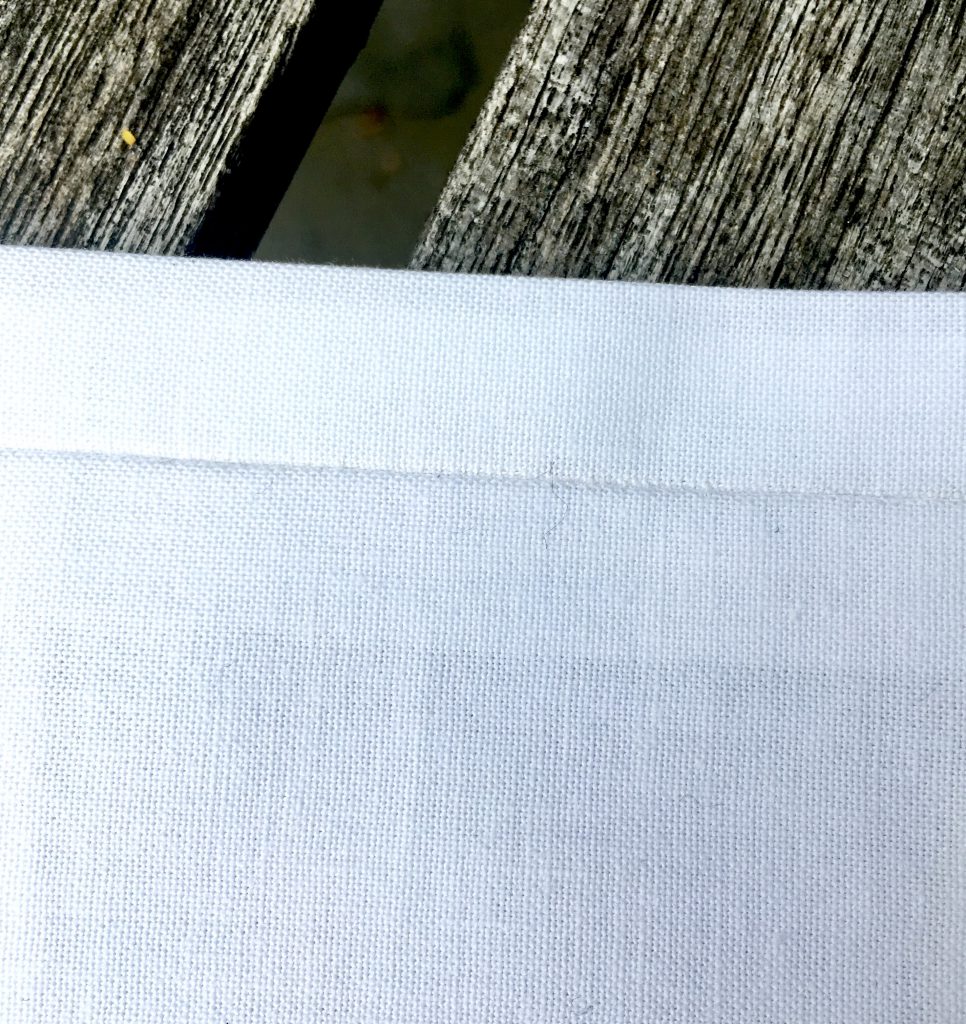
To finish off my looping of ladybugs, I decided to do a double binding, or also known as a flanged binding. I liked the idea of adding another edge of solid between the “Glowy Bosque” before the lovely “Bugsy & Posy” outside binding takes an evening bow.

Writing Career… in Quilts?

It’s a pretty winning day when you’re asked to join a blog hop to celebrate an artist’s hard work and amazing results of long hours and months of genius mixed with something so near and dear to your own heart–words. Throw in the added bonus of learning another new skill to boot, and there was no chance that I was going to let my invitation to Whole Circle Studio’s Typecast party get lost in the cyber mail!

Much glee ensued when I found out that I was going to be stitching up the letter “W” as my stop along the blog trail. As someone who initially started their career by stringing together letters in the form of words, mostly for a profession in journalism, but with a lot of poetry and fiction writing mixed in as well for good measure, there was no other way to go with a “W” than with a “writer” meaning for me. Luckily, I had the perfect fabric waiting in my stash for just an occasion such as this and there was plenty to make a full mini quilt of “WRITER” for a nice wall hanging or center block for a larger project (writers deliberate for ages on what to do with characters/snippets of writing, the same as quilters do with projects–it’s a trait I carried over from one endeavor to the other).

There are few people I can think of in the quilting and crafting realm who could make a full English Paper Piecing alphabet that is as incredible as the one Sheri Cifaldi-Morrill has created with her Typecast pattern. If this here EPP newbie could pick up Sheri’s exemplary crafted templates and guide, and start gluing down fabric and then stitching things together in a matter of minutes, then anyone can do it. It helped to leave a lot of extra seam allowance for gluing in place (about 3/8″ to 1/2″) around the shapes, allowing my fingers some real estate to work on while smoothing out around the edges, but also so my Tulip applique needle would have something to grab to pass my Aurifil 80wt (White 2024) and 50wt (Light Turquoise 5006) threads through.

Just like there is often a “right choice in words” when writing, there is often a “right choice in stitches” when sewing, but with EPP, there are quite a few options. Some are more visible in the end result (whip stitch) while others are more hidden (ladder stitch) and others are more suited for curves (flat stitch), but in the end, it really comes down to a matter of preference–and sometimes words are often the same way to a writer. You could say the sky is blue, but writers like to say it’s cerulean.

These are the stitches I was making when I started my “W” block–and they are not pretty (or at least, not to my Type A personality):

But towards the end of the process of assembling my “W” block, I had found the stitch length and width frequency I desired (I basically was making 25-30 stitches per inch with my Aurifil 80wt, and they were about 1/16″-1/32″ in length, which barely showed on the front of the block):

However, along the way to finding my perfect stitch, I did fall into a few ditches. Mainly, there were a few alignment issues from some of my more poorly glued template pieces (be careful of edge slack and make sure you iron your fabrics well before you start cutting!). These alignment issues caused a little bit of overage in some areas (not a horrible correction issue), and some shortages in others–thankfully my overly generous seam allowances allowed me to “cheat the system” for the shortage issue situations by unfolding the seams in the short-changed areas to match them up to meet their mates:

This was also about the time when my writing days made another appearance in the form of an adult beverage to help keep me company as I stitched in the evenings–and also helped to keep me from becoming too discouraged by what I perceived as major “failures” in my EPP technique when things weren’t lining up nicely–not everyone like plot twists.

However, I was reassured by many seasoned EPPers that my experiences were not uncommon and are avoidable by using positioning clips on the ends of long pieces and start sewing from the middle outward. I also discovered on my own that for places where clips weren’t practical, a few well placed applique pins helped keep things from shifting where they shouldn’t when a clip would get in the way of my hands or the thread:

Yet, like most riveting stories, you simply can’t just put a pin in it and come back to it later–you need to keep going to find out how all the loose threads end up tying together by the final word on the last page (and hope you aren’t too disappointed or forgot to close a gap somewhere). The final results:

I think it’s safe to say that I’m not the least bit disappointed with how my story of journeying into EPP has begun, and my letter “R” is coming along nicely (curves are always something I can’t resist in sewing–or driving!), even if it isn’t quite a gentle step up from the fairly straight-forward “W” block. I’m already looking forward to stitching up the “CAPTAIN AMERICA” I need next for my daughter’s quilt, and the proverbial ink isn’t even dry yet on my “WRITER” mini/center quilt start. Oh, what a tangled wordy web we weave, when first we practice to EPP.

Be sure to check out the other fantastic artists and makers who have joined the Typecast party!
• Wednesday, March 27: Tour Introduction by Whole Circle Studio
• Monday, April 1 — A: Kate Brennan of Aurifil
• Tuesday, April 2 — B: Mathew Boudreaux of Mister Domestic
• Wednesday, April 3 — C: Tara Curtis of Wefty Needle
• Thursday, April 4— D: Leah Day of Free Motion Quilting Project
• Friday, April 5 — Week 1 Wrap Up featuring A-D and GIVEAWAY at Whole Circle Studio
• Monday, April 8 — E: Erin Bay of Paper Pieces
• Tuesday, April 9 — F: Sylvia Schaefer of Flying Parrot Quilts
• Wednesday, April 10 — G: Giuseppe Ribaudo of Giucy Giuce
• Thursday, April 11— H: Hilary Jordan of By Hilary Jordan
• Friday, April 12 — Week 2 Wrap Up featuring E-H and GIVEAWAY at Whole Circle Studio
• Monday, April 15 — I: Kim Soper of Leland Ave Studios
• Tuesday, April 16 — J: Yvonne Fuchs of Quilting Jetgirl
• Wednesday, April 17 — K: Karen O’Connor of Lady K Quilts
• Thursday, April 18 — L: Kristy Daum of St. Louis Folk Victorian
• Friday, April 19 — Week 3 Wrap Up featuring I-L and GIVEAWAY at Whole Circle Studio
• Monday, April 22 — M: Molli Sparkles of Molli Sparkles
• Tuesday, April 23 — N: Nicole Daksiewicz of Modern Handcraft
• Wednesday, April 24 — O: Scott Hansen of Blue Nickel Studios
• Thursday, April 25 — P: Pat Sloan of Pat Sloan
• Friday, April 26 — Week 4 Wrap Up featuring M-P and GIVEAWAY at Whole Circle Studio
• Monday, April 29 — Q: Joanna Marsh of Kustom Kwilts
• Monday, April 29 — Q: Lindsay Széchényi of Lindsay Széchényi (and Patchwork Threads)
• Tuesday, April 30 — R: Andrea Tsang Jackson of 3rd Story Workshop
• Wednesday, May 1 — S: Sarah Thomas of Sariditty
• Thursday, May 2 — T: Rachel Rossi of Rachel Rossi
• Friday, May 3— Week 5 Wrap Up featuring Q-T and GIVEAWAY at Whole Circle Studio
• Monday, May 6 — U: Kitty Wilkin of Night Quilter
• Tuesday, May 7 — V: Jenn McMillan of Fabric, Ink
• Wednesday, May 8 — W: Jenny Meeker of Bobbin Roulette Studio
• Thursday, May 9 — X: Stephanie Kendron of Modern Sewciety
• Friday, May 10 — Week 6 Wrap Up featuring U-X and GIVEAWAY at Whole Circle Studio
• Monday, May 13 — Y: Debby Brown of Debby Brown Quilts
• Tuesday, May 14 — Z: Nisha Bouri and Kim Martucci of Brimfield Awakening
• Wednesday, May 15 — Week 7 Wrap Up featuring Y-Z, Tour closeout and GIVEAWAY at Whole Circle Studio

So Many Options, So Little Time

Lately, I’ve been doing a fair bit of pattern testing for one of my favorite designers—the previously mentioned Sheri Cifaldi-Morrill of Whole Circle Studio—in between working on a few other projects that I already have at various stages of readiness for completion.  I thoroughly enjoy pattern testing because it helps me get past what I like to call “pattern paralysis” which I think all crafty folks encounter every now and again.

For me, pattern paralysis comes about due to being overwhelmed by not only wanting to do at least ten projects at once, but also because there are just so many options out there in terms of fabric, design elements, techniques to explore, etc.  Occasionally, the fabric I see in a store tells me immediately that it wants to be a modern or traditional make, and other times, it just sits there and stares at me with its pretty face, but offering no suggestions at all on what to do with it.  So I start wandering through favorite Instagram accounts, quilting books, online quilting blogs and the like looking for a way to transform the fabric I love (for unknown and unexplainable reasons) into something I’ll love to make and then love to gift/keep afterwards.

Sunset array of Paintbrush Studio Fabrics Painter’s Palette solids ready for sewing.

Searching for the right project for a fabric isn’t the only cause of the paralysis though–searching for the right fabric for a project can also instill a sense of “what the heck do I do?” foreboding as well.  A fully stocked stash of varying color palette choices helps a lot with this part, but it isn’t always the answer as the pattern/project on hand may require only a few fabric color choices, or it may allow for dozens of fabric choices.  “Scrappy happy” quilts are great at dwindling down the overflowing closets, bins and crevices, but just how scrappy do you want the end product to be is a delicate balance and achieving it can be very daunting if you have a large stash of fabrics from years worth of makes.  One too many random scraps may make for a design which may definitely be considered colorful, but may also be nausea inducing as well.

Still though, a pattern needs to be picked/designed/settled upon in order to start sewing.  Time considerations for all steps of the process can also add to the stress of getting a project underway.  Pick a pattern that’s too intricate, and it may never get completed, but pick one too simple, and it may end up disappointing in the final stages as it seems too simple and lacking in “wow.”  Then there’s the case of seeing a design that looks easy, appealing and fast, but then turns out to take much longer than anticipated, therefore compounding the overall project paralysis.

Collection of Robert Kaufman Kona Cotton solids and Paintbrush Studio Fabric’s Painter’s Palette solids prepped for a pattern test.

So the quickest way for me to get past my pattern paralysis most of the time is to test patterns for other people.  This way, I don’t have to take the time to choose and deliberate endlessly over patterns and designs; it typically has a built in time tally upfront; there’s already a list of fabric measurements and number of fabrics needed for the project; it also often pushes me to try a new skill or perfect an existing one with further practice; and has the added bonus of helping someone at the same time (and I’m all for helping fellow crafters and designers).  Then after the test top is completed, starts the process of figuring out who shall receive the finished quilt—another set of options always presents itself.  Options never end.

Testing the Cabana quilt pattern for Whole Circle Studio.

However, if I have an option to test a pattern (and can carve out the time and scrounge up the fabric to do it as well), the decision is always an easy one—because one more skill learned and quilt top or craft project under the sewing needle is always a good thing in my book.  

The Value of A Quilt

I often get queries from family and friends about paying me to make them a quilt and I often reply with “no payment necessary because you’re my cousin/my aunt/my friend/my coworker/my once-let-me-borrow-a-pen acquaintance.”  I give this response for a multitude of reasons, and here’s the breakdown of those reasons so as to help give people a better understanding of the cost of hand crafted items.

Planning Stage – Designing

1.  I Am Not A Magician
Each quilt I make starts with a pile of wrinkly fabric and an idea.  Sometimes an idea requires purchasing just the right fabric to do the job–and sometimes that can be pricey–but if you don’t want to sacrifice the vision, then out comes the wallet.  Sometimes the idea is a purchased one (patterns are plentiful, but not all are free) or one that I have spent anywhere from an hour to a dozen hours puzzling out and planning and doing necessary math calculations (and anyone who knows me, knows I loathe math–oh, the irony to have developed quilting as my main hobby).  There are software programs for handling the design and calculation work–some crafted specifically for crafters, and others for more serious design industry work–but they typically start at $200+ just for the basic programs and the more profession design ones can be upwards of $800 (and that’s not factoring in the time it takes to learn the program you end up getting if you are not one of those nifty people who already uses such a tool in their day job).  It also takes time to cultivate ideas and as much as I wish I had a magic wand to make the initial stage of quilt making go by with the flick of a wrist, I know it will never happen.  So I put in the time to plan because a lot of heartache and cursing can be avoided with some initial “insurance” measures and steps.  However, as with any venture, time is money.

Cutting The Pretties

2.  I Am Not A Machine
Once my plan is laid out to the best of my current ability, and all my colorful fabric friends have been culled from the larger herd, I start to cut.  Depending on the style and design of the quilt top, this step can either take a few hours or can take as many as a dozen or more.  The more pieces in a design, the more cutting and hence more time.  Often, these pieces need to be cut out individually after tracing a template shape onto the fabric instead of using the quicker method of using a specific ruler/shape tool and just having at the whole shebang with a rotary cutter.  Remember that pesky “time is money” thing?  Yup, still applies here.

3.  I Am Not A Robot
Now that all the pieces are cut up and labeled properly into their “to be sewn” orders/block families, it’s time to do the machine required parts.  I would like to say that every block is assembled with utmost precision and efficiency, but that is soooooo far from the truth.  Despite hours of planning, one simple thing like forgetting to add seam allowance widths (1/4″) to all planning dimensions can result in blocks that are too small for the desired project.  Or you can end up sewing entire blocks together in the wrong order after dropping the pile of cutely cut colorful fabric and upon picking up your new confetti, managed to put it all back together in the wrong order.  Or you can break a sewing needle on the machine by running over a pin (which you should NEVER do, but hey, it happens far more often than we sewists like to admit–ever), hence taking a few minutes to figure out where the spares ones are, and trying to remember if it was last used for paper piecing or not, and then trying to find the screwdriver that goes on the screw to loosen the needle housing.  Time is still money.


4.  I Am Not A Bionic Being
Quilt tops are lovely to look at after that final seam is joined, but the whole thing needs to be made into a giant sandwich with a bottom bread of backing and a middle filling of batting before it can actually be considered a quilt.  Like most good sandwiches, the right condiments are needed and in the right amounts–stitches are the condiments in quilts.  By binding all the layers together with stitches, not only are you adding stability and functionality, but you are also enhancing an otherwise basic utility piece.  Dense quilting adds lot of texture, but takes lots of time.  Also, the more densely a piece is quilted, the less warm it is as well.  If you hand quilt, you may choose minimal quilting just because of time restraints and wear and tear on your body issues.  Machine quilting is faster, but also has its own set of foibles and quirks, and wear and tear on the body too–imagine trying to drag your current bedspread/comforter through the opening of a medium flat rate postage box all while still allowing a machine to punch through it in a precise line at a ludicrous speed.  Sewists have the shoulders of linebackers.  But all that blocking and tackling doesn’t happen until after the sandwich is basted (and before you ask, a turkey baster is not involved).  When there are enough condiments on the quilt, then it’s time to take it away from the machine to bury all those pretty thread ends (hand quilted pieces have the threads buried along the way so there’s no post-work to be done with the threads)–a process that can tick past many hours on a clock depending on the size of the quilt top.


5.  I Am Not A Factory

By the time you get to the final stage of making your cuddly endeavor, the hours already spent on it can be rather sizable.  Then you still have the task of adding a binding edge to your quilt (typically done via a machine regardless of whether the quilting was done by hand or machine) and hand stitching it down onto the backside of the quilt.  This necessitates making the binding (unless you are able to make the backing large enough from the start to fold towards the front as “self-binding”), and that entails cutting large amounts of two and a half or three inch wide strips, folding them in half lengthwise, and ironing them flat into a type of ribbon that runs about 20 feet long (just for a baby size quilt) once all the strips are connected properly.  Attaching the binding to a quilt is the best and most satisfying portion, and often is a good chance to “test drive” the model before it leaves the showroom as you first start seeing it as a whole entity and not just bits and pieces and tasks to complete–and it’s a step best done accompanied by your favorite warm beverage and a good binge-worthy show on Netflix as you’re gonna be at it for a while.


Also, a label must be added the masterpiece after the binding has been fully completed (this is usually done prior to the whole quilt being washed so that it gets all crinkly and delightful with the rest of the quilt)–and that can either be as simple as permanent ink on a piece of cotton that is appliquéd to the back, or as complicated as an embroidered label or pre-printed professional label that is then appliquéd in place.


In summation, if I started to apply an hourly rate (let’s say the federal minimum wage of $7.25USD an hour) to the making of a quilt, I’d reach a base price of $348.00USD just for a 48″ x 66″ crib sized quilt (Breakdown: Planning – 2 hours, Cutting – 4 hours, Assembling Blocks – 10 hours, Basting Layers – 4 hours, Quilting by Machine – 20 hours [conservative and includes burying threads time], Binding – 8 hours = 48 total hours).  Keep in mind that the $348.00USD price tag doesn’t even take into consideration the cost of supplies like the fabric, the thread, the batting and the occasional sewing machine needle replacement (and coffee allowance).  This is the main reason why most people who make quilts, just make them and then gift them away to family, friends, the postman, the random jogger in their neighborhood, and almost always to a charity cause.  Giving a quilt is always more valuable than just keeping it in a pile in a closet with forty other quilts (but selling a few wouldn’t be horrible either).

Gifted Quilt In Its Forever Home

Who Wouldn’t Want To Sew Many Colors?

In early January, a pattern making genius asked me if I wanted to test a foundation paper piecing project for her.  Naturally, I said yes.  I had already been familiar with Sheri Cifaldi-Morrill’s pattern prowess from having also tested her Picnic Petals quilt (that’ll be an entry for another time) and learned foundation paper piecing from her class for making her Deco Daybreak quilt pattern (also an entry for another time) that was published in Modern Patchwork magazine this past fall.  The opportunity to test a pattern as my second foundation paper piecing project ever seemed like a great personal challenge.

When the “Sew Many Colors” pattern landed in my inbox, I was immediately giddy as it was the perfect excuse to expand my Aurifil stash, which at that moment contained the basic neutral cream and white colors (#2310 and #2024 respectively).  It was also a good foray into modern design, as well as into the land of mini quilts, which is a landscape I’ve admired from a distance, but had never walked through up to that point.

First order of business was fabric pulling–easily one of my favorite parts of quilt planning.  I rifled through my stash of predominantly print fabrics and realized that I scarcely had any solids.  Prints just weren’t seeming like a good fit, or at least not the ones I own.  I set about sourcing some solids of Robert Kaufman’s Kona cottons.  I had already bought a bolt of white Kona (#1387) back in November (best fabric decision I made in 2016), which meant the background was already set, so I just needed to add some color–perfect excuse to go fabric shopping!

Results of my Kona cotton shopping spree from top to bottom: Cardinal (1063), Goldfish (474), Lemon (23), Leprechaun (411), Cyan (151), Prussian (454), Purple (1301), Peony (110), Putty (1303), and Medium Grey (1223).

I branched away from the typical bright rainbow colors due to two reasons.  The first being that I wouldn’t think I would be likely to use super bright threads in the future as I like contrast thread for most projects.  The second one being that I wanted to include more colors that are usually forgotten when doing color oriented quilts, hence the inclusion of the cream and gray.

Thankfully, I now also have a colorful collection of threads to further play with in my quilting journey. Here’s the color number breakdown of the Aurifil hues used in my mini: red (2250), orange (2214), yellow (2110), green (2884), turquoise (2810), dark blue (2775), purple (4225), pink (2437), cream (2310), and gray (2606).

The pattern was so easy to follow and made the process so enjoyable–it’s so well written that I didn’t even make a single mistake when constructing my mini.  The most challenging part was connecting the spool segments in the right orders–but the pattern takes that challenge into account and provides a few spiffy tools to help with that part.  Here is a picture of my pinning to help keep my spool pieced aligned when combining them into a spool, but before attaching to spool segments together to make the mini top:

Once I had my mini top assembled, I began to think of how I wanted to quilt it.  I tested a thread spool quilting idea and quickly realized that it wasn’t conveying my vision, so out came Jack, my seam ripper–of course, this is where I was foolish and had started quilting on the actual mini itself (don’t do what I did–be smart and make a test spool or two).  In the end, I went with more of a thread painting concept in order to achieve the  beauty of the wound thread on an Aurifil spool of 50wt thread.

Then there was the matter of the white matter–soooo many potential options for the negative space from echo quilting to circles, but in the end I found that the thread weave from the spool itself was the most logical way for me to quilt it.

However, before a single quilt stitch could be put in place, I really wanted to deal with the center of the quilt.  The spools so wonderfully drew my eyes to the center every time I looked at the mini top, so instead of figuring out a center quilting pattern, I decided to do what I had never done before–embroidery.  Off to buy some 28wt Aurifil thread!  Their black 28wt (#2692) was easy to find, but their logo blue (#1320) wasn’t easily sourced except in 50wt, so I made do with what I could get.  Typically, if I have a project that requires an embroidered element, I rope my mother and her impressive skills into helping, but due to time considerations on both her end and mine, I tackled it myself–guess I can add a new skill to my resume.

Upon completing my embroidery portion of the schedule and finally adding batting and a lovely Cardinal red backing, it was time for the fun part–quilting my mini!

Matchstick quilting isn’t exactly what I was trying to achieve as it would have made the mini not lay flat well at all given the amount of space it would cover, so I went with a 1/8″ straight stitch in the spool wound pattern.  I divided the quilt, like I did the spools, with a zigzag to mark the outside edges of the spool pattern (and to semi-baste/stitch down the sandwich layers) and then made a center line within each zag in order to fill them in afterwards with the correct thread direction pattern.

One difficulty I had created for myself was that with all those pretty straight lines, there were TONS of threads to keep out of the way of quilting the spools.  I didn’t want to bury all the white threads first before quilting the spools due to time issues and also, I like to deal with the back of my quilts all in one shot.  Enter the quilter’s secret weapon for thread wrangling: 1″ Blue Painter’s Tape.  I used my Clover curved awl to pull all my white Aurifil threads to the back on the quilt, then laid them in directions away from the spools, then taped them down with the 1″ blue tape.  The tape did zero damage to the fabulously strong Aurifil thread when removed–and some areas had a LOT of tape to keep strays from entering the danger zones of the spools (and also during my 1/8″ quilting marathon to keep threads tamed).

In full disclosure mode, I have to confess that I’m still burying threads (and was doing so all day yesterday) due to the sheer volume of threads and life also needing attention.

Today’s goal is finally bury all those snowy strands so I can start playing with more Aurifil thread and Kona cottons on my new project!

Full image of the finished front:

UPDATE March 4, 2017
All threads have been buried and I’m loving the white Aurifil against the red Kona backing:


Trading Traditional for Modern

When I inherited a slew of quilting pattern books, I eagerly flipped through the pages looking for inspiration, but found very little. Churn dash squares with brown calicoes on cream and bear paws in maroon on black hardly instilled an urgency to create with fabric and thread. But when my mother mentioned that dear friends of her and my father were going to be celebrating their 50th wedding anniversary, the inspiration fairy finally paid me a visit.

The LeBlancs met each other while he was in the military in something that seems like the plot of a Bogey and Bacall movie.  They were those type of young people who bucked the trend of having a long engagement and a huge church affair followed by a dinner with hundreds of their closest friends. They also bucked the trend of having a rocky road due to the swiftness of their courtship, but sometimes you just know your soulmate and anyone who meets them just knows they were cut from the same cloth as well.

I wanted to commemorate their fifty years of marriage as a joint effort, because frankly it was. I decided that the Flying Geese pattern in one of my inherited books would be a good platform to start my dive off of into a quilting abyss. My mother told me their home was decorated in warm earth tones with chocolate brown leather sofas, cream walls and natural wood trim. Someone queue those calicoes. So two sets of fifty geese were sketched into four columns of 25 geese each, and spaced with a column of the background fabric and another set of columns in a low volume print to add more width to the quilt, and bordered with what seemed like a billion tiny 1.5″ squares made out of the geese fabrics. It was a clean, uncluttered plan of attack–almost modern.

A trip to a chain fabric store (the only option I knew of back in 2005) yielded a few sale finds of some rather non-traditional fabrics. My experiment a few years earlier with silk and denim and corduroy apparently had been a gateway to further debauchery as I took home copious amounts of micro suede in dark browns, a low pile tan velour, and a random, slippery knit. For the low volume (a term that I didn’t even know was a thing back then) columns, I found the perfect shade of tan with the tiniest American flags sprinkled like confetti on it as an acknowledgment of his years of service and the sacrifices she made during that time for their family. The geese and column fabrics all paired nicely with the vanilla standard cream flowers on cream background that seemed like the mandatory quilt background at the time–the store had no less than five bolts of this stuff and I am fearful to say that I still have a large stash of it to this day… But I got even with “traditional” when I decided to be utterly ridiculous in my backing fabric choices and splurged on a sumptuous chocolate velour with a delicate gold and burnt sienna orange flower print on it. That ought to teach those calicoes and vanilla cream flowers on cream who was a modern maker now.

But still, I wasn’t so modern as to machine quilt my daring escape from the land of tried and true quilt patterns and fabrics as I hand quilted the whole oversized throw. I even made my own stencil for the cable pattern I sewed in the flags on tan columns. It took 14 months just to quilt it and the heft of the backing necessitated the purchase of a sturdy quilting hoop on a stand as my wrists were developing issues from using a free standing hoop with the weight of the velour along with the batting and quilt top. We quilters suffer for our art daily (just count the pin and needle stabs to substantiate that claim).

I pulled a mean trick of partially gifting the quilt in December 2016 during their 50th anniversary party that their lovely children threw for them–I felt awful gifting part of a gift only to have to yank it back to finish it. I finished it as quickly as I could with a full time job and new husband myself, and delivered it a few months later. It seems that all my quilts are gifted in winter months due to circumstances, but upon reflection, it also seems fitting as who needs a quilt in the summer really?

Curious as to how my hand quilting work was holding up after a decade of use, I asked the LeBlancs if I could take newer pictures of the quilt in December of 2015 since cameras had advanced well beyond the 3 megapixels they were at when I initially photographed it before the final gift delivery. I was not only pleased to see that the quilting had yet to break a single stitch after a decade of use, but gleefully noted that it had a food stain of some sort on a section of that vanilla cream flowers on cream fabric background–a truly heartwarming sight to know that it wasn’t tucked away in a closet somewhere, but was being used in a modern home with a modern family full of traditions that apparently include fighting over who gets to use the velour backed anniversary quilt during their visit.

Journey Into Threaded Bliss with Fabric Trails

Chances are pretty great that you know someone who sews.  Probably a greater chance that the person doesn’t do more than just the occasional button repair or quick hem of a pant leg.  But then there are the lucky ones who know a sewist who creates functional art or pillowy adornments for your sofa or treasures to huddle beneath in the winter months.  At some point in time, I went from the button-repairer category to the sewist trying to create functional art because she believes everyone should have some pillowy adornments on their sofa to lean against whilst huddled beneath a treasured quilt.

My journey was started by the same manner in which most sewists become introduced to the intoxicating allure of bright colored threads and the beguiling textures–by a previous generation family member.  I was taught the general gist on how to make a quilt by my best friend’s grandmother when we lived with her for a summer in Falmouth, MA in 1993 during our college heyday.  We had summer jobs at a local restaurant and in the spare time when we were being lazy lumps around the house, Gram put us to work, but in a stealthy way.  One day her arthritis would make it difficult to use the rotary cutter, so would us girls help her for a bit?  Sure, Gram.   Another day it would be her knee giving her trouble with the angle of the seat at the sewing machine, so would us girls piece a few blocks and rows together for her?  Sure, Gram.  Another day it would be her back was too spastic to lean over the table to baste the quilt sandwich, so would us girls help if she handed us pre-threaded needles?  Sure, Gram.  By the end of our two and a half month stay, we had had our hands involved in at a least a dozen quilts and the majority of the steps to make a quilt.

Gram was a sly one, but she ran out of time before she could hoodwink us into helping to bind any quilts.  I went many years not reusing my learned skills from that salty aired summer.  Then one cold October day in Pelham, NY while shivering in my first apartment after college, and before the landlord was legally required to turn on the heat, I decided I was going to put my graduation present of a used Kenmore 10 Stitch sewing machine from the late ’80s to use.  In 1996, that machine was just what I needed to make a few curtains to keep out the drafts from the old windows in my pre-war apartment building.  It also was the perfect little workhorse for turning a collection of jean cutoff legs, a Dolman sleeved silk shirt and twirly skirt set, unfinished one piece jumper in a Mardi Gras colored paisley print and a few other odds and ends of fabrics I had collected without purpose, into a warm and cozy simple Nine Patch quilt with four inch squares.  Of course, I had no idea that it was a Nine Patch pattern as I had no books or other resources at the time–I was just concerned with trying to wrestle the batting and corduroy backing into place so I could start hand quilting and keep warm.  I should have been concerned with learning how to bind my new treasure I intended to huddle beneath.

A lot of things about the process of designing a quilt, and even the hand quilting itself, I simply puzzled out because it was the only option to progress.  I eventually inherited a few of Gram’s traditional sewing books as reference fodder a few years after making my first quilt, but still preferred to design my own quilts based on the intended recipient.  However, given the slow stitch method of hand quilting every one of my quilts until recently, I have few quilts to show off for my efforts.  My preferred hand quilting method is the stab-stitch one where I can really control the stitch length and allow for lovely curves and precise stitch placement–something I found wasn’t possible for me with the rocking-stitch method.  More recently though, I have moved onto machine quilting due to various reasons.  After nearly 20 years of doing only hand quilting and being taught that was the proper way to quilt, it seems somewhat of a betrayal of the tenants I was taught by Gram that sly summer.  I’m learning to embrace the modern way of making functional pieces of art and this blog will be the chronicling of my journey from traditional to modern.  I hope you’ll journey with me.

-Jenny