I often get queries from family and friends about paying me to make them a quilt and I often reply with “no payment necessary because you’re my cousin/my aunt/my friend/my coworker/my once-let-me-borrow-a-pen acquaintance.” I give this response for a multitude of reasons, and here’s the breakdown of those reasons so as to help give people a better understanding of the cost of hand crafted items.
1. I Am Not A Magician
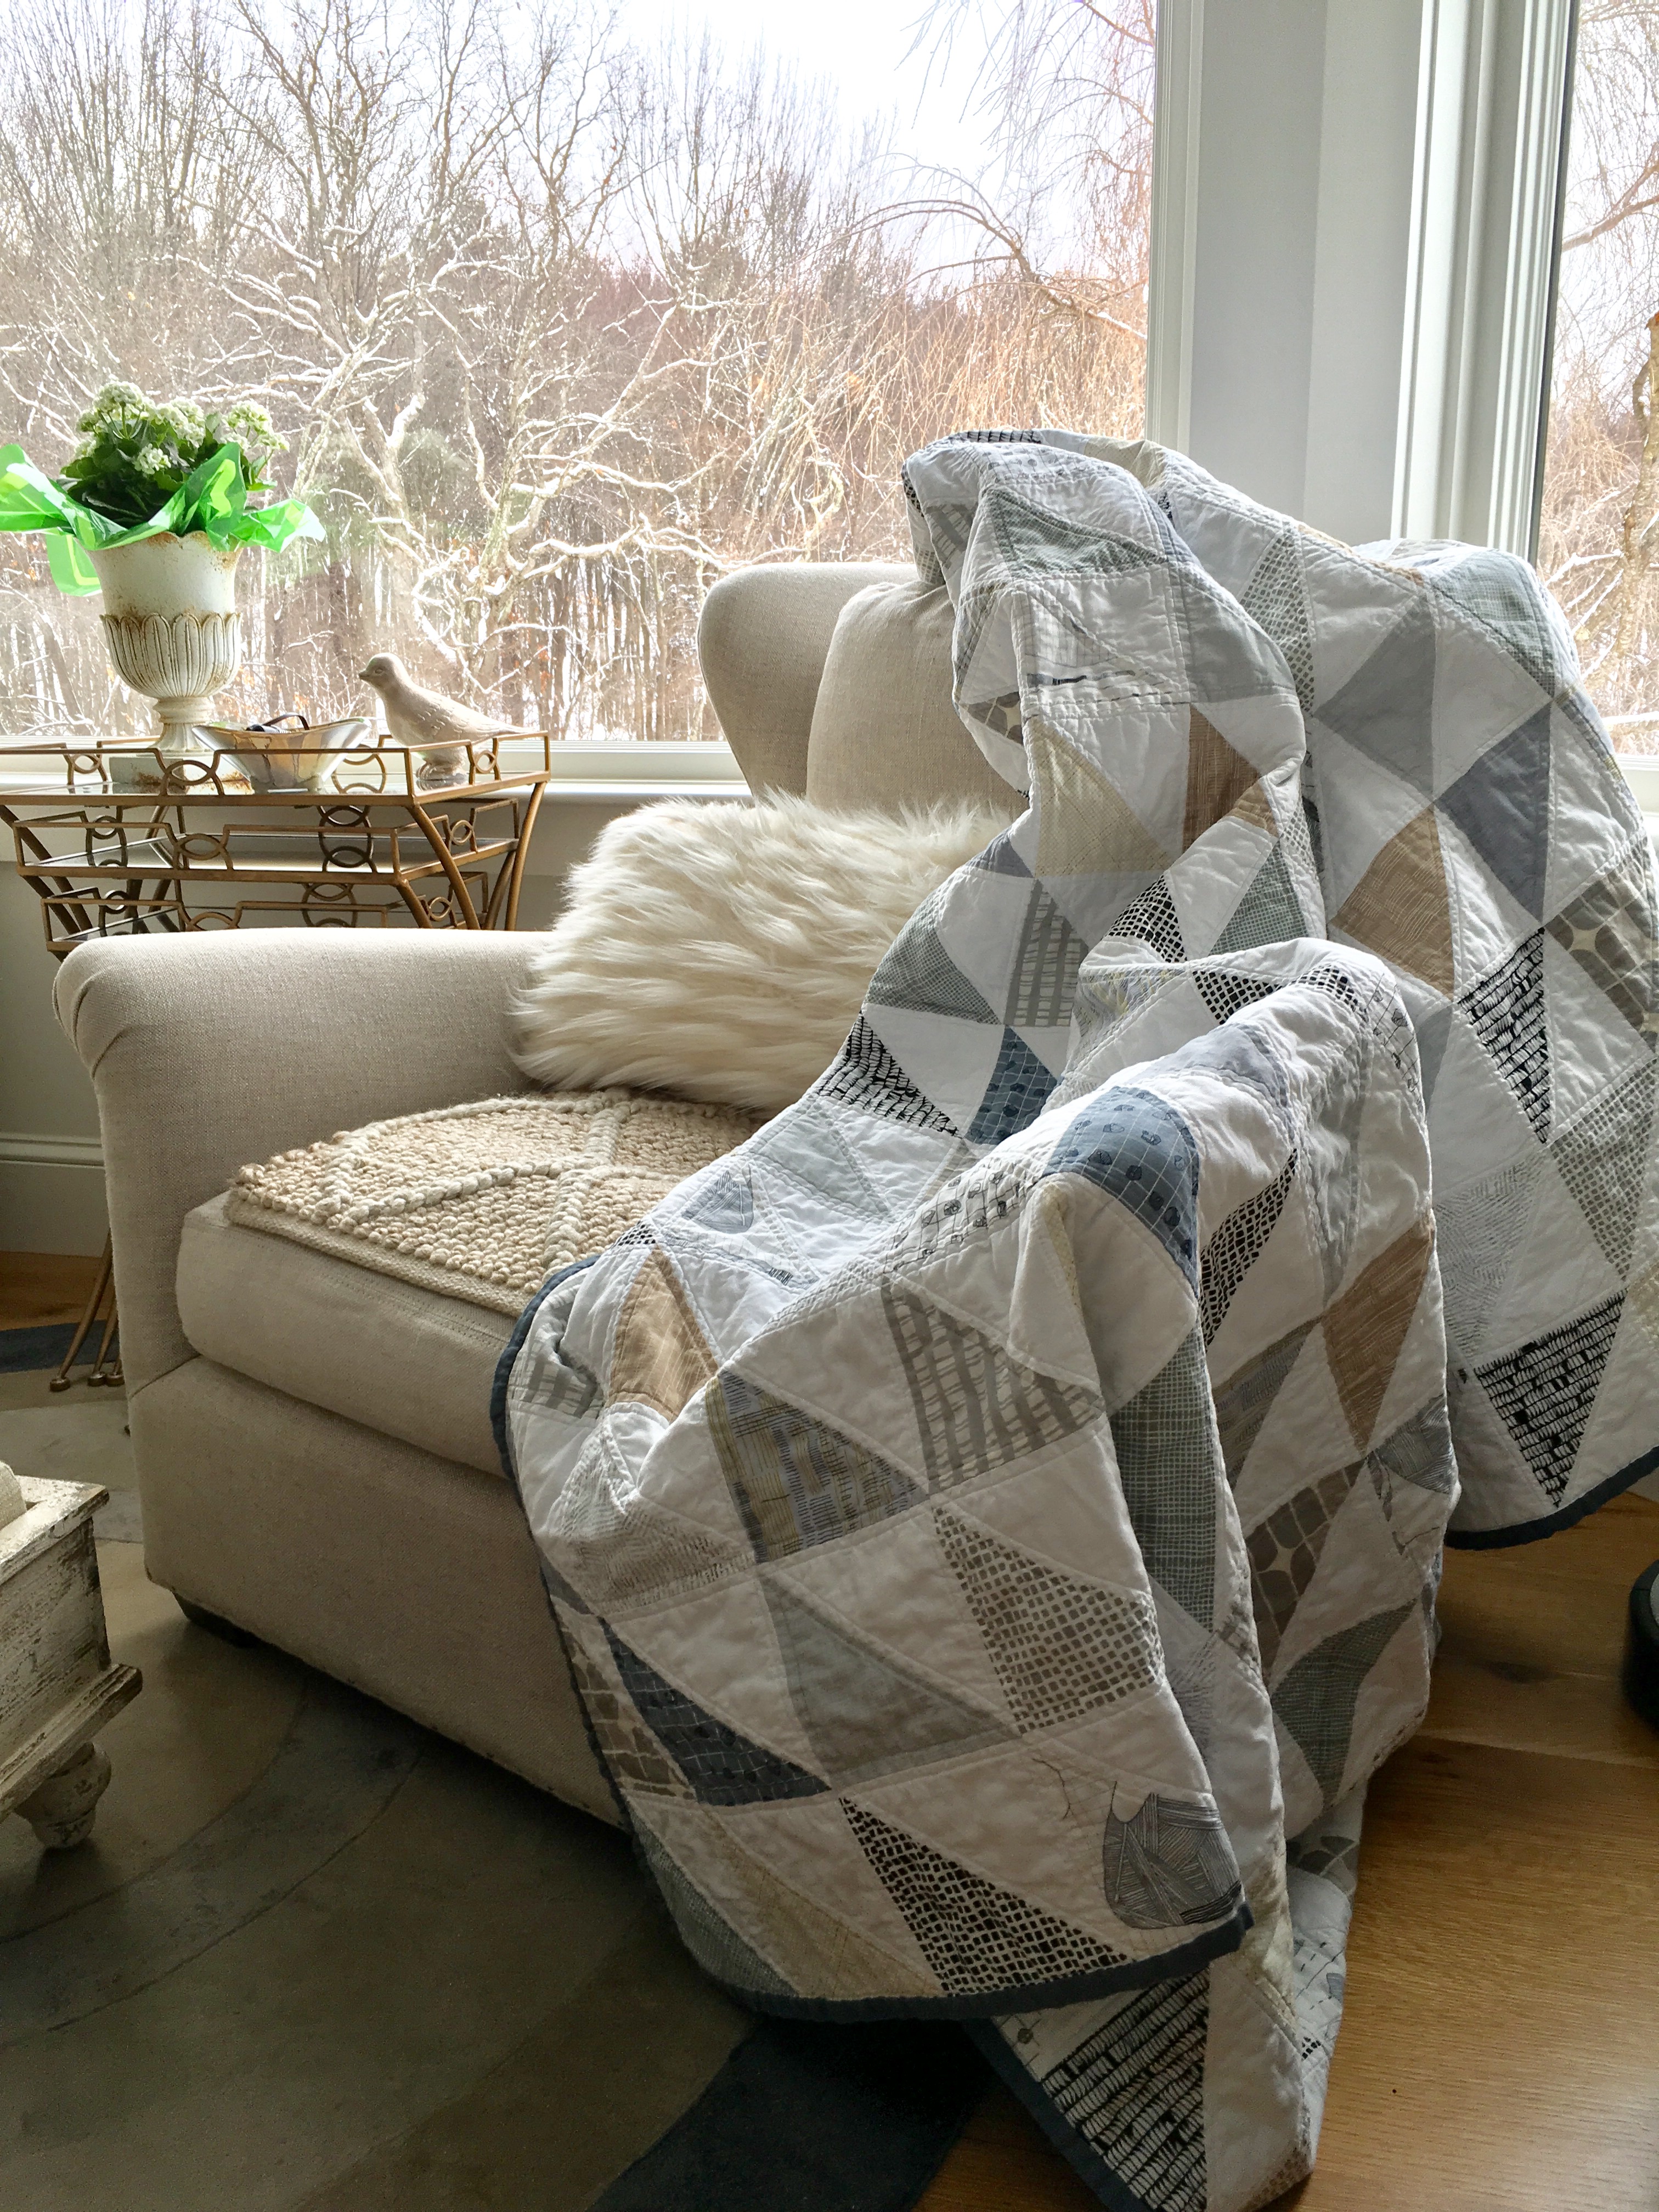
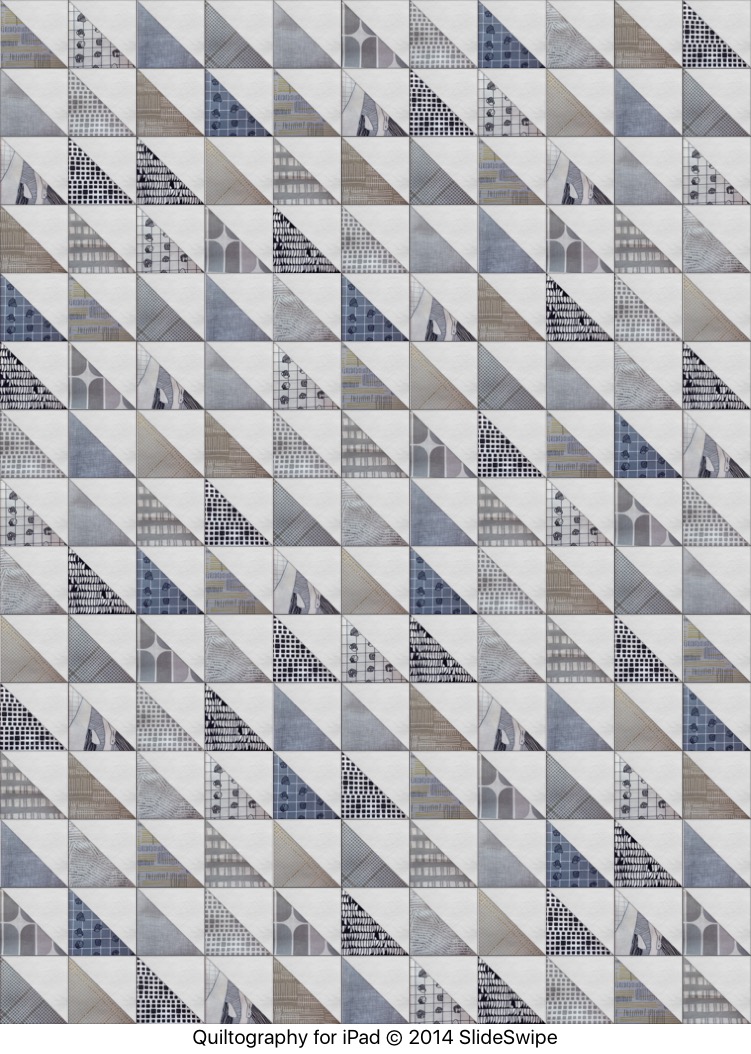
Each quilt I make starts with a pile of wrinkly fabric and an idea. Sometimes an idea requires purchasing just the right fabric to do the job–and sometimes that can be pricey–but if you don’t want to sacrifice the vision, then out comes the wallet. Sometimes the idea is a purchased one (patterns are plentiful, but not all are free) or one that I have spent anywhere from an hour to a dozen hours puzzling out and planning and doing necessary math calculations (and anyone who knows me, knows I loathe math–oh, the irony to have developed quilting as my main hobby). There are software programs for handling the design and calculation work–some crafted specifically for crafters, and others for more serious design industry work–but they typically start at $200+ just for the basic programs and the more profession design ones can be upwards of $800 (and that’s not factoring in the time it takes to learn the program you end up getting if you are not one of those nifty people who already uses such a tool in their day job). It also takes time to cultivate ideas and as much as I wish I had a magic wand to make the initial stage of quilt making go by with the flick of a wrist, I know it will never happen. So I put in the time to plan because a lot of heartache and cursing can be avoided with some initial “insurance” measures and steps. However, as with any venture, time is money.
2. I Am Not A Machine
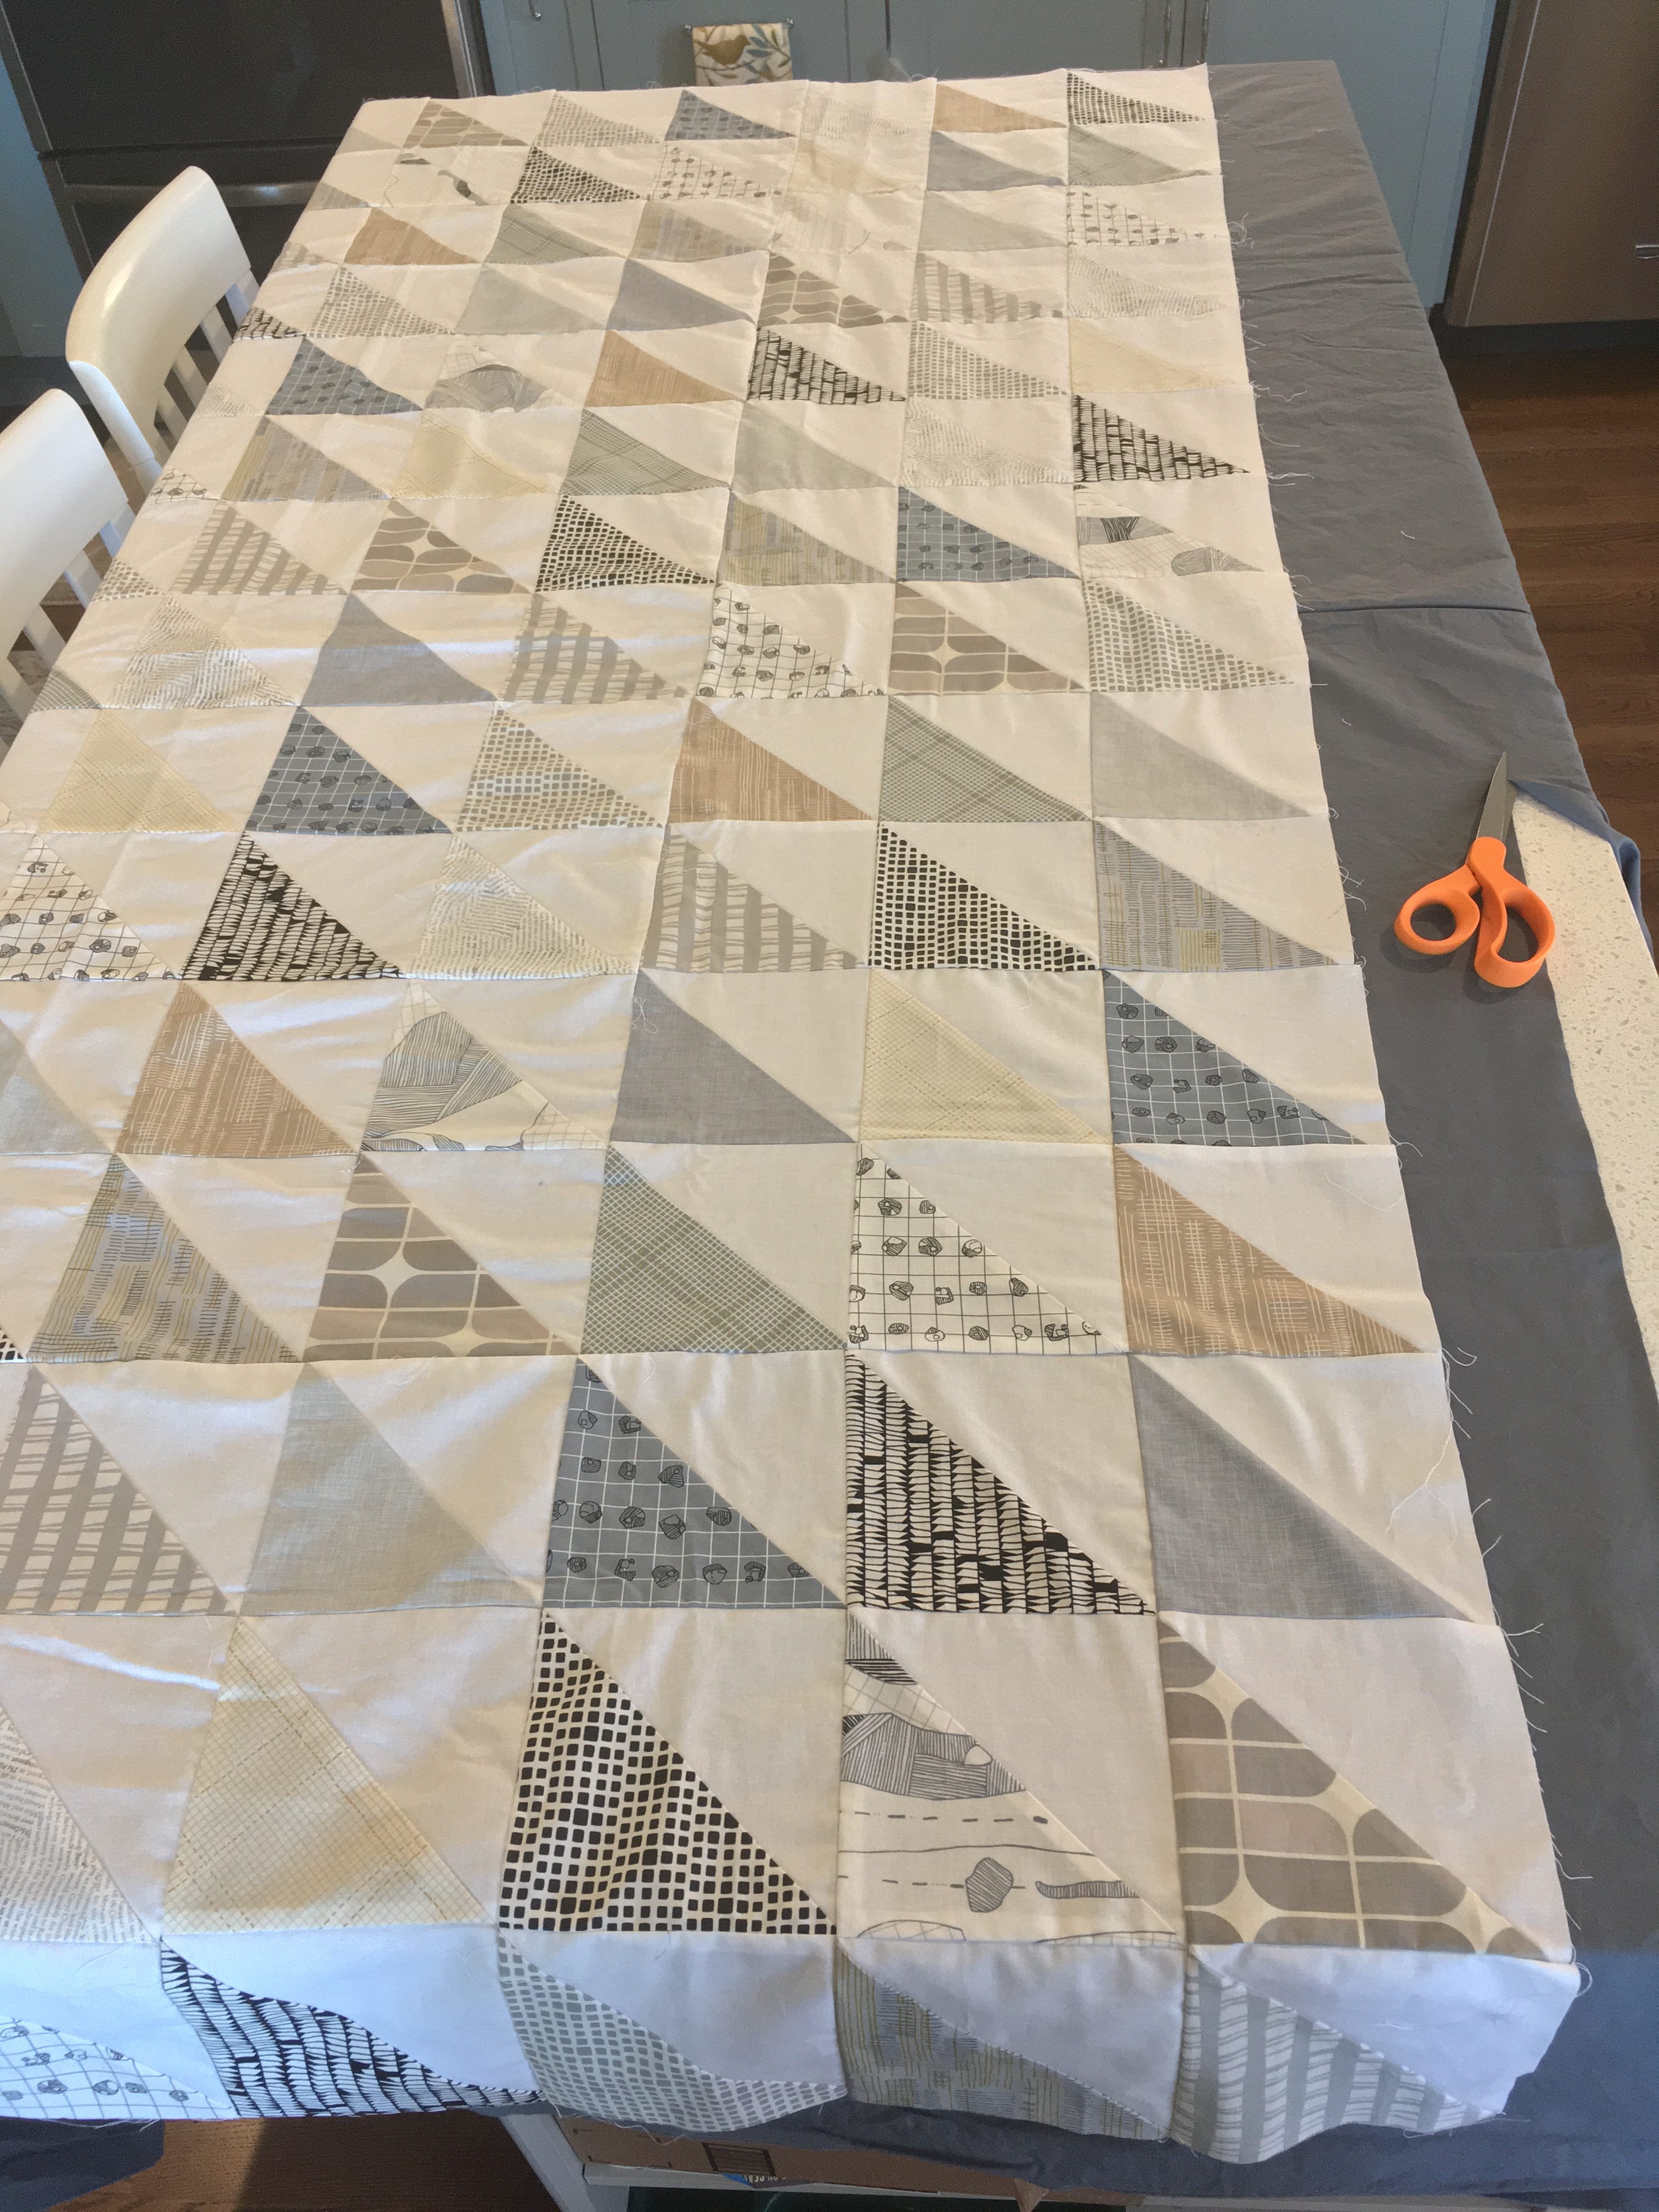
Once
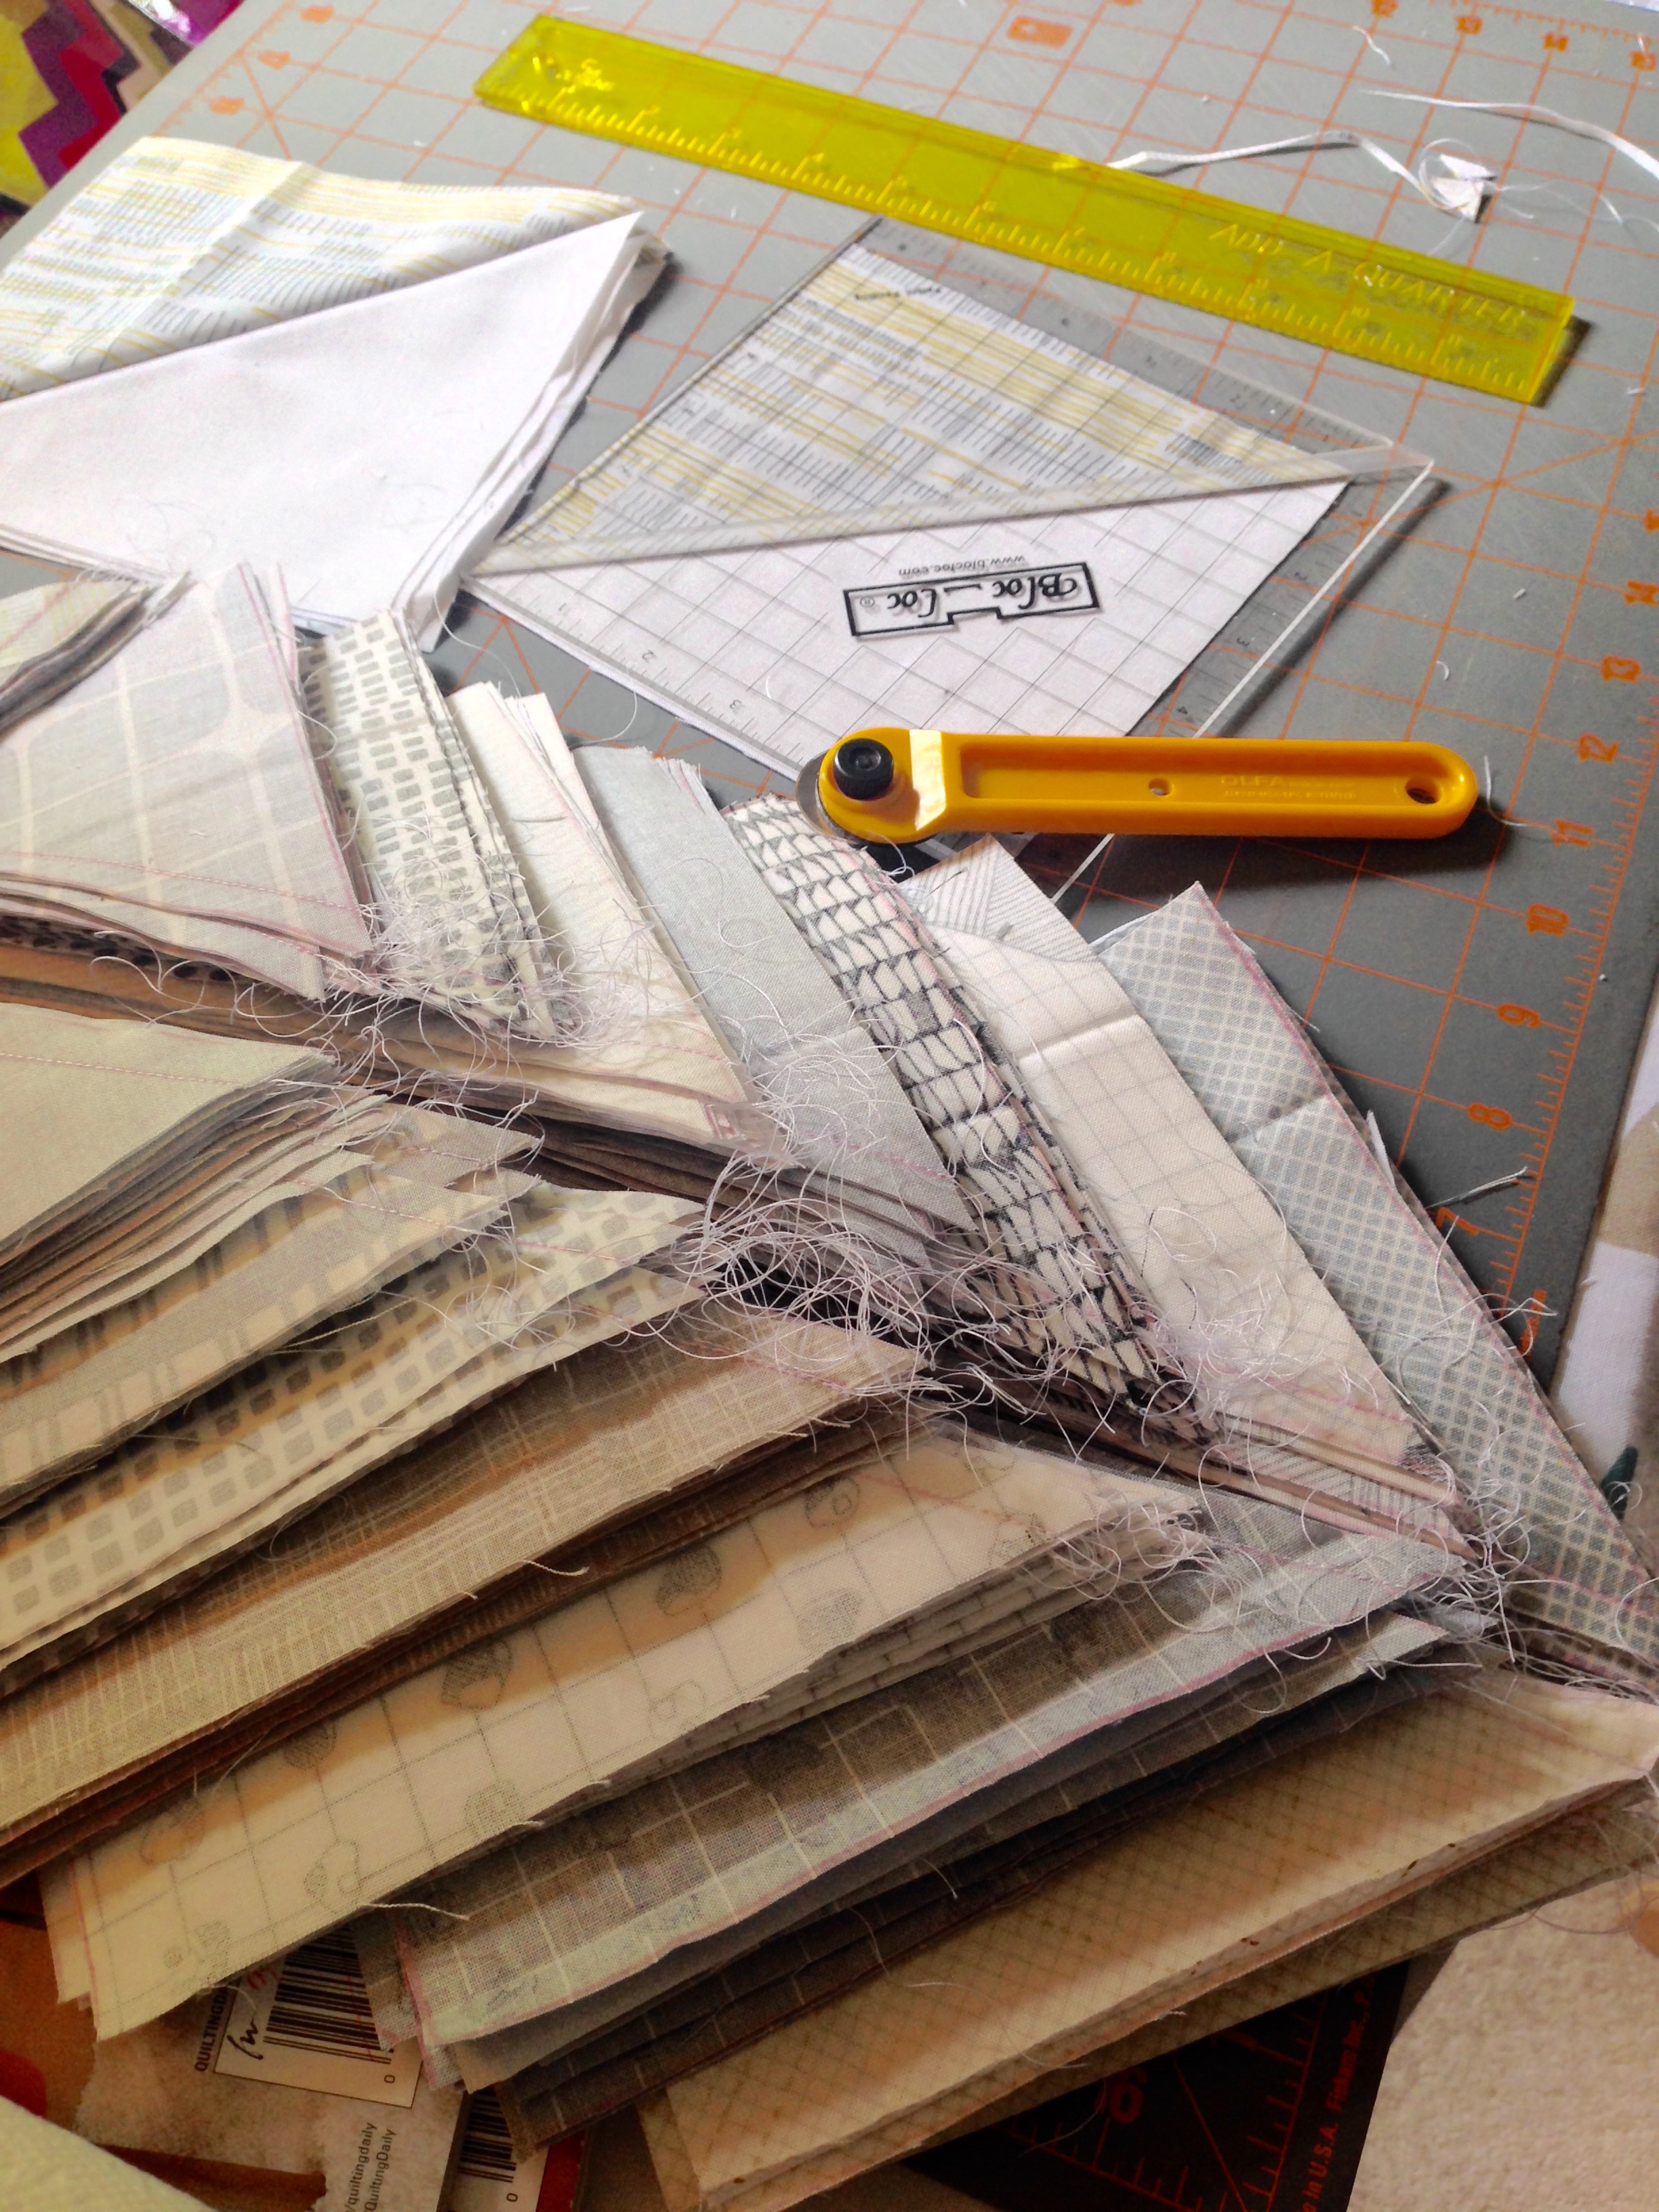
my plan is laid out to the best of my current ability, and all my
colorful fabric friends have been culled from the larger herd, I start
to cut. Depending on the style and design of the quilt top, this step
can either take a few hours or can take as many as a dozen or more. The
more pieces in a design, the more cutting and hence more time. Often,
these pieces need to be cut out individually after tracing a template
shape onto the fabric instead of using the quicker method of using a
specific ruler/shape tool and just having at the whole shebang with a
rotary cutter. Remember that pesky “time is money” thing? Yup, still
applies here.
3. I Am Not A Robot
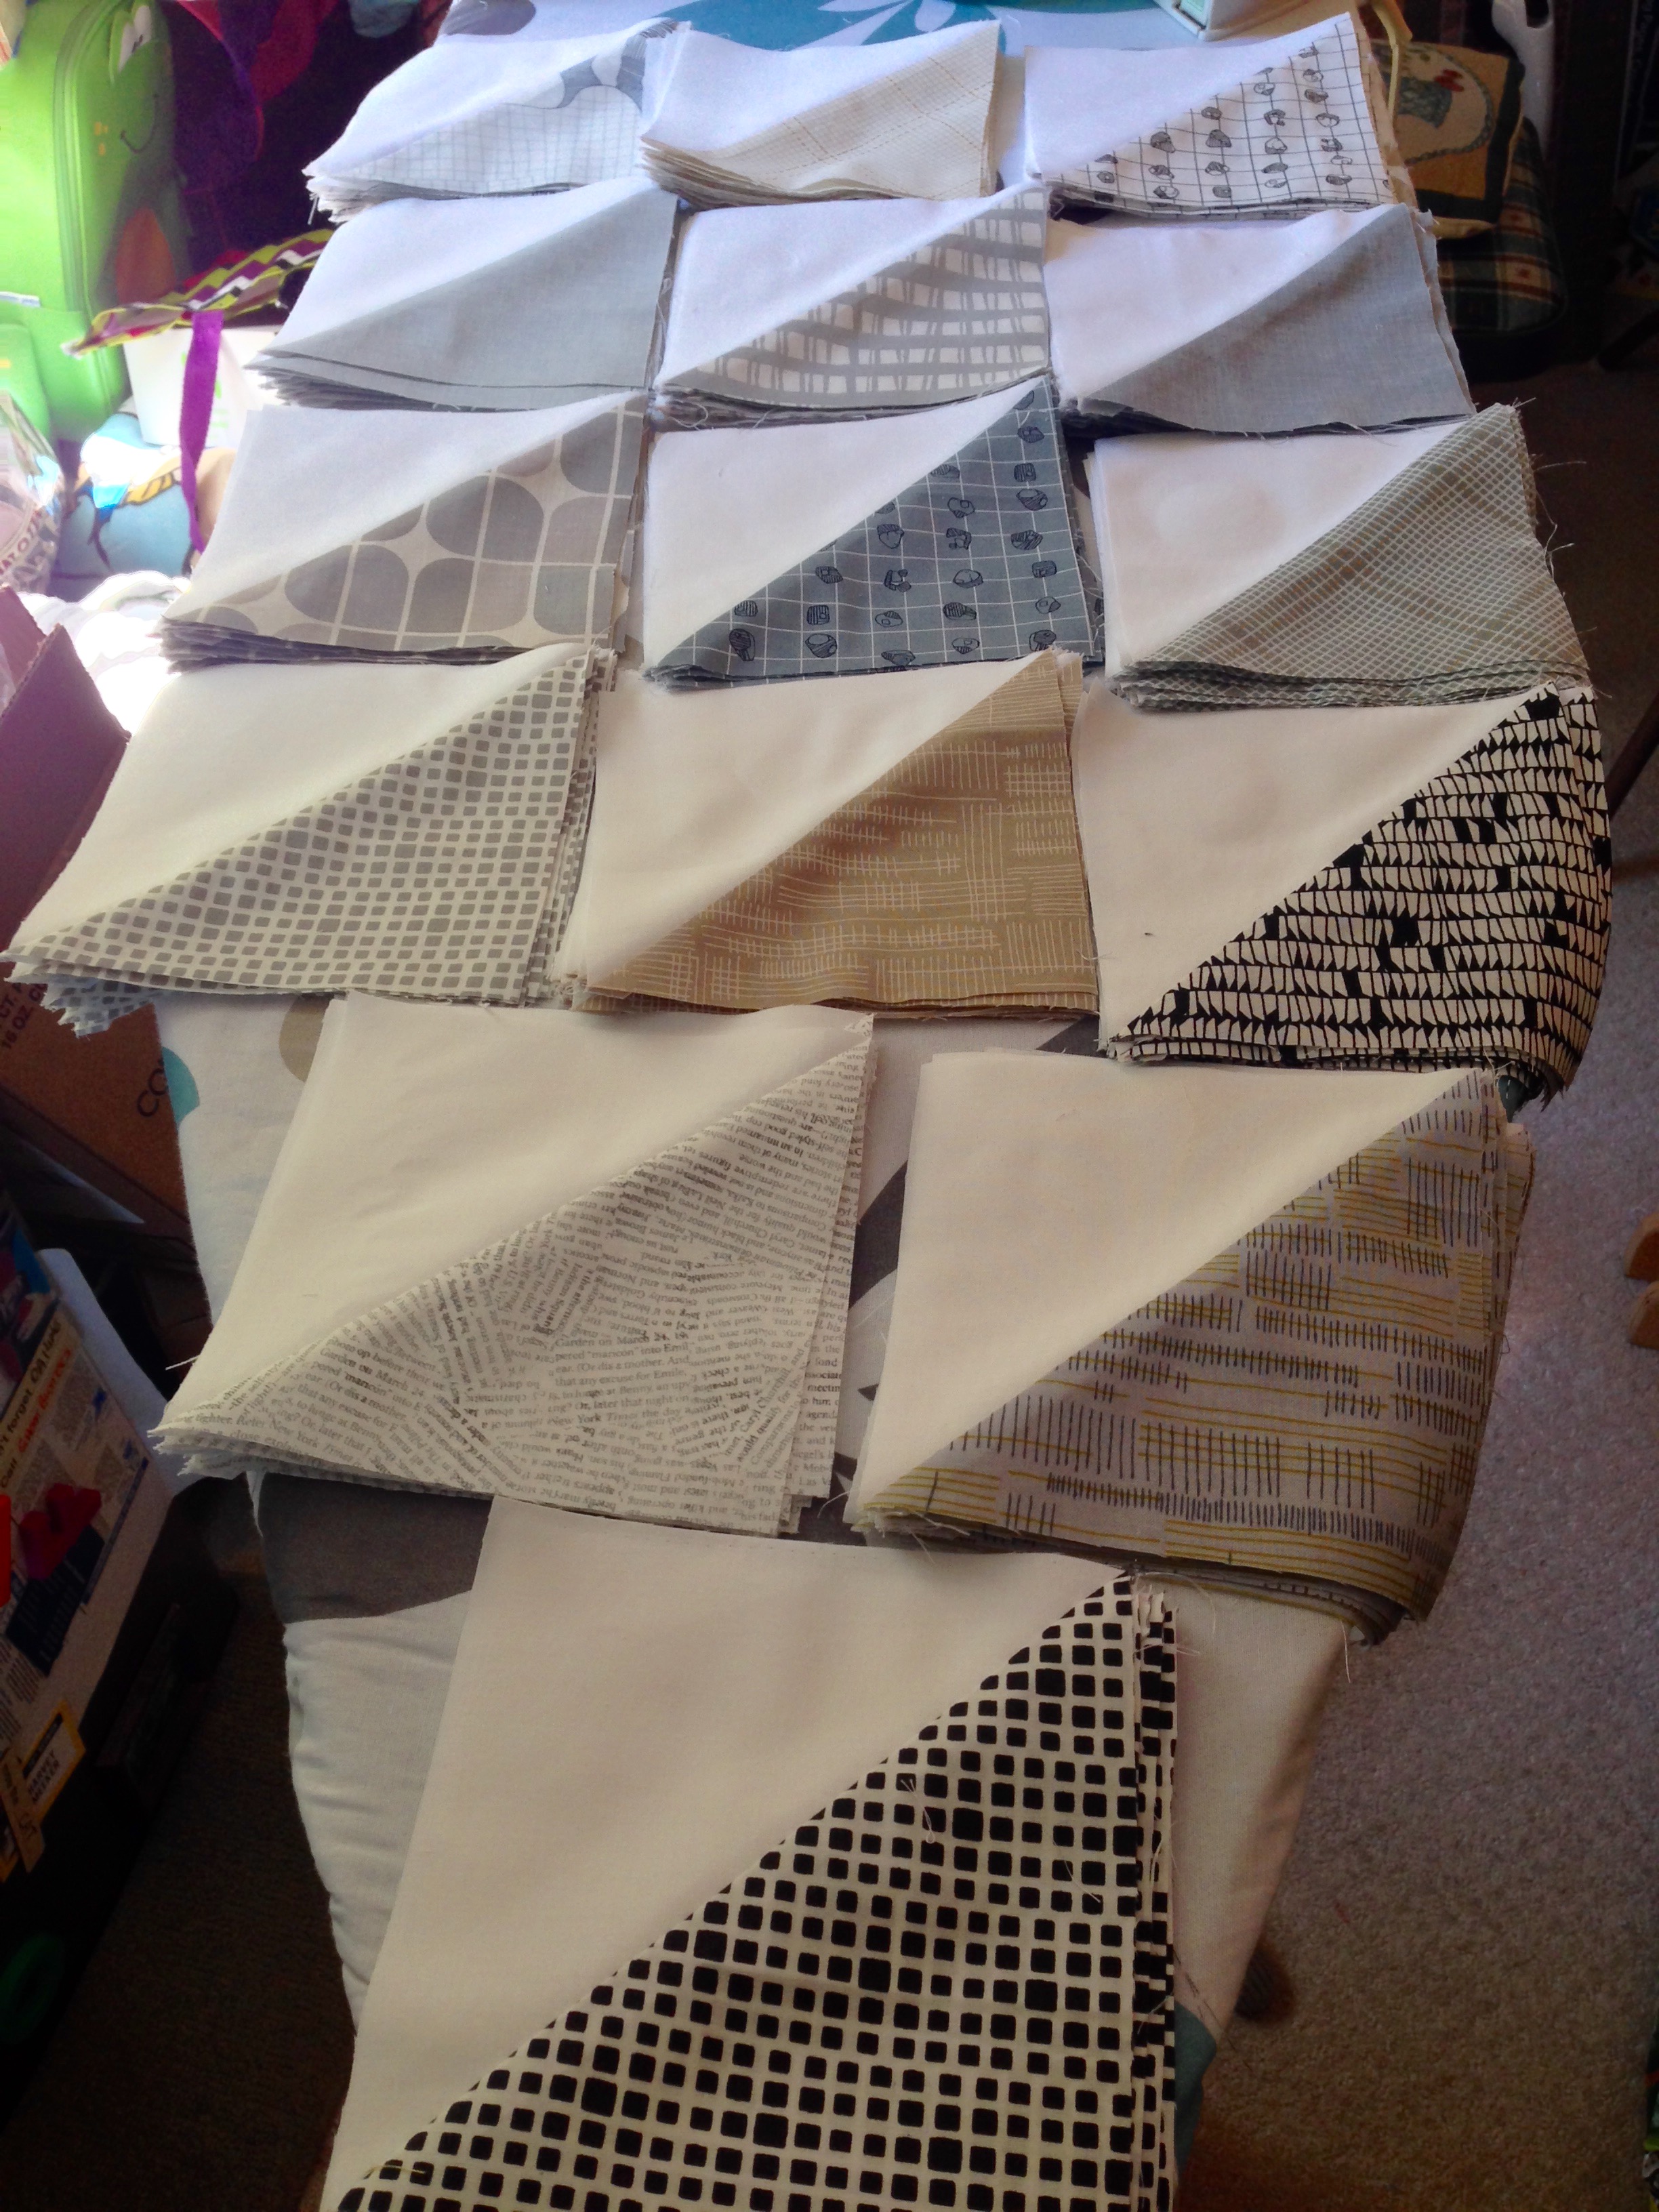
Now that all the pieces are cut up and labeled properly into their “to be
sewn” orders/block families, it’s time to do the machine required
parts. I would like to say that every block is assembled with utmost
precision and efficiency, but that is soooooo far from the truth. Despite
hours of planning, one simple thing like forgetting to add seam allowance
widths (1/4″) to all planning dimensions can result in blocks that are too
small for the desired project. Or you can end up sewing entire blocks
together in the wrong order after dropping the pile of cutely cut colorful
fabric and upon picking up your new confetti, managed to put it all back
together in the wrong order. Or you can break a sewing needle on the
machine by running over a pin (which you should NEVER do, but hey, it happens
far more often than we sewists like to admit–ever), hence taking a few minutes
to figure out where the spares ones are, and trying to remember if it was last
used for paper piecing or not, and then trying to find the screwdriver that
goes on the screw to loosen the needle housing. Time is still money.
Assembling Stage 1 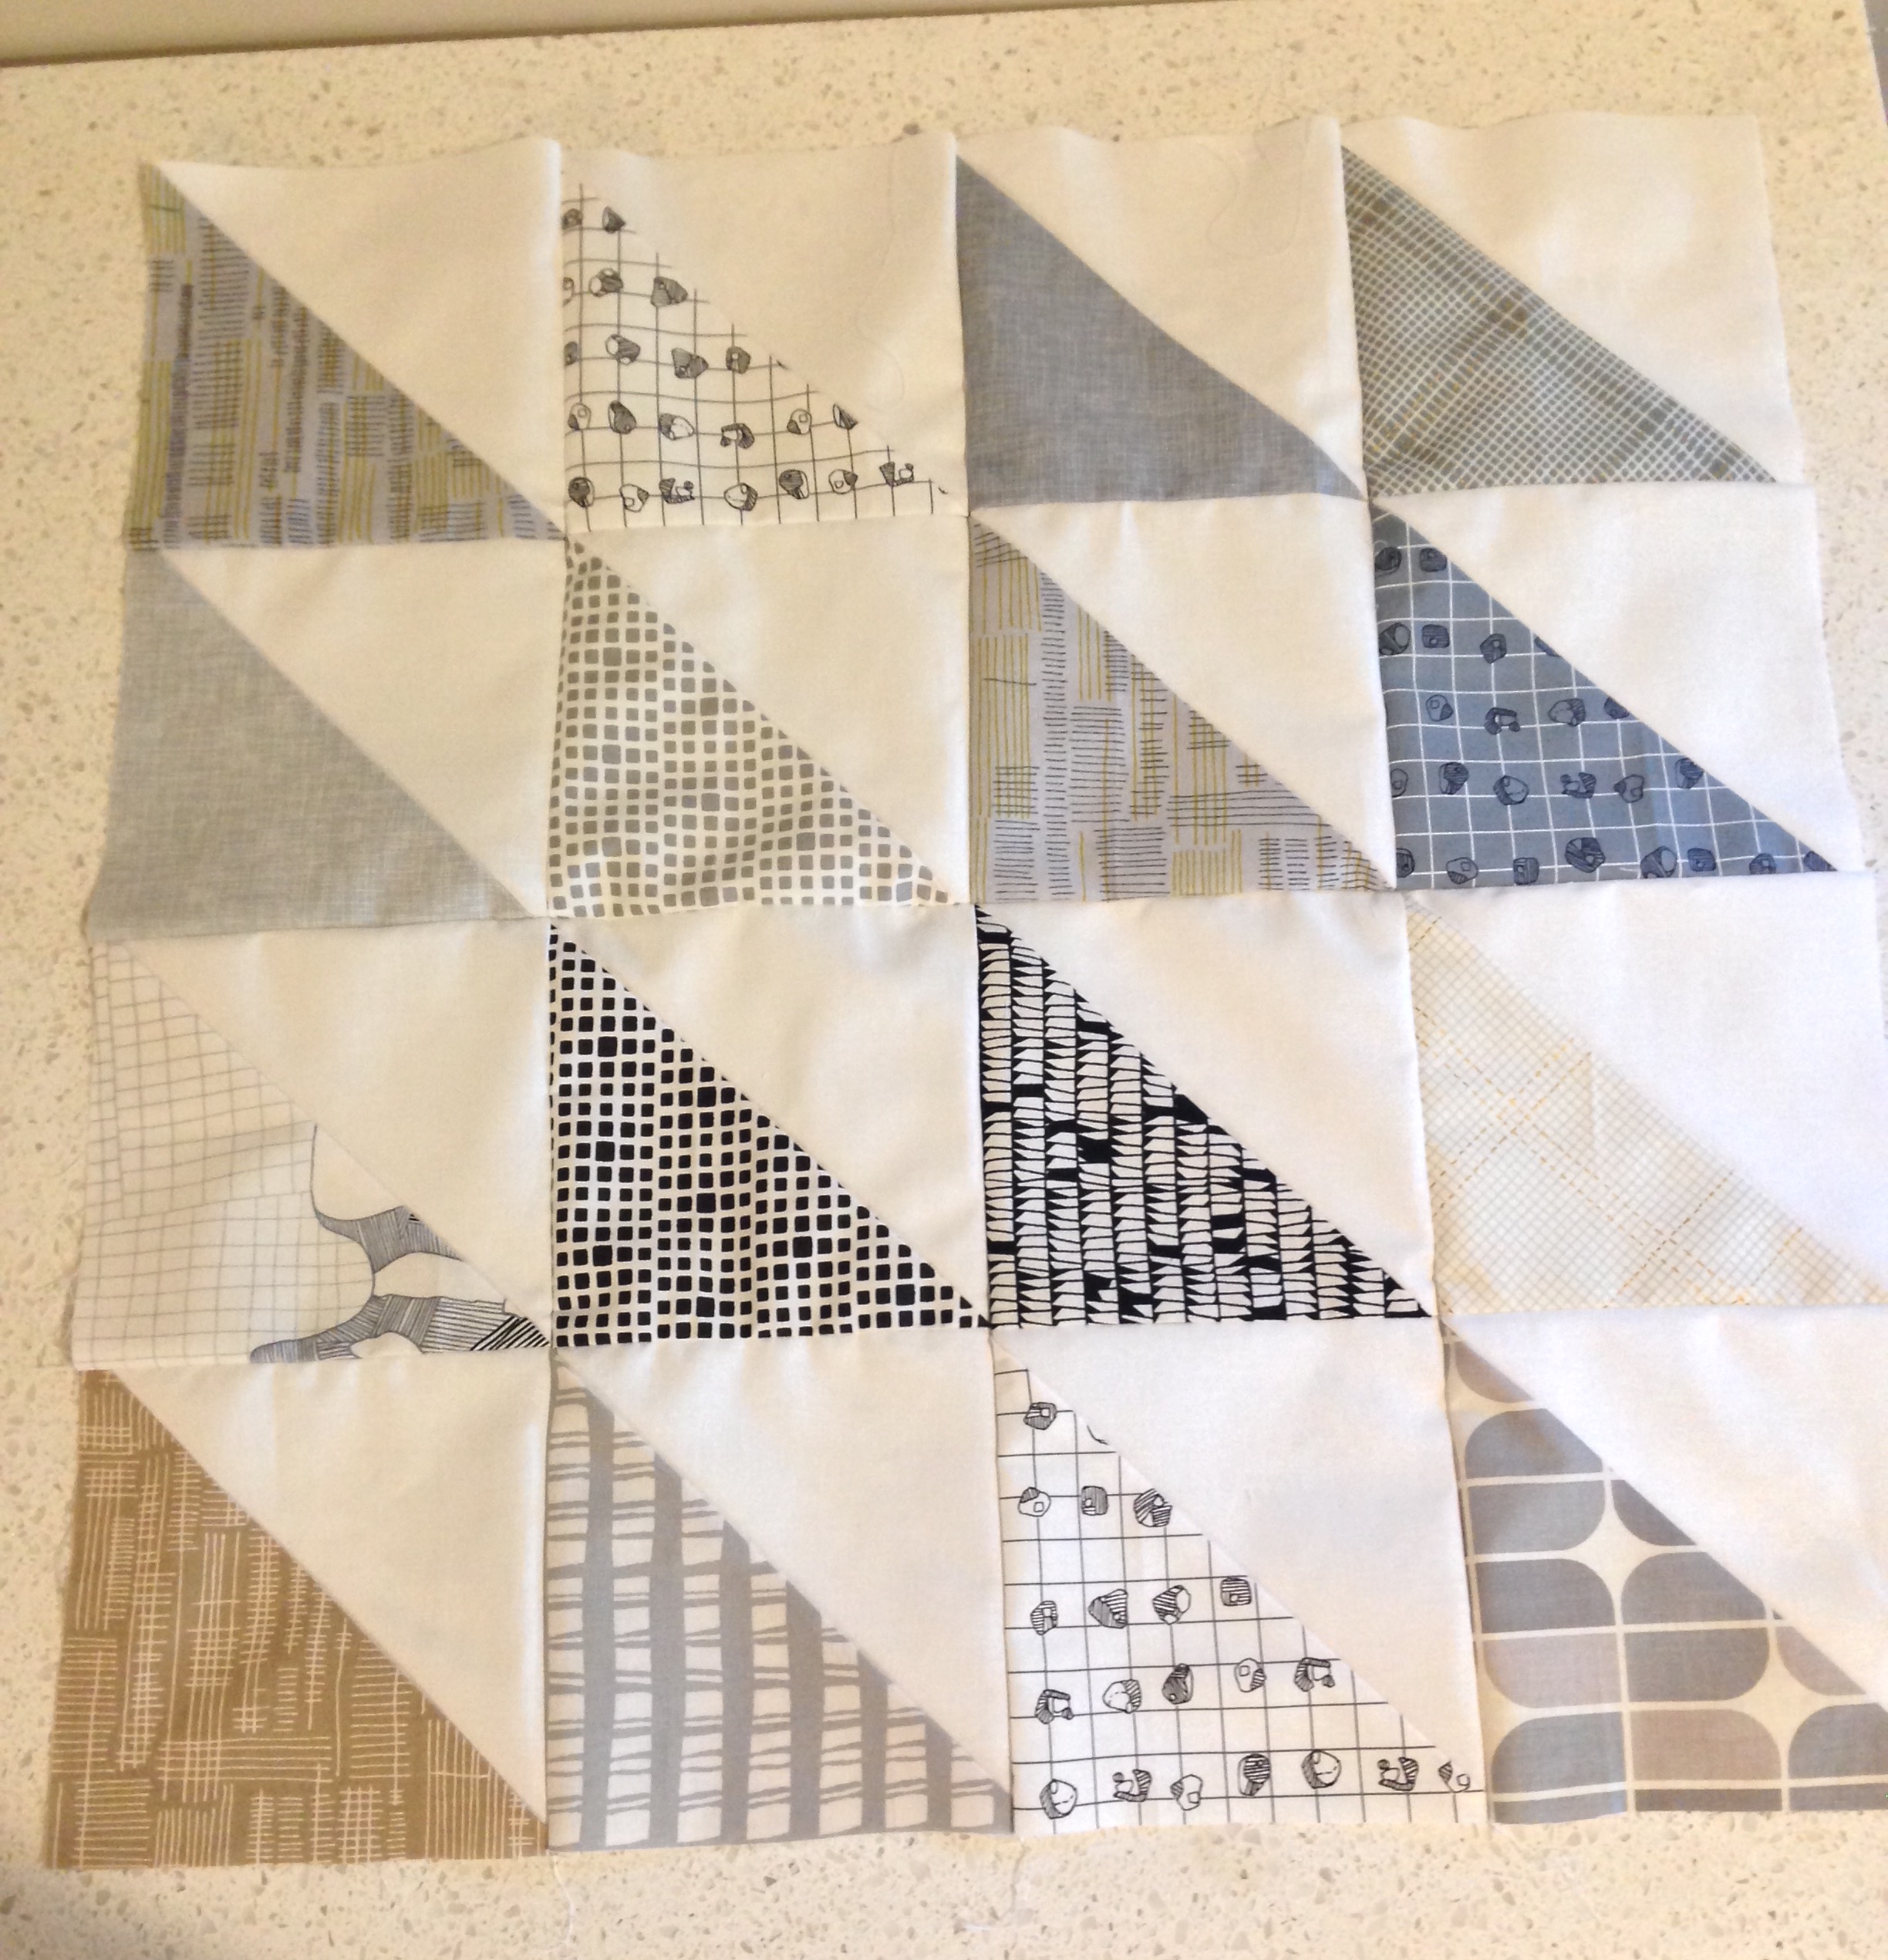
Assembling Stage 2
4. I Am Not A Bionic Being
Quilt tops are lovely to look at after that final seam is joined, but the whole thing needs to be made into a giant sandwich with a bottom bread of backing and a middle filling of batting before it can actually be considered a quilt. Like most good sandwiches, the right condiments are needed and in the right amounts–stitches are the condiments in quilts. By binding all the layers together with stitches, not only are you adding stability and functionality, but you are also enhancing an otherwise basic utility piece. Dense quilting adds lot of texture, but takes lots of time. Also, the more densely a piece is quilted, the less warm it is as well. If you hand quilt, you may choose minimal quilting just because of time restraints and wear and tear on your body issues. Machine quilting is faster, but also has its own set of foibles and quirks, and wear and tear on the body too–imagine trying to drag your current bedspread/comforter through the opening of a medium flat rate postage box all while still allowing a machine to punch through it in a precise line at a ludicrous speed. Sewists have the shoulders of linebackers. But all that blocking and tackling doesn’t happen until after the sandwich is basted (and before you ask, a turkey baster is not involved). When there are enough condiments on the quilt, then it’s time to take it away from the machine to bury all those pretty thread ends (hand quilted pieces have the threads buried along the way so there’s no post-work to be done with the threads)–a process that can tick past many hours on a clock depending on the size of the quilt top.
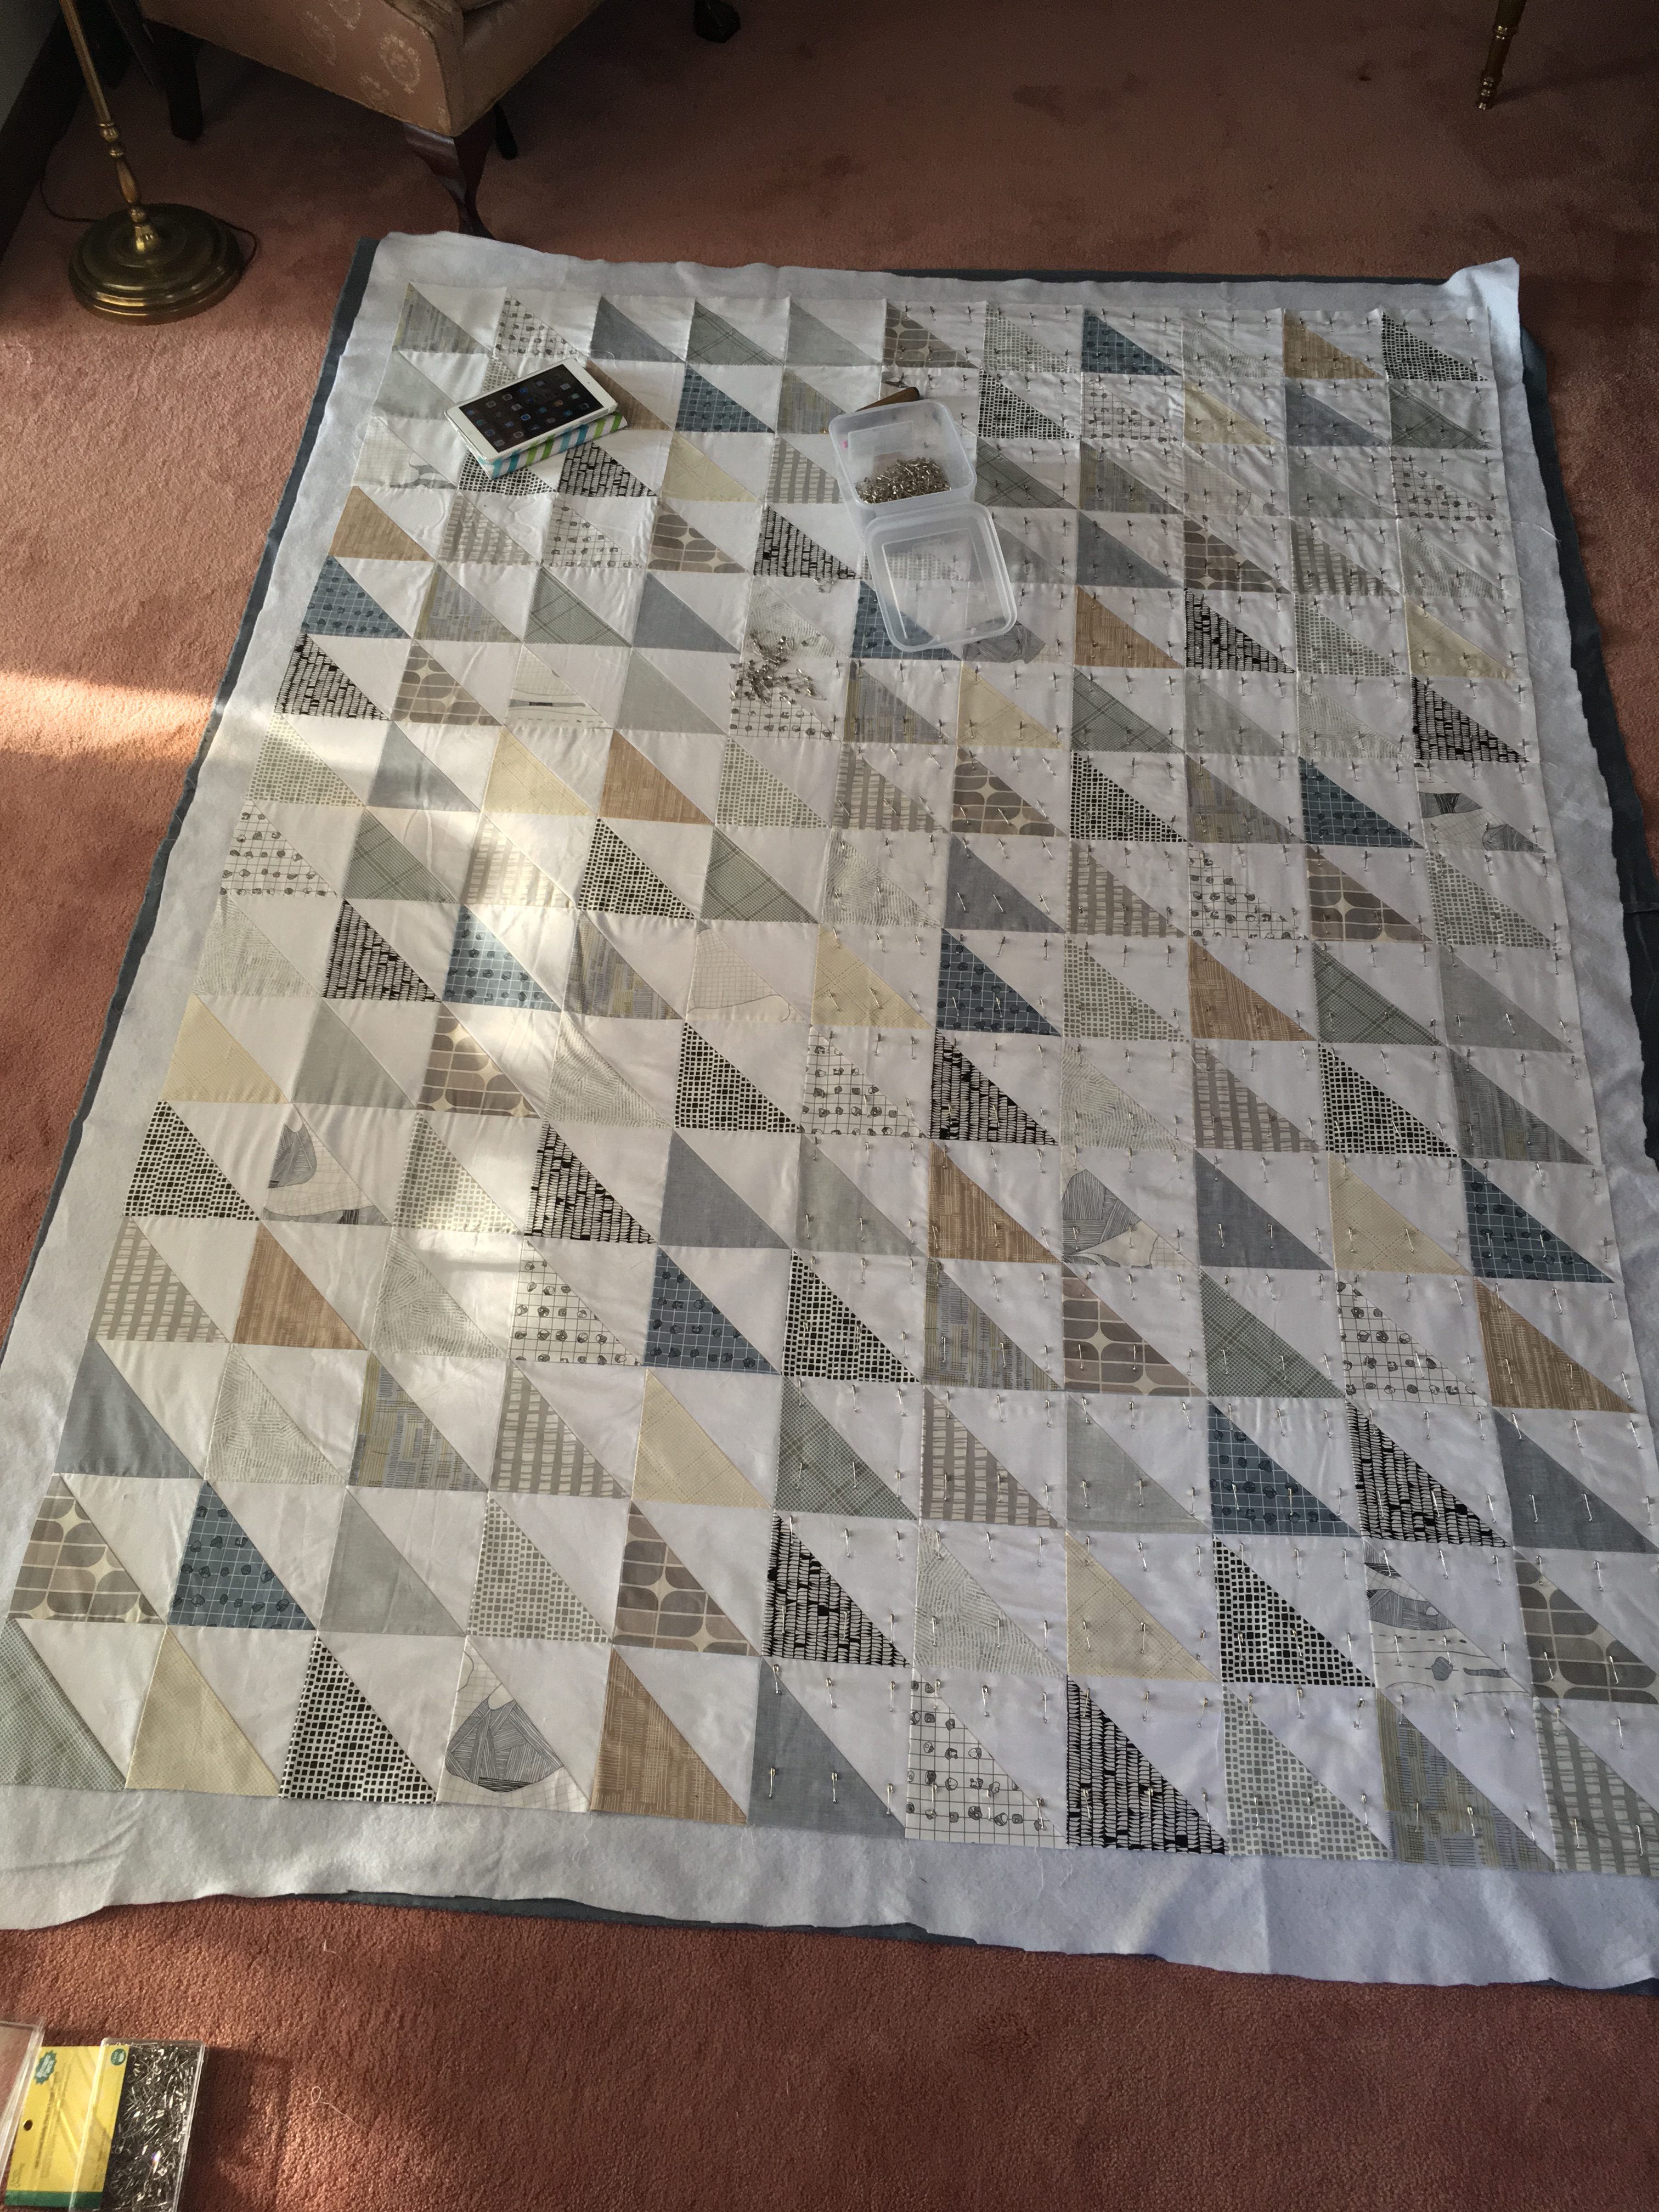
Basting Stage 1 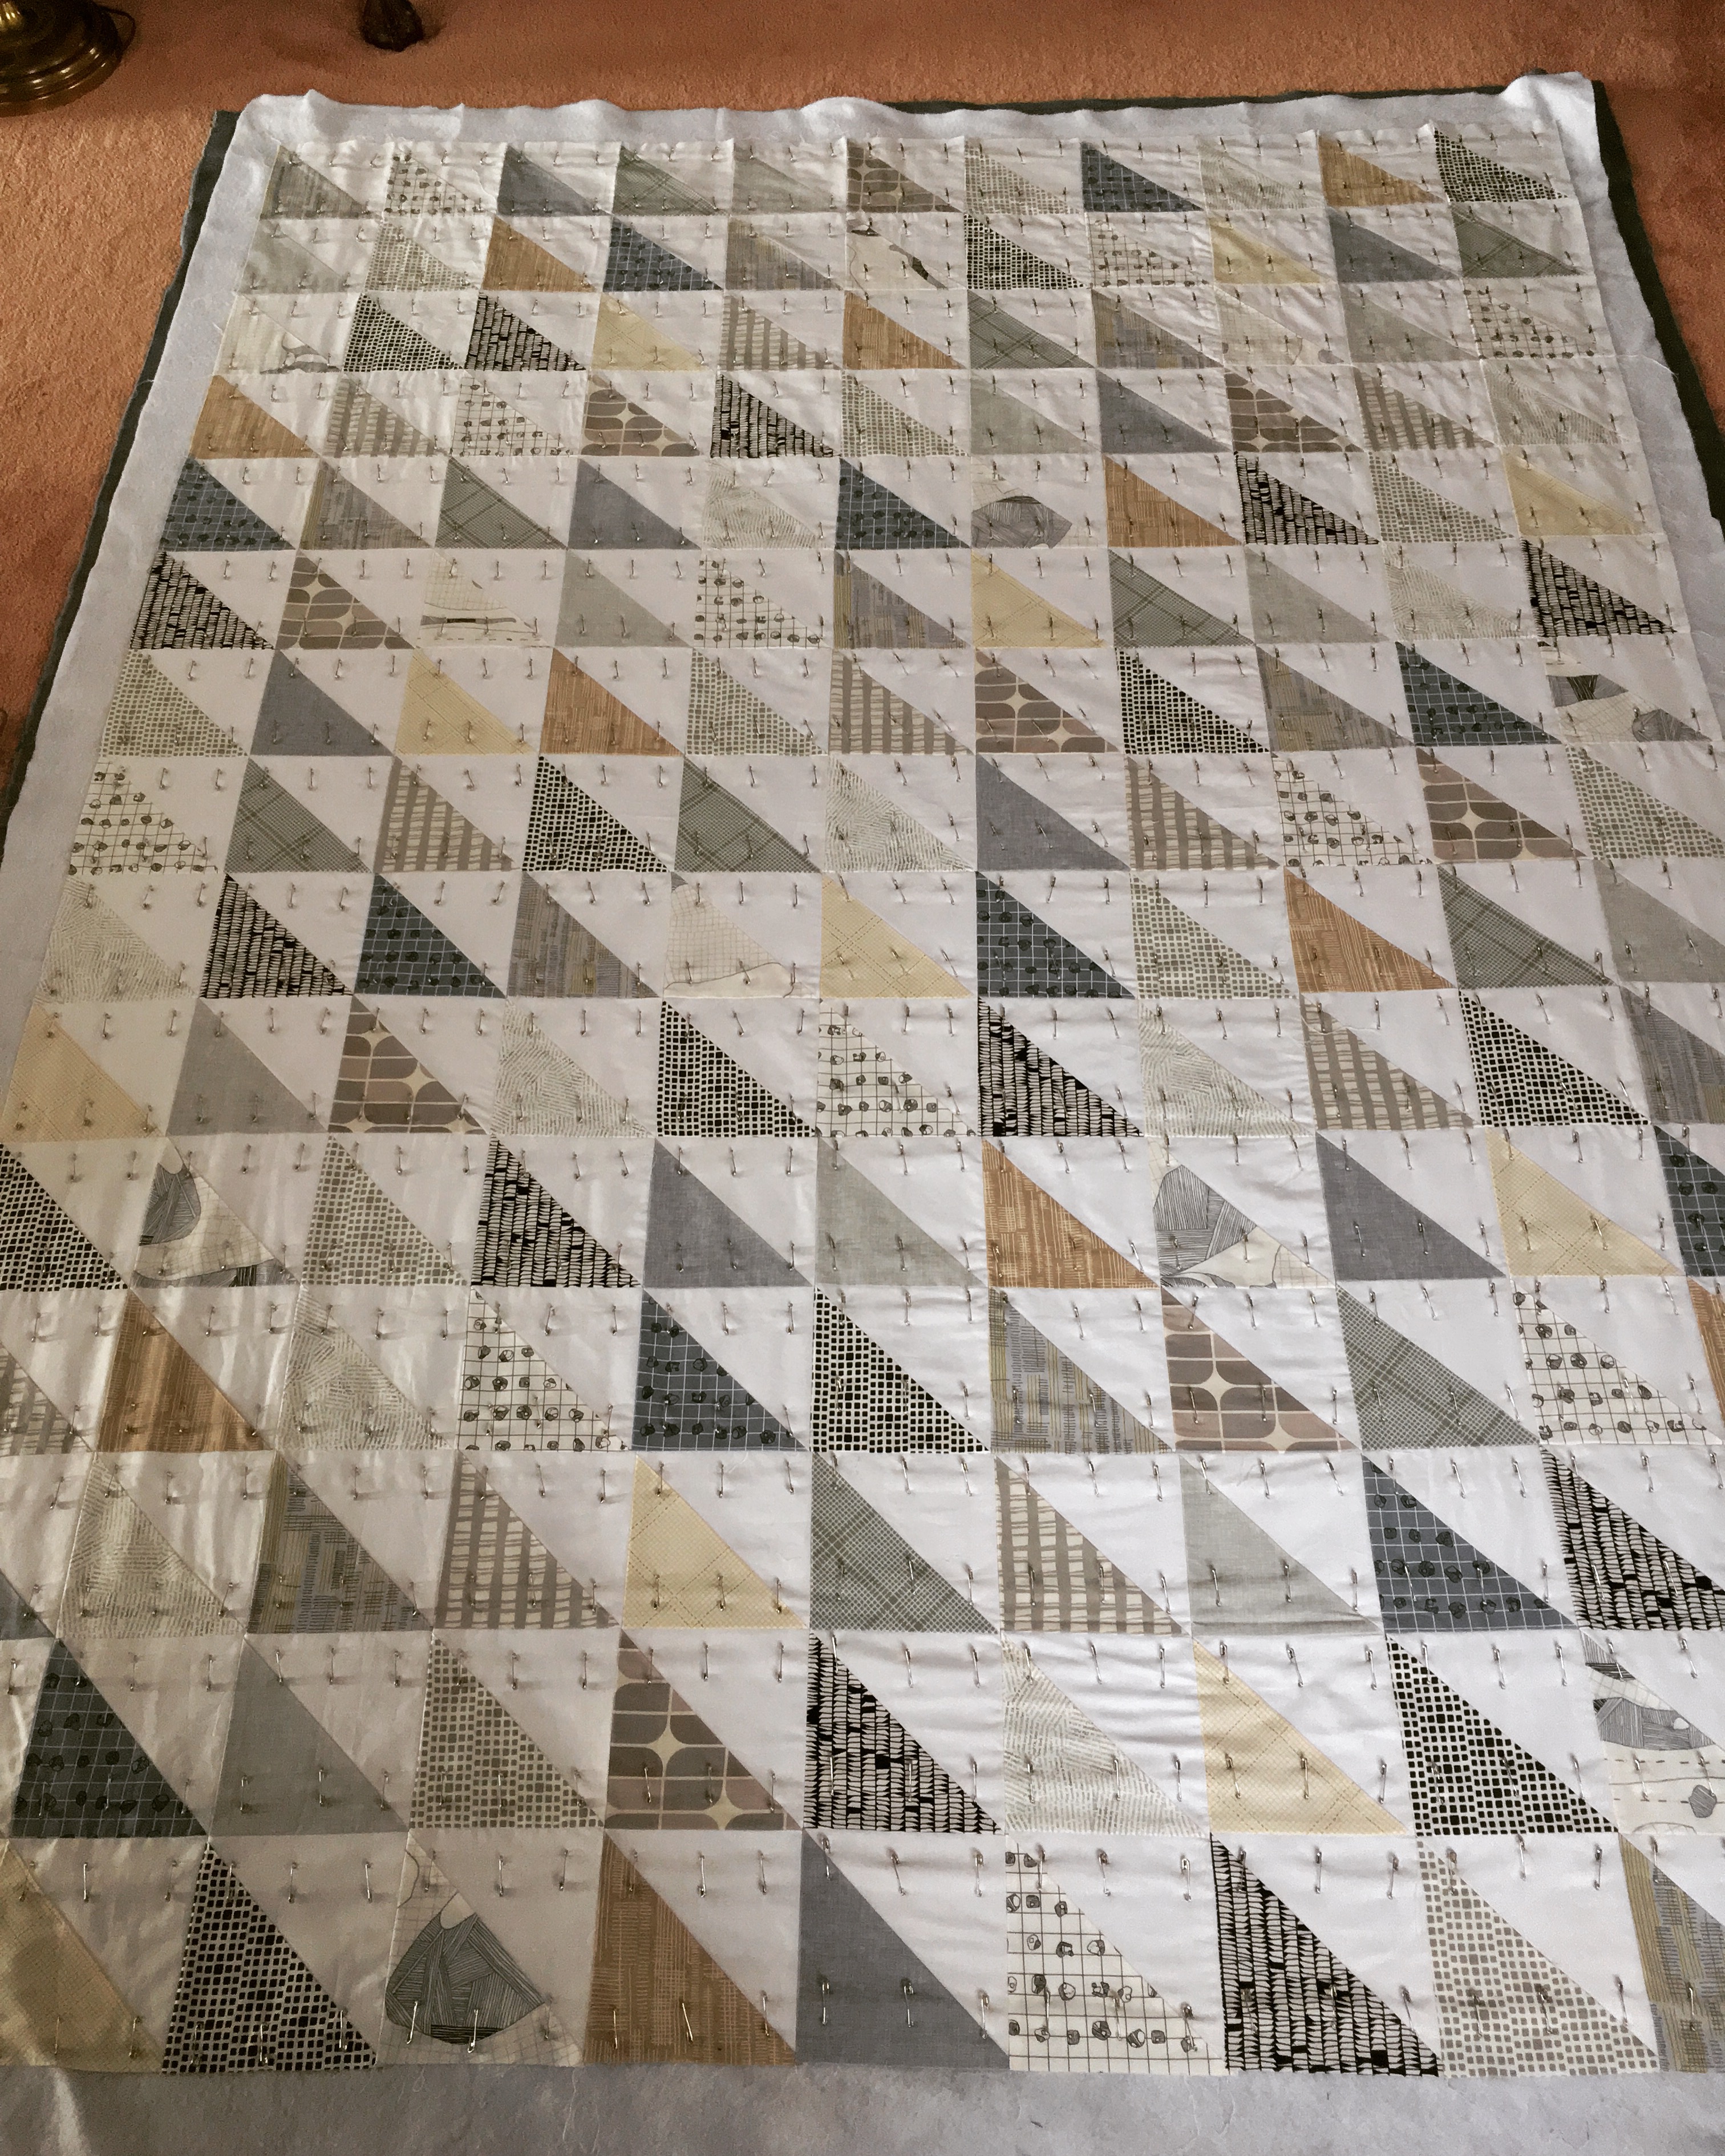
Basting Stage 2
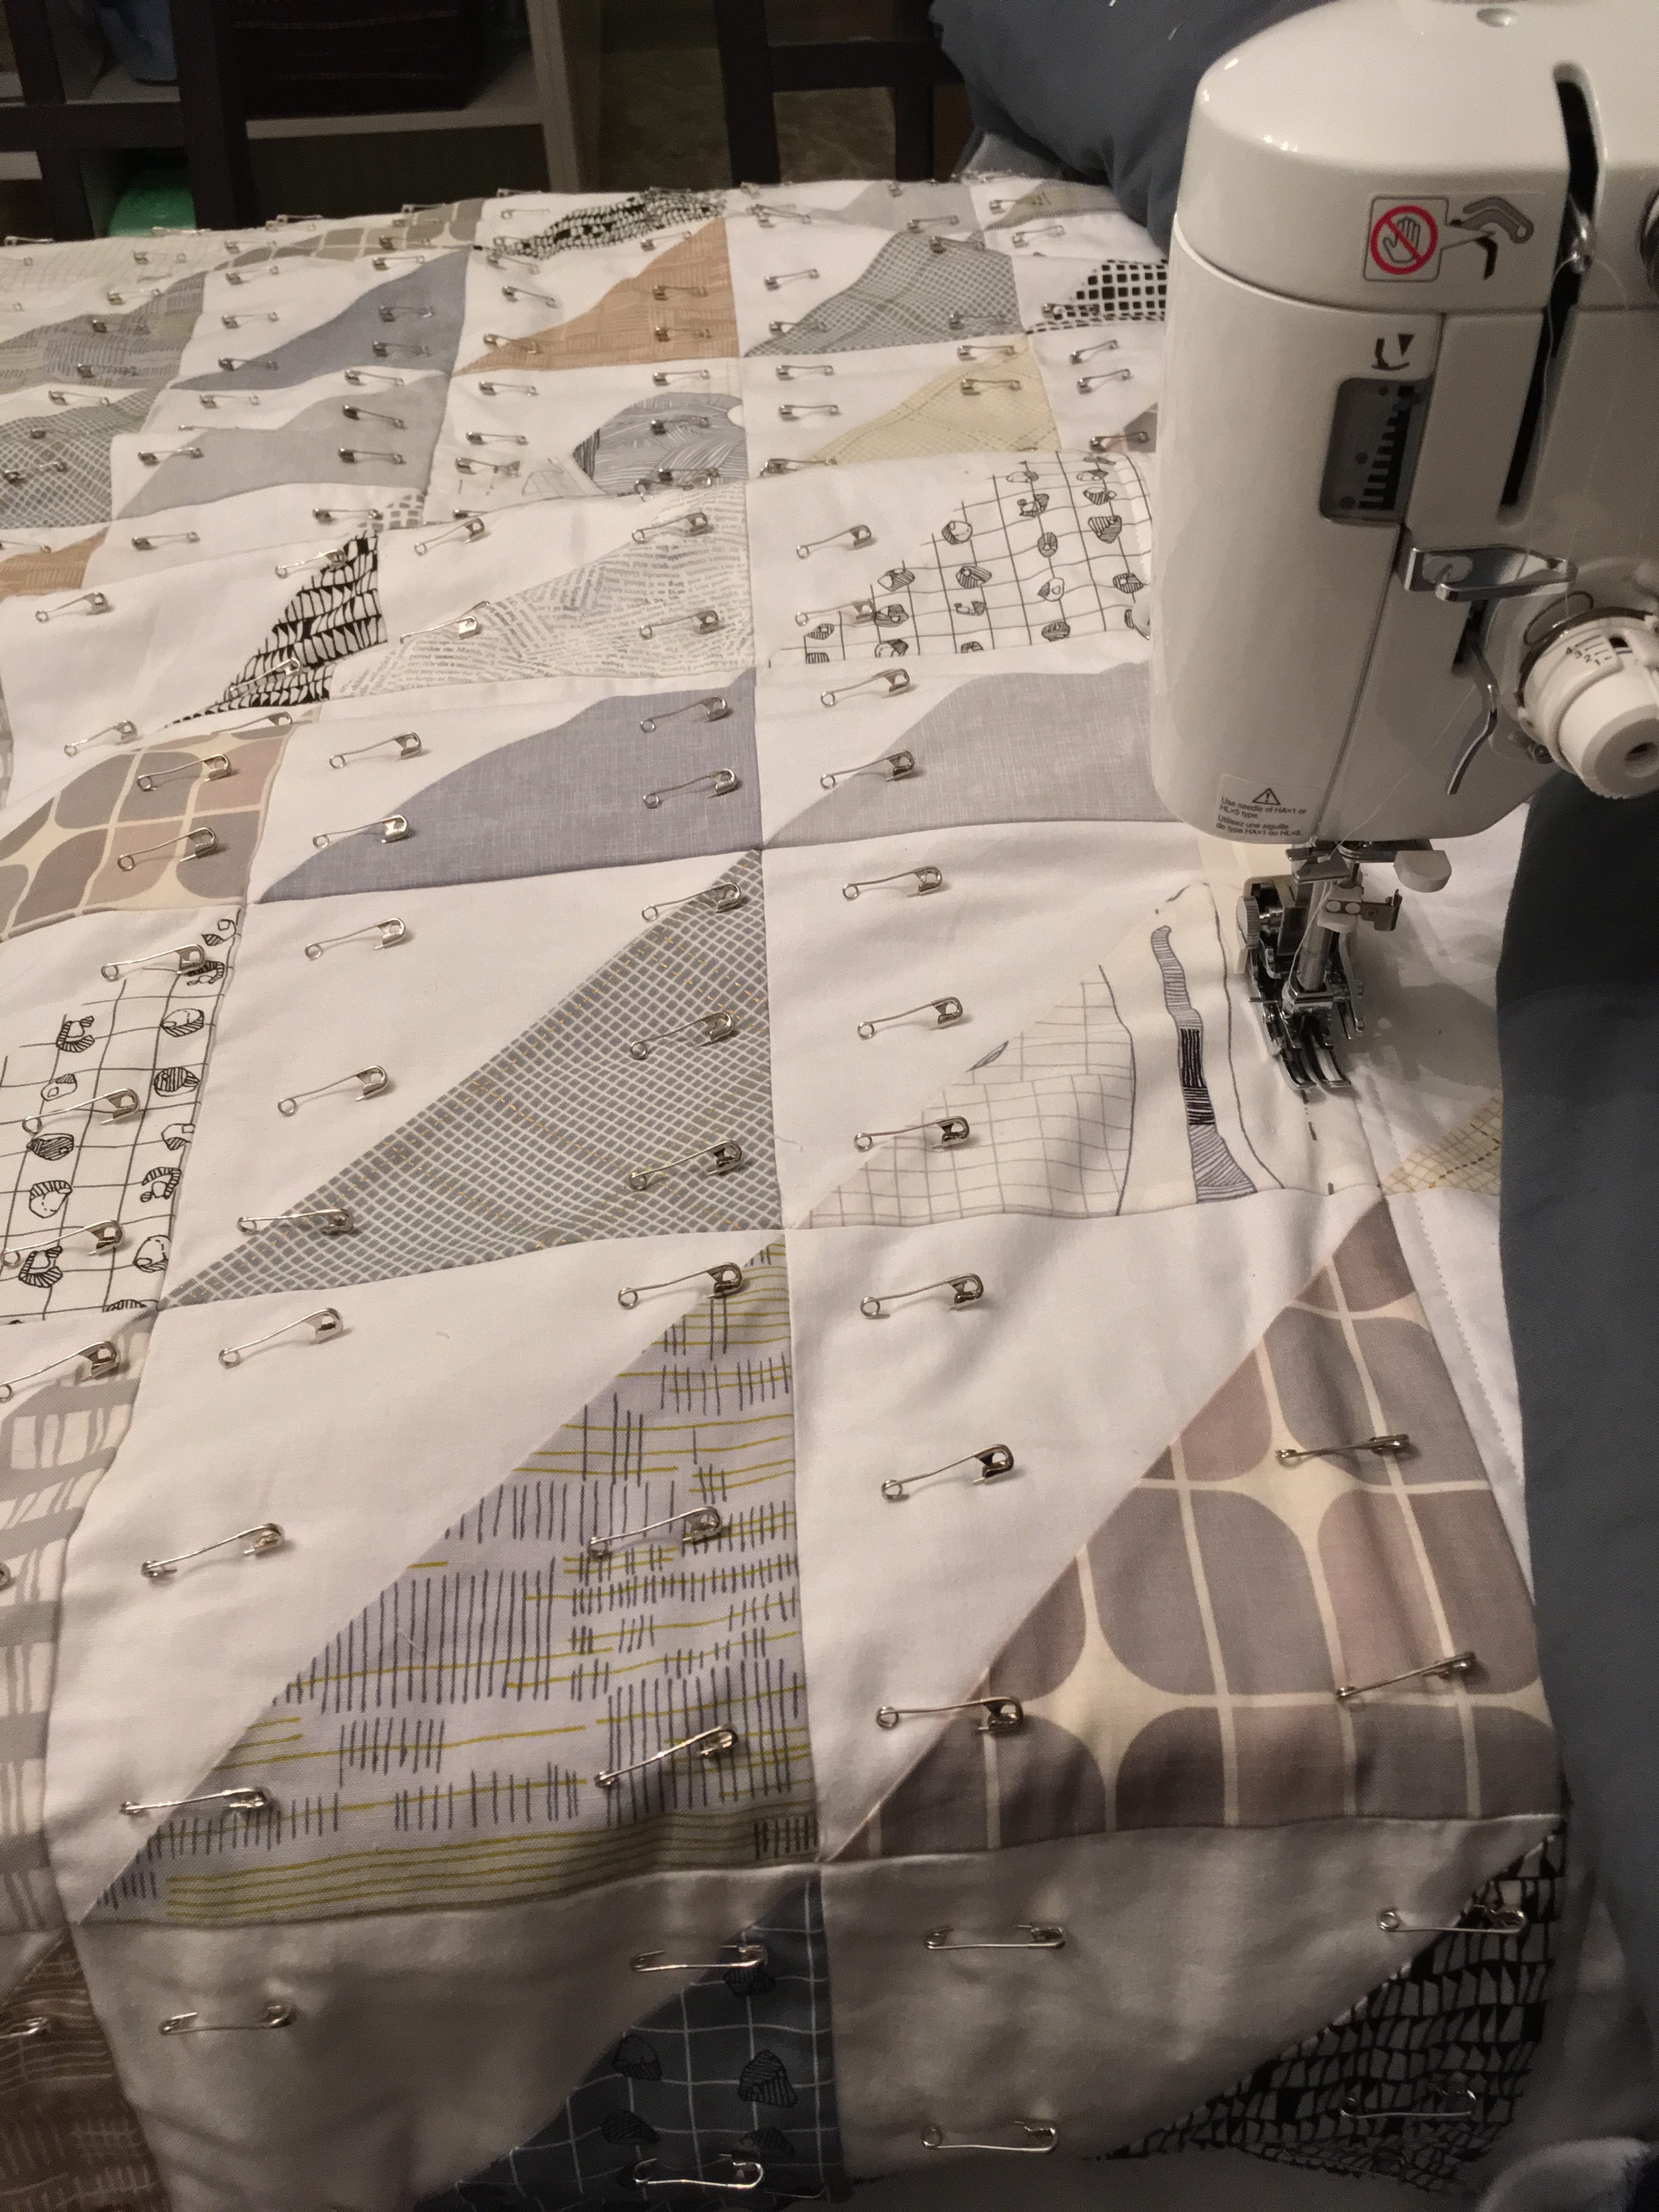
Quilting Stage 1 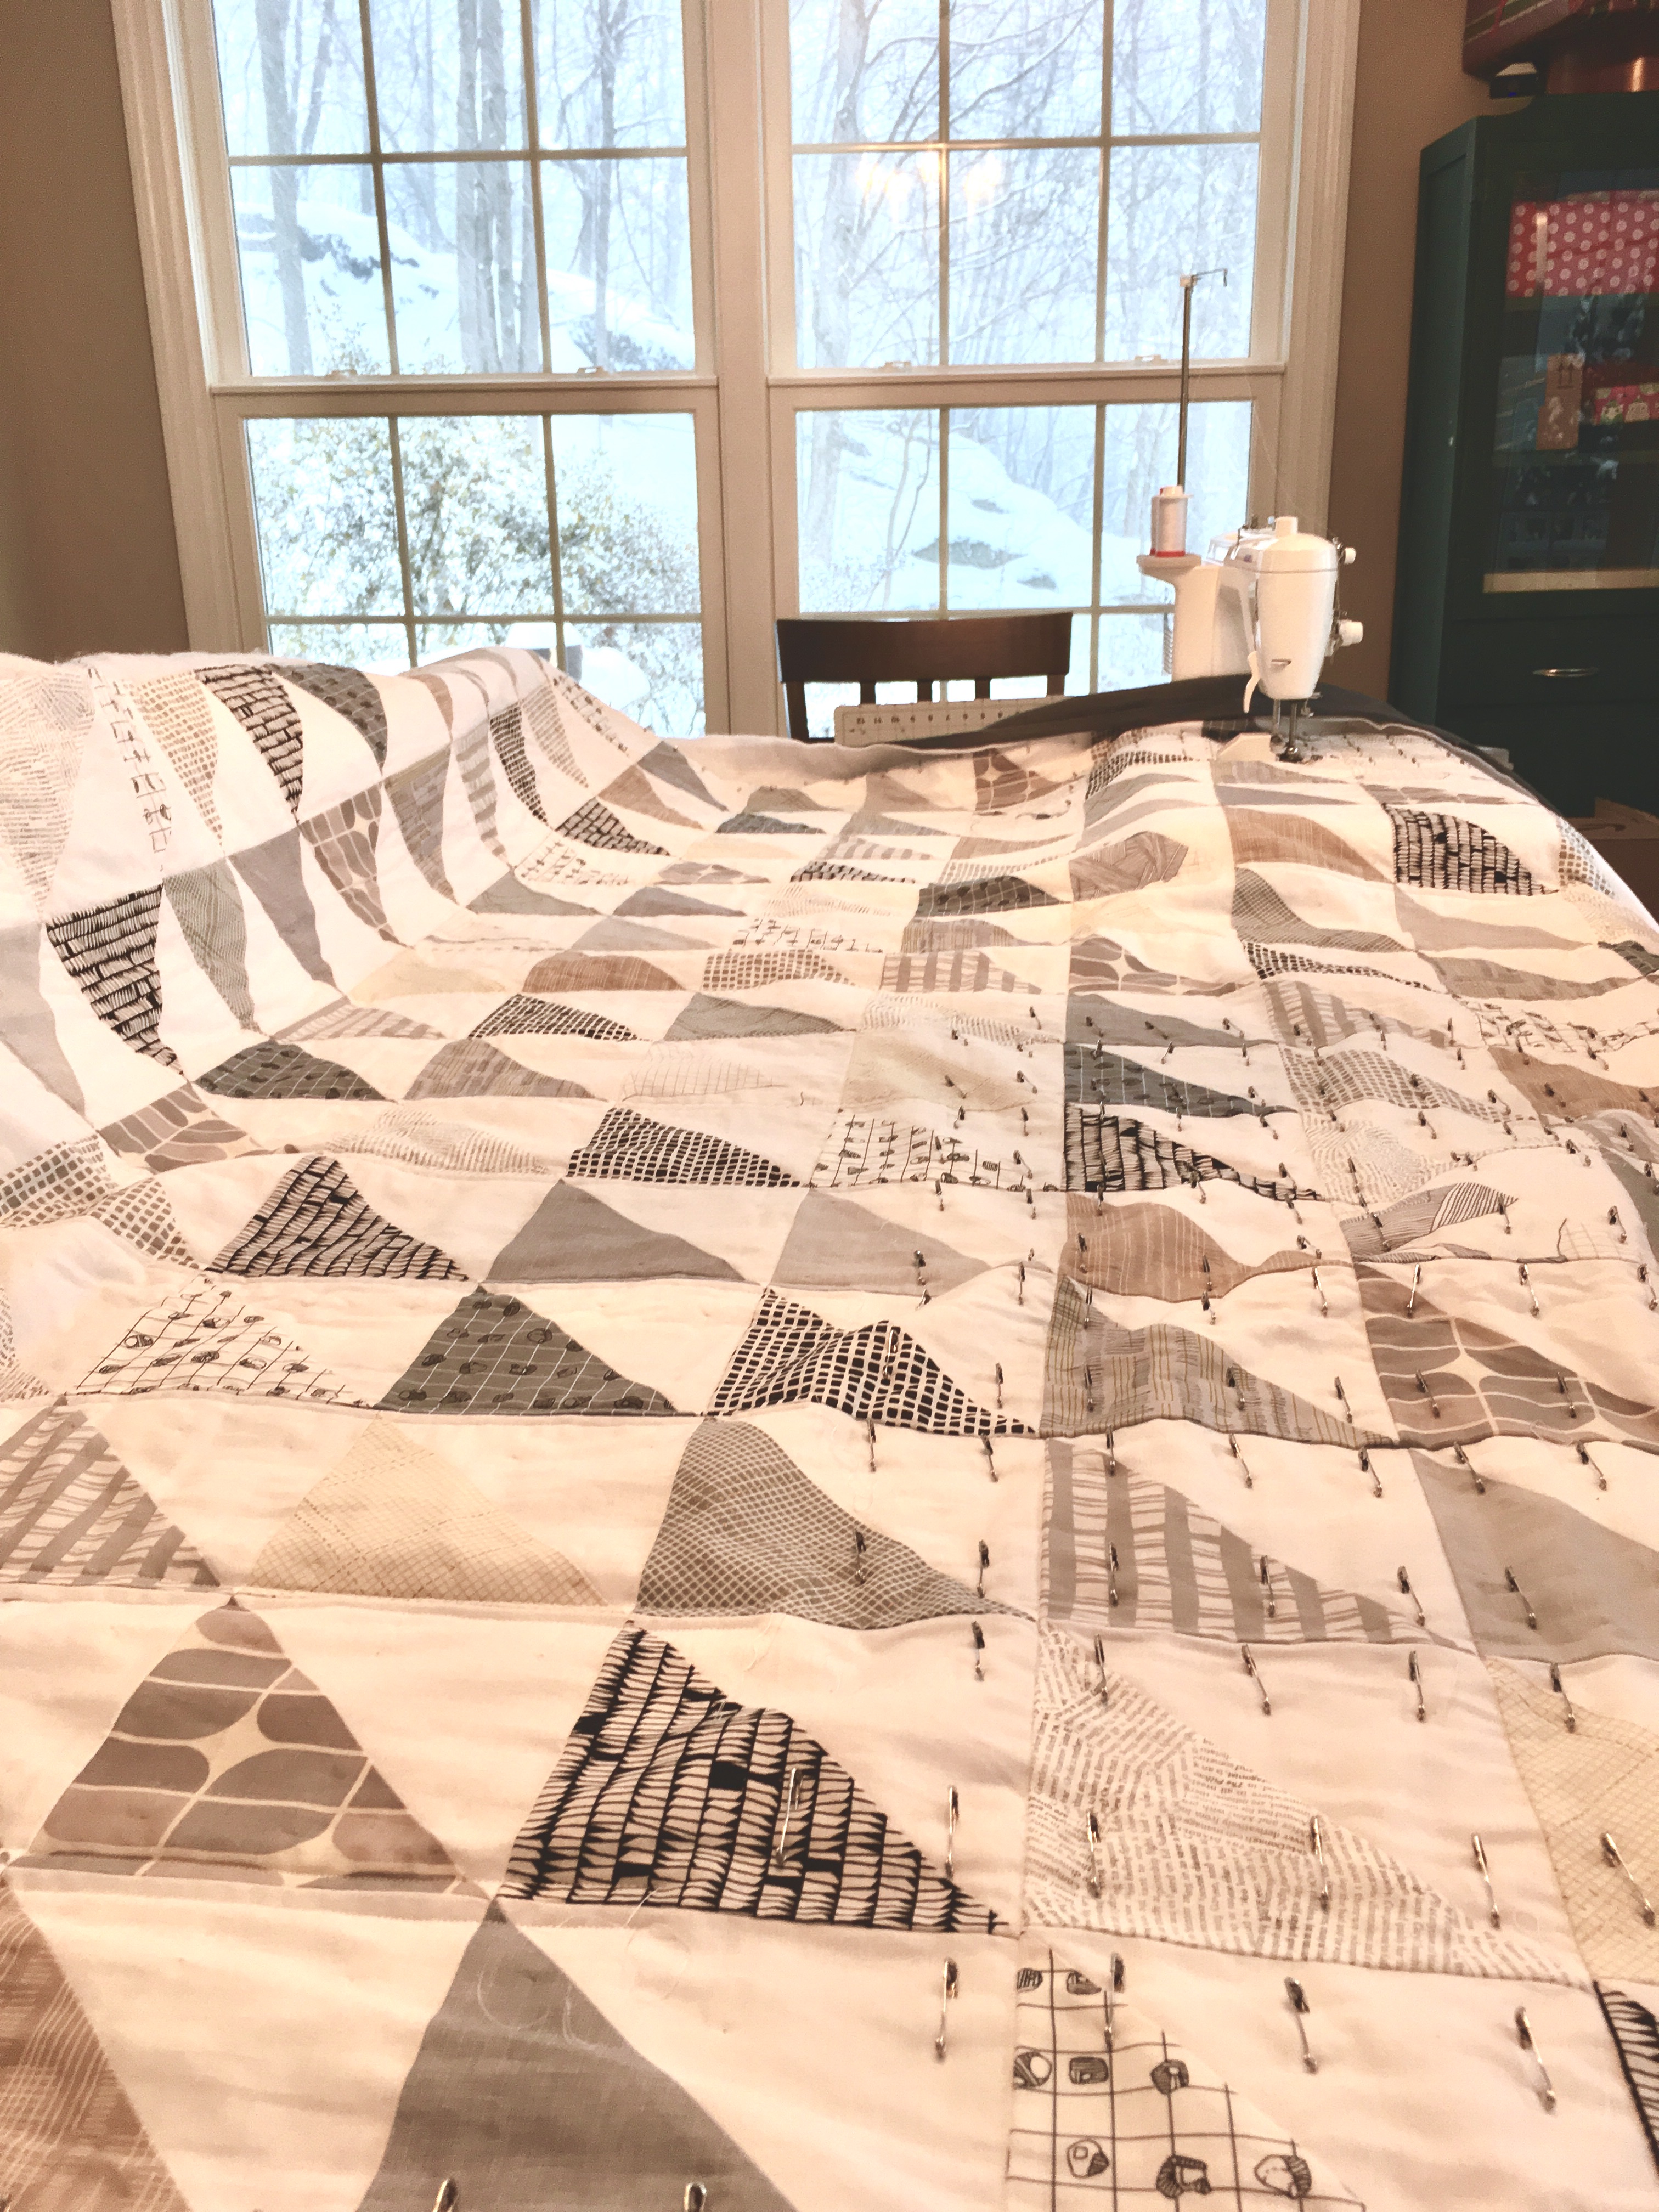
Quilting Stage 2 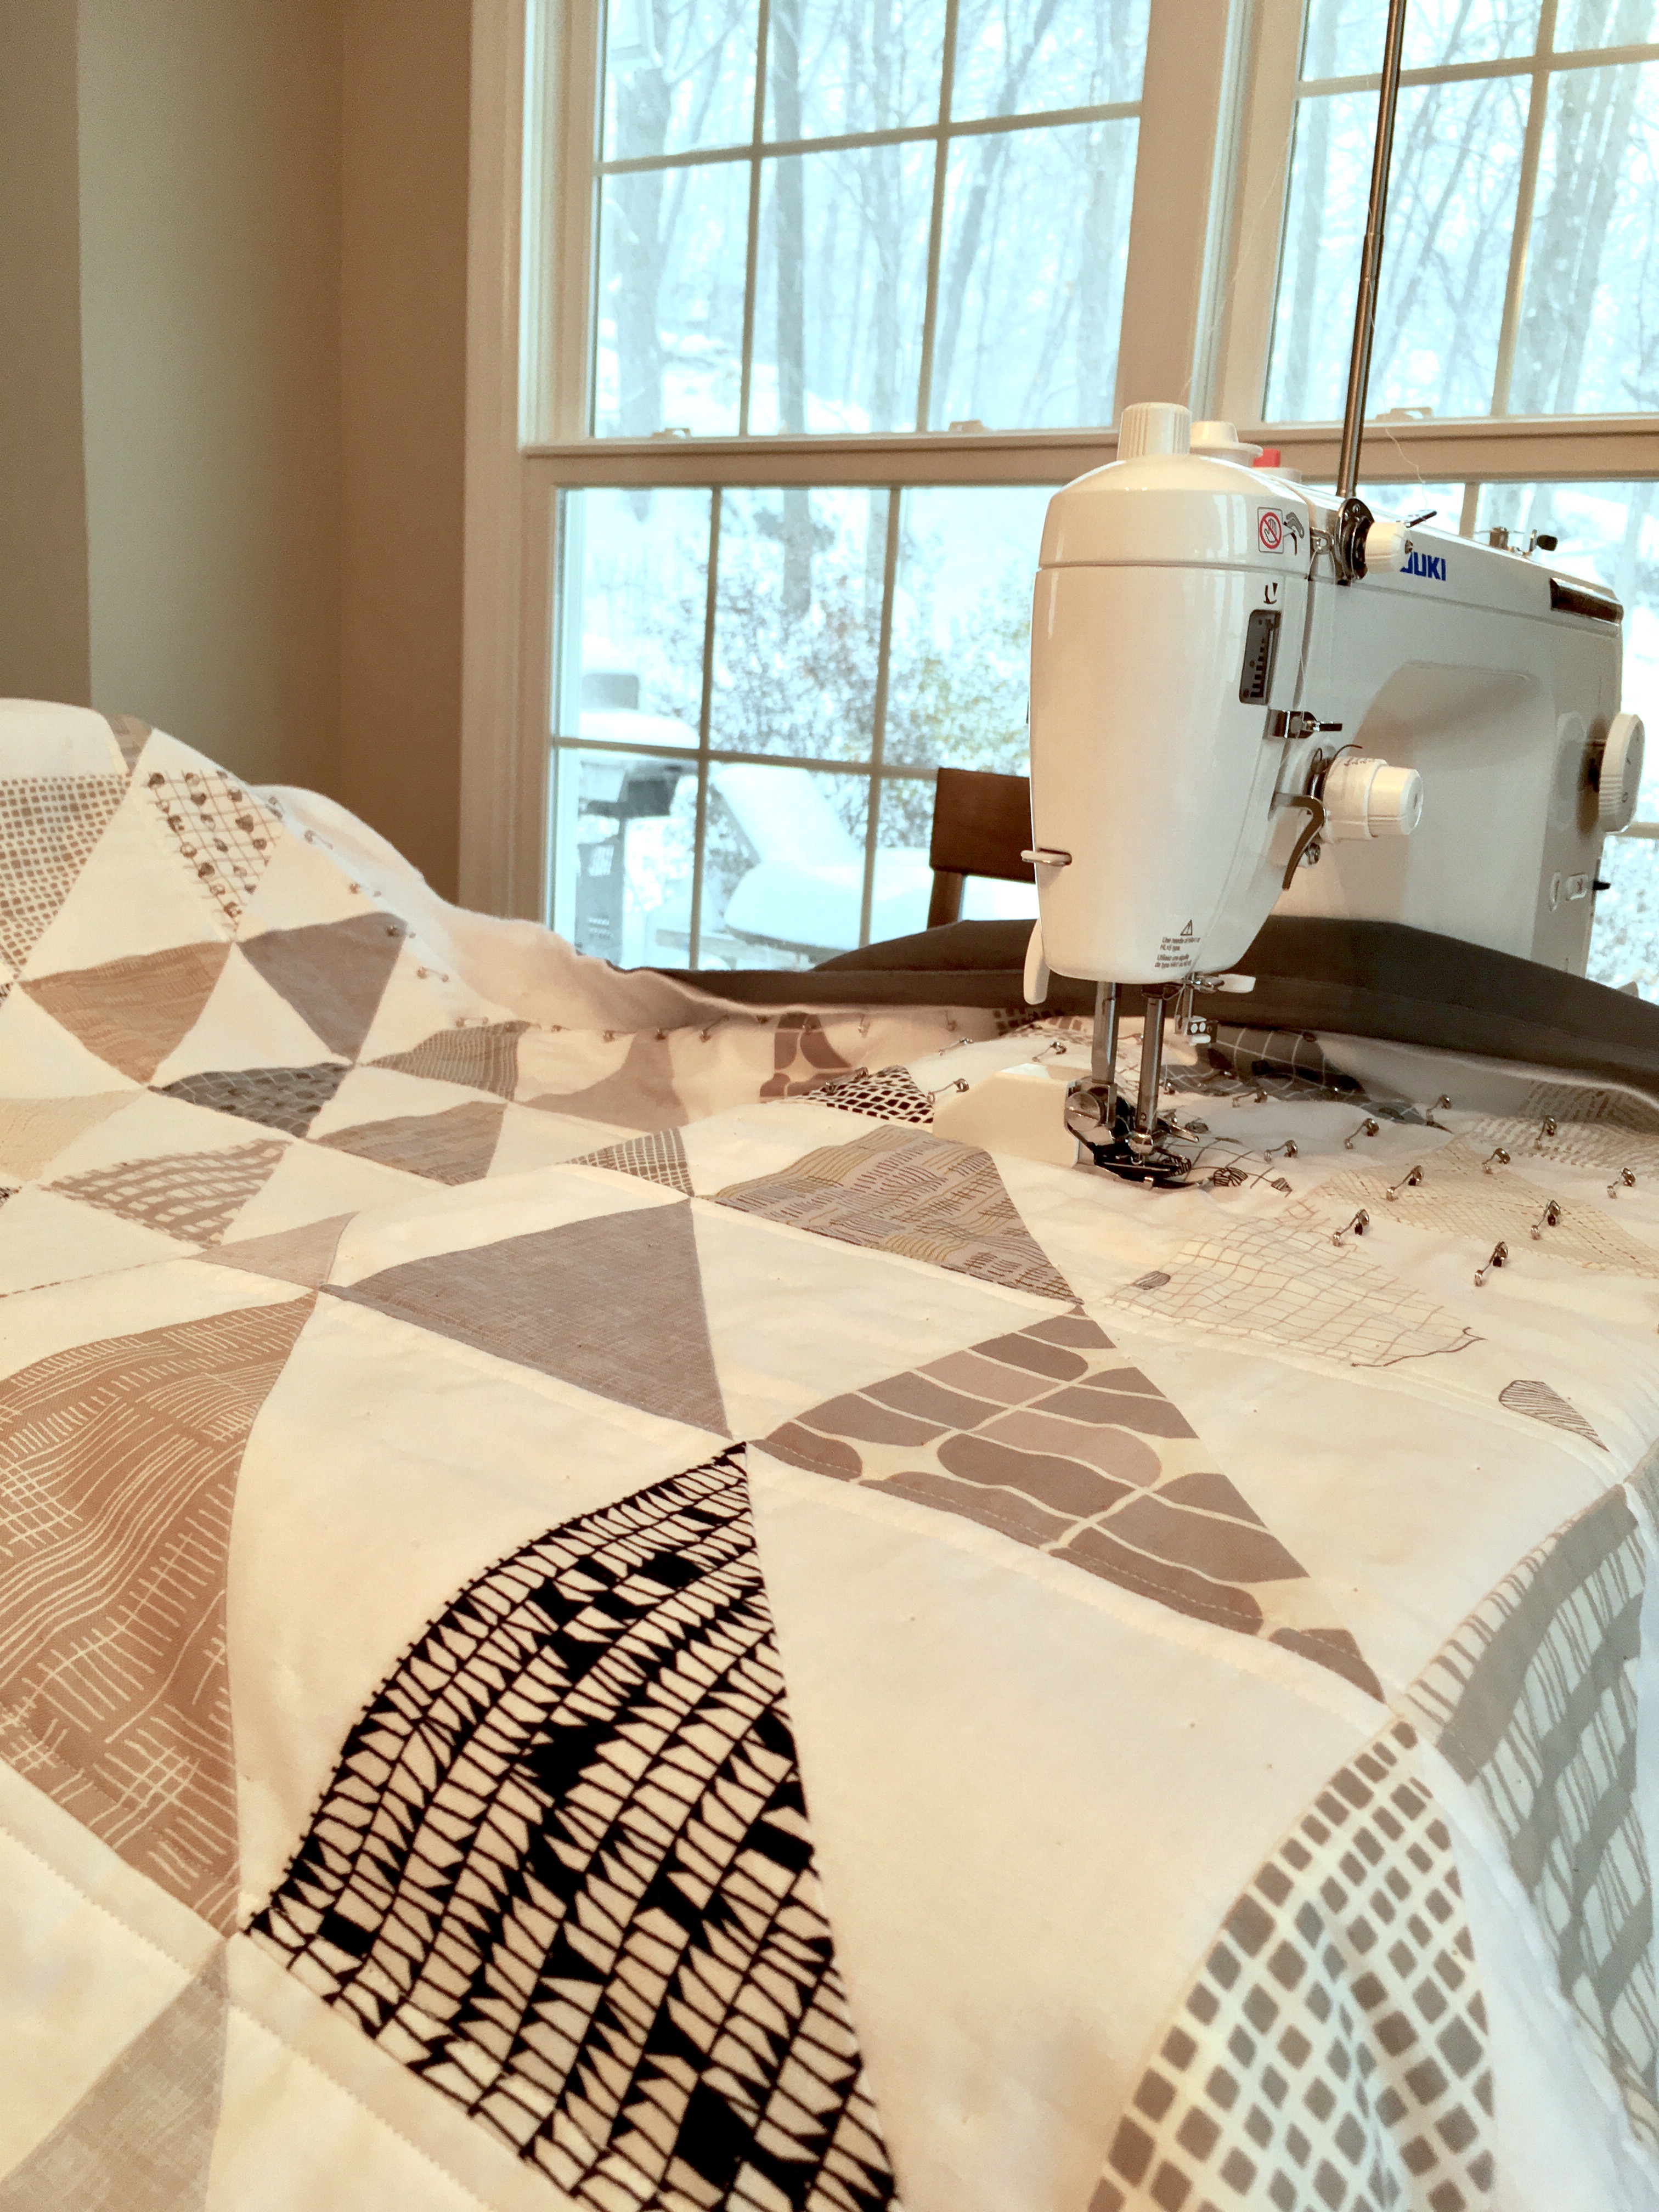
Quilting Stage 3 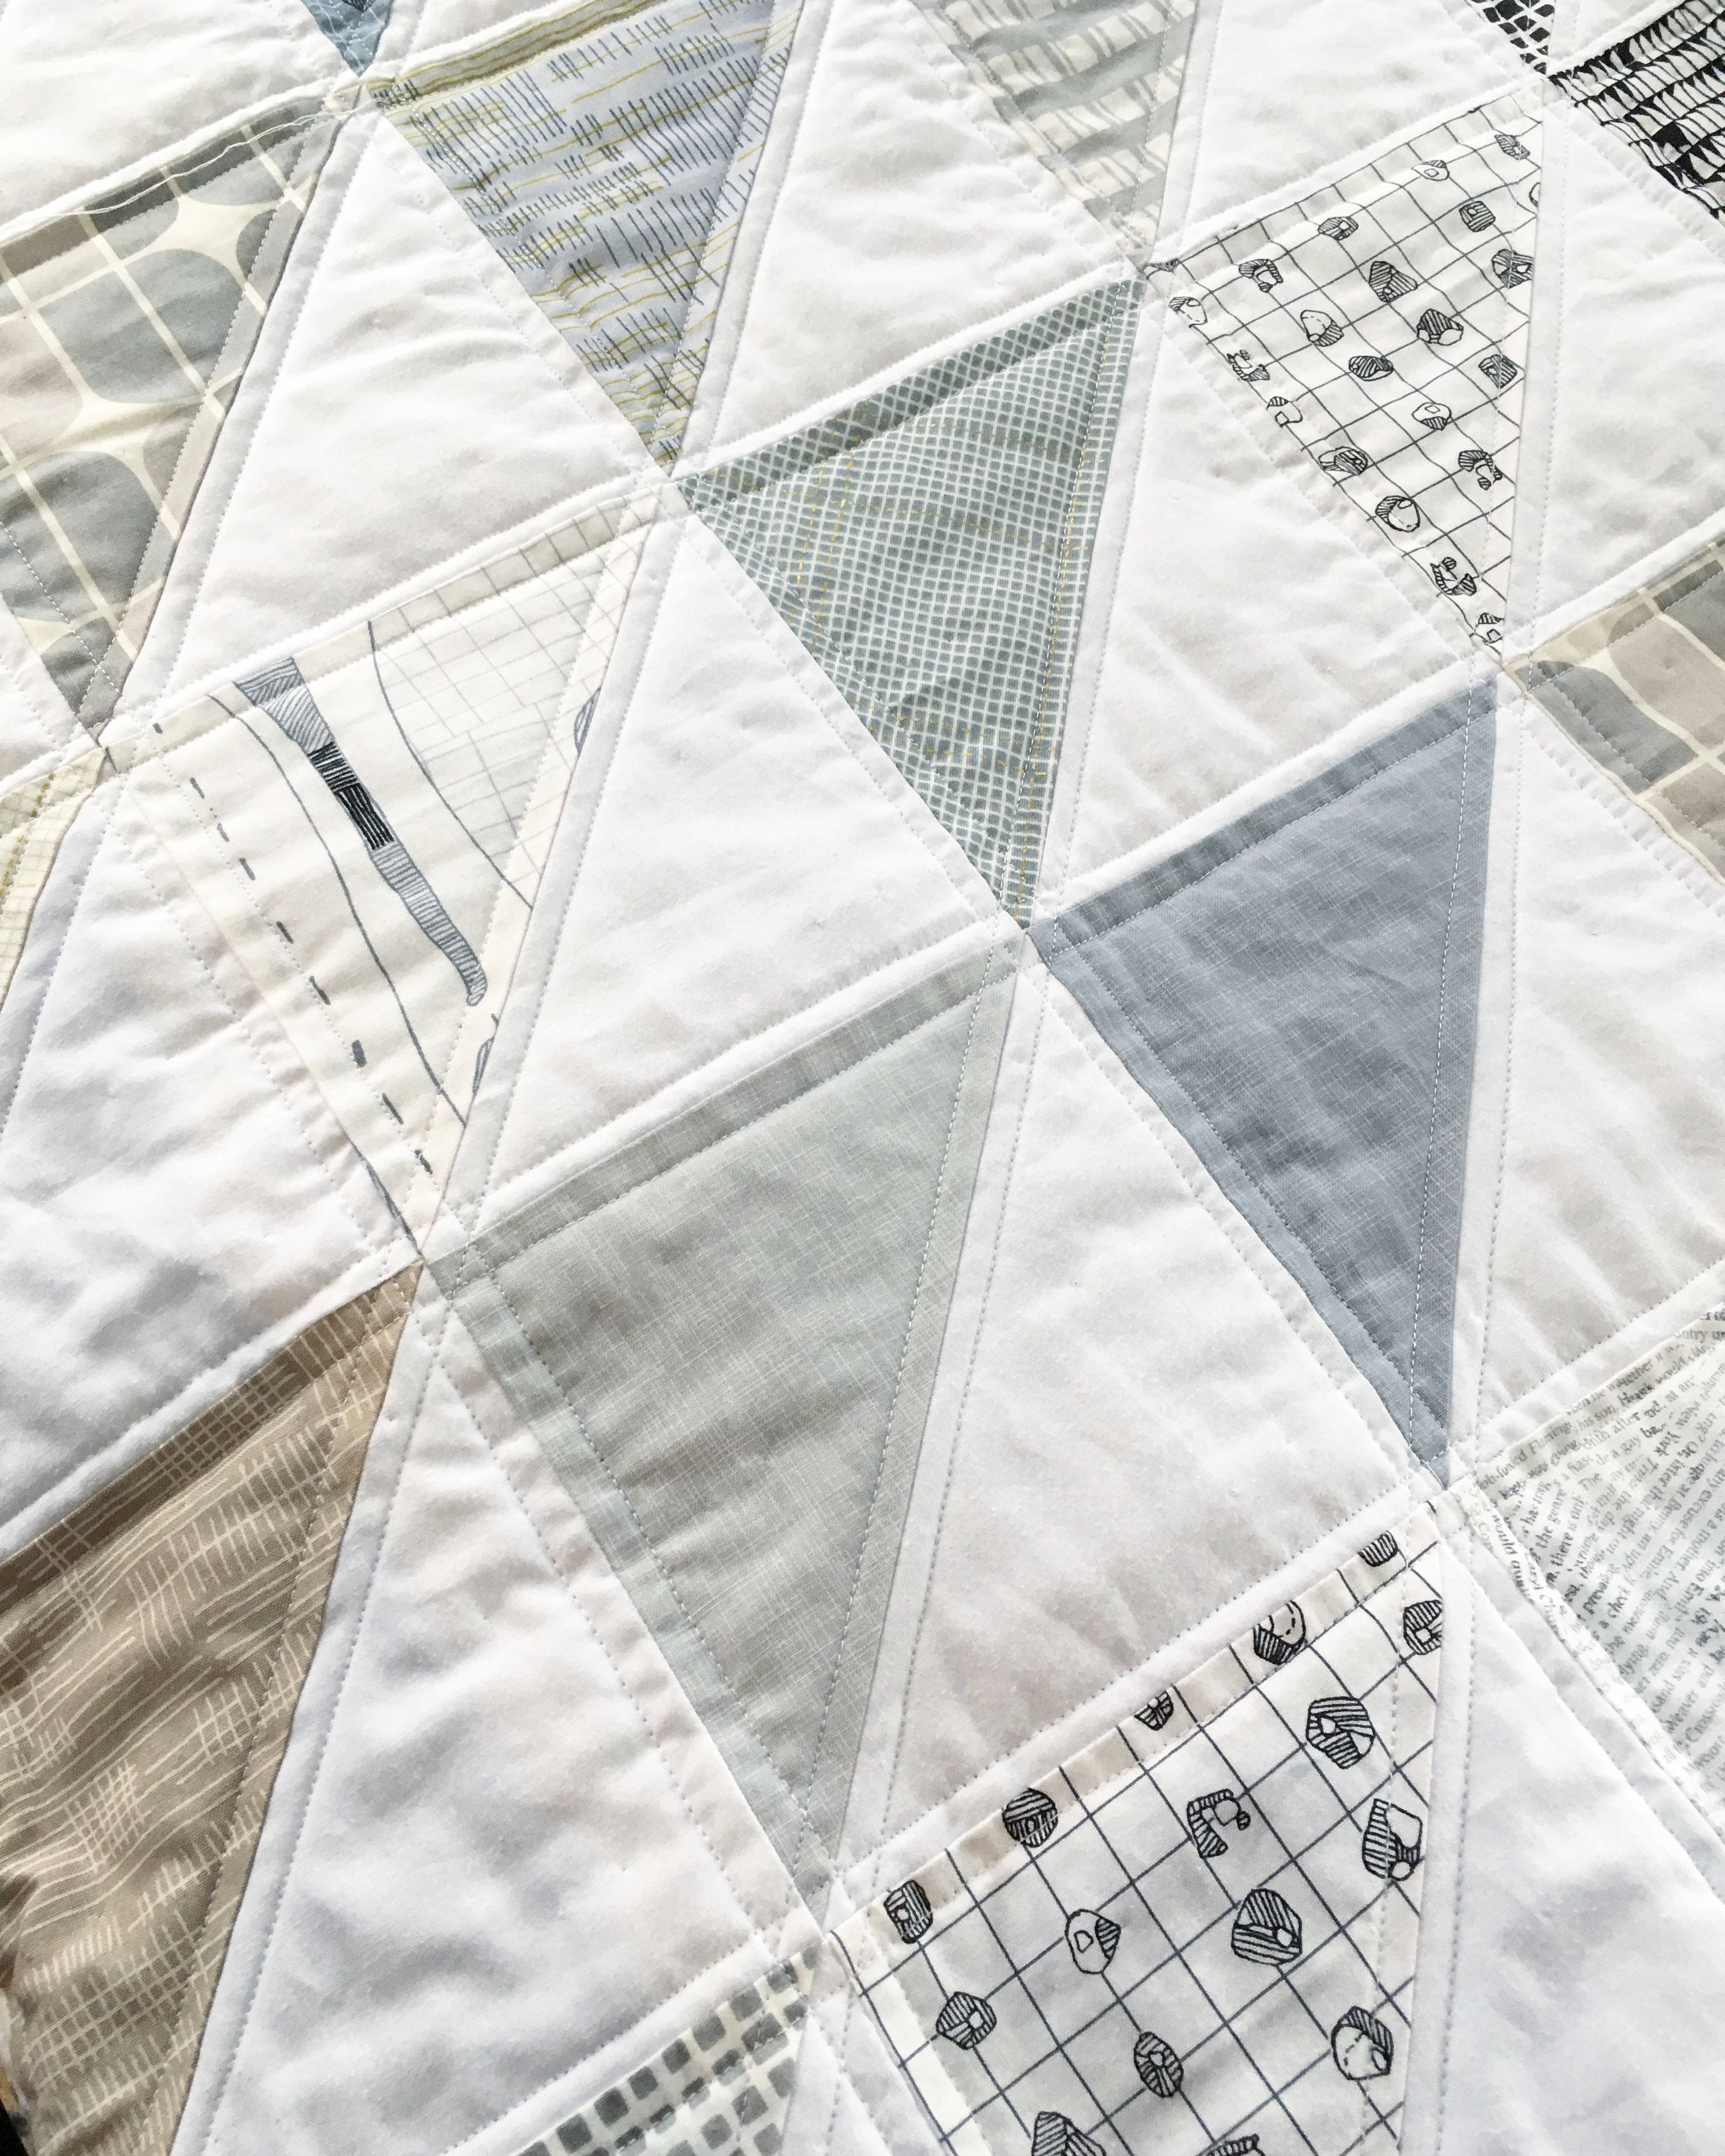
Quilting Stage 4
5. I Am Not A Factory
By the time you get to the final stage of making your cuddly endeavor, the hours already spent on it can be rather sizable. Then you still have the task of adding a binding edge to your quilt (typically done via a machine regardless of whether the quilting was done by hand or machine) and hand stitching it down onto the backside of the quilt. This necessitates making the binding (unless you are able to make the backing large enough from the start to fold towards the front as “self-binding”), and that entails cutting large amounts of two and a half or three inch wide strips, folding them in half lengthwise, and ironing them flat into a type of ribbon that runs about 20 feet long (just for a baby size quilt) once all the strips are connected properly. Attaching the binding to a quilt is the best and most satisfying portion, and often is a good chance to “test drive” the model before it leaves the showroom as you first start seeing it as a whole entity and not just bits and pieces and tasks to complete–and it’s a step best done accompanied by your favorite warm beverage and a good binge-worthy show on Netflix as you’re gonna be at it for a while.
Binding Stage 1 – Self-binding 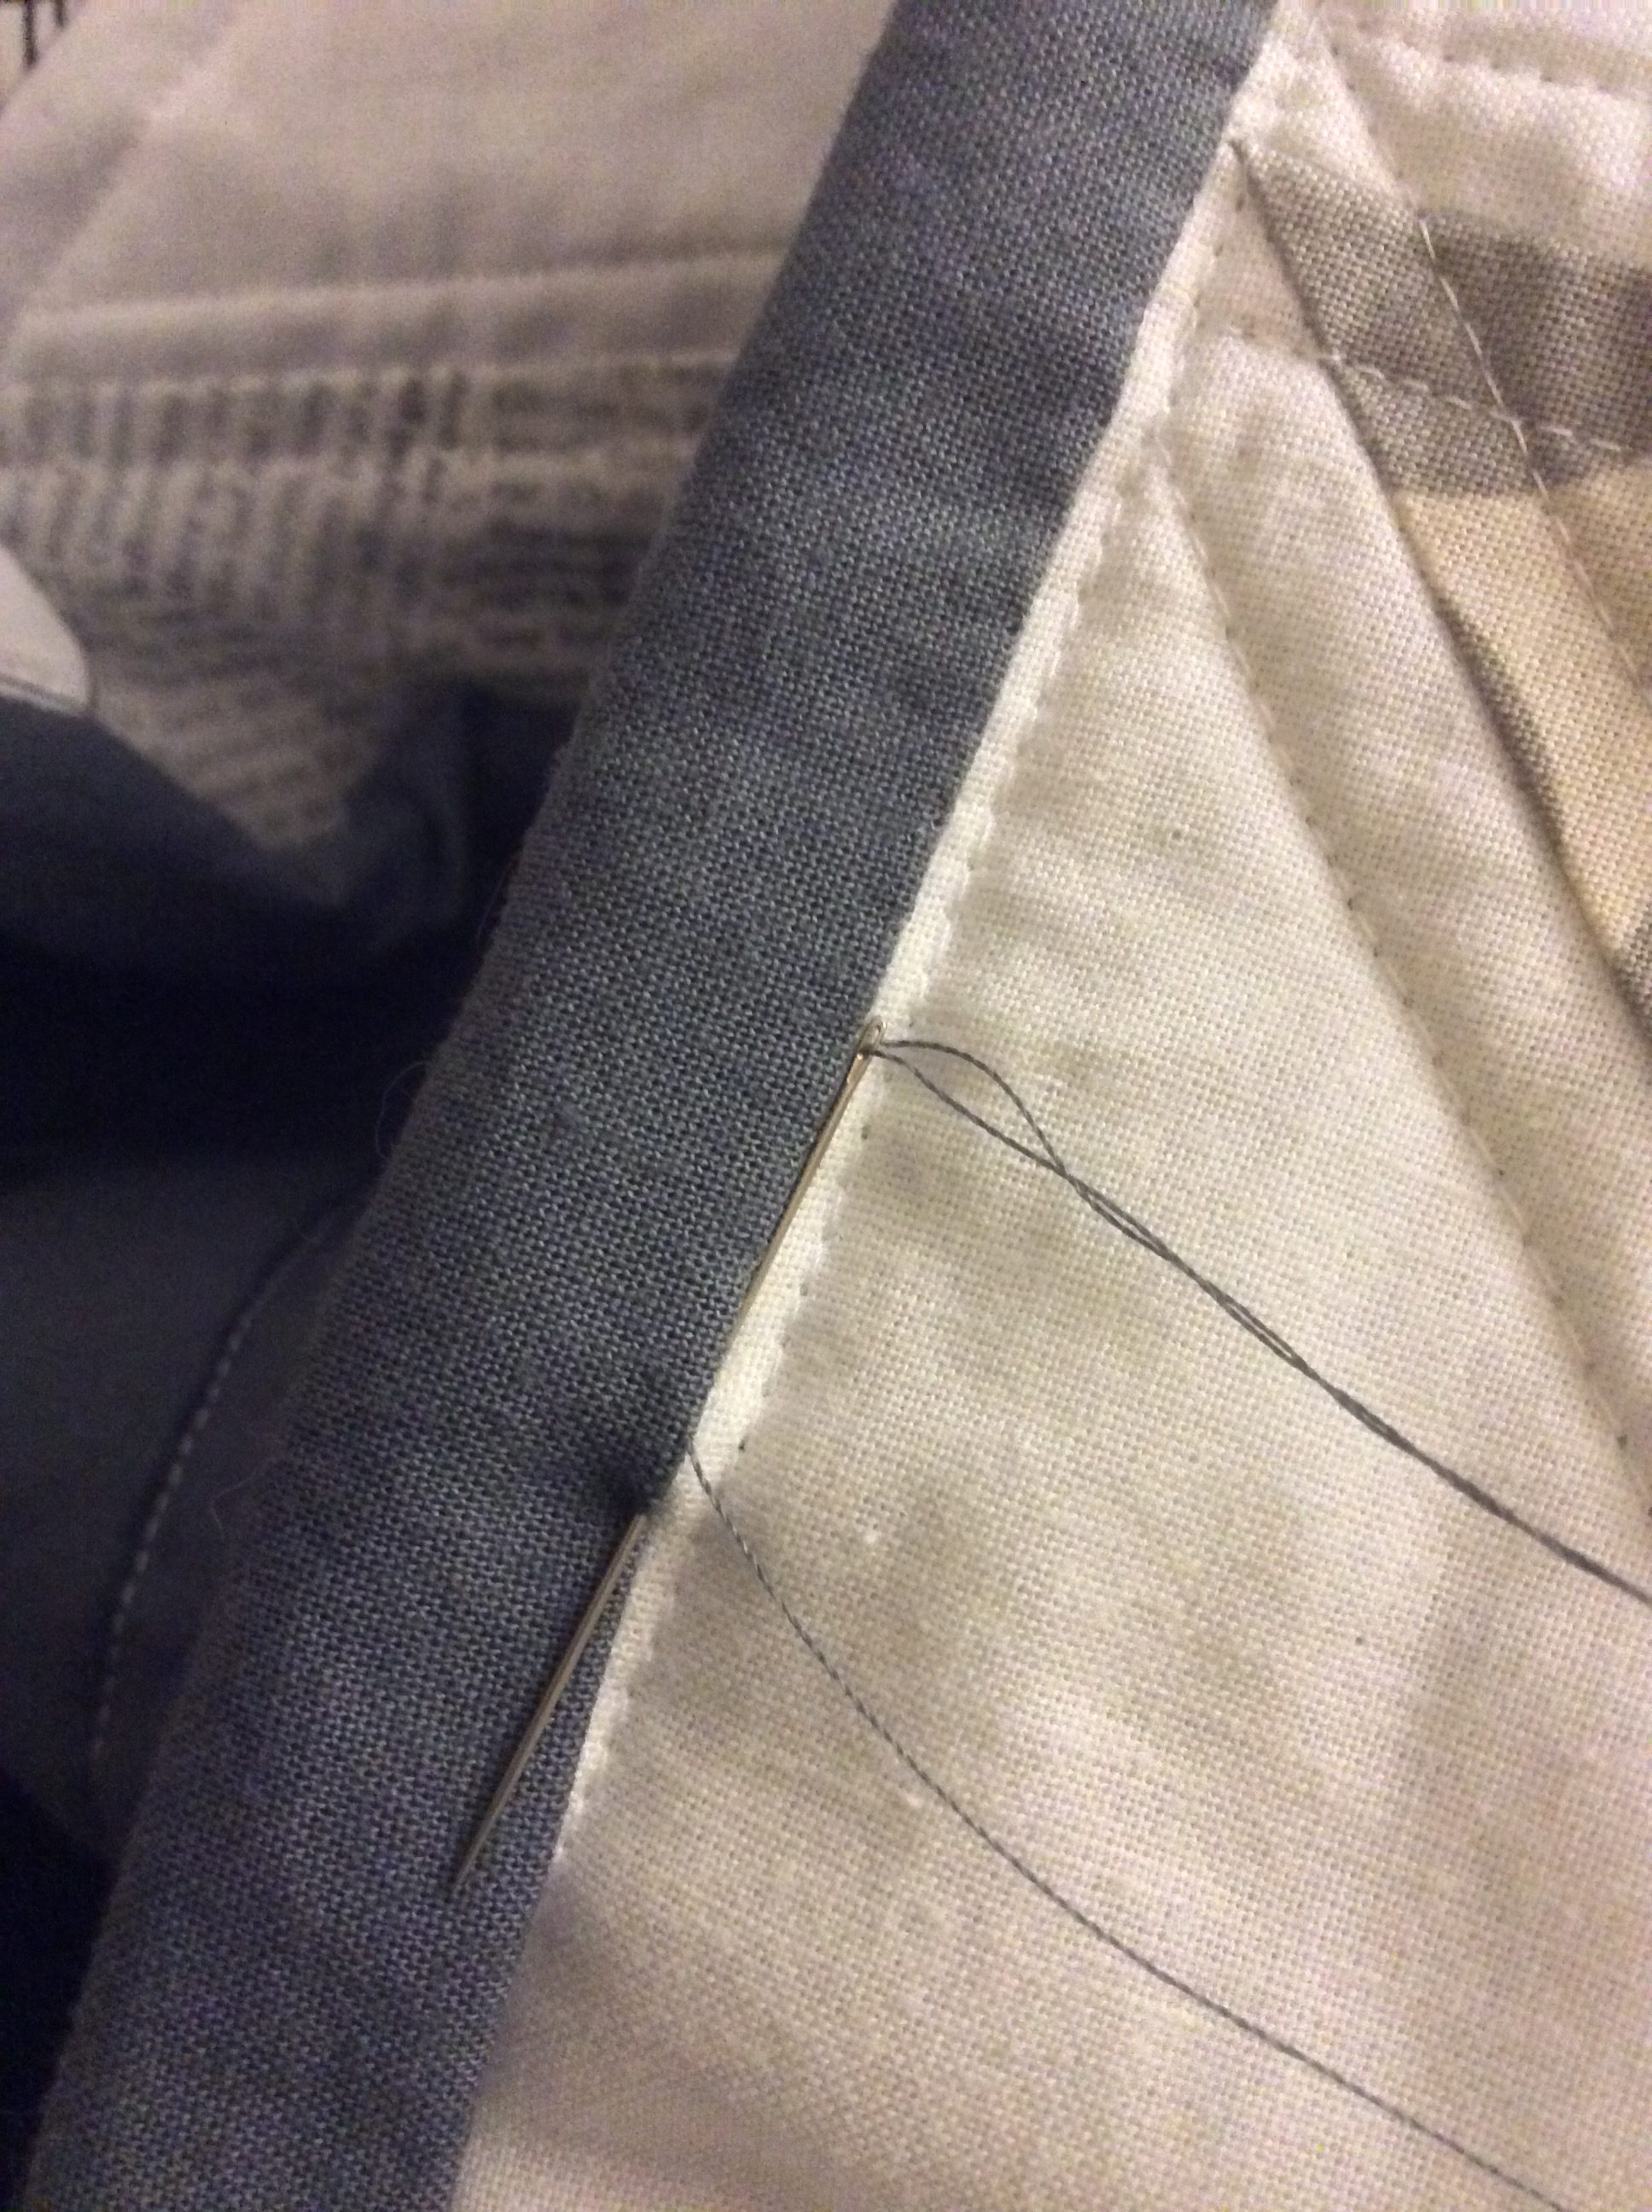
Binding Stage 2
Also, a label must be added the masterpiece after the binding has been fully completed (this is usually done prior to the whole quilt being washed so that it gets all crinkly and delightful with the rest of the quilt)–and that can either be as simple as permanent ink on a piece of cotton that is appliquéd to the back, or as complicated as an embroidered label or pre-printed professional label that is then appliquéd in place.
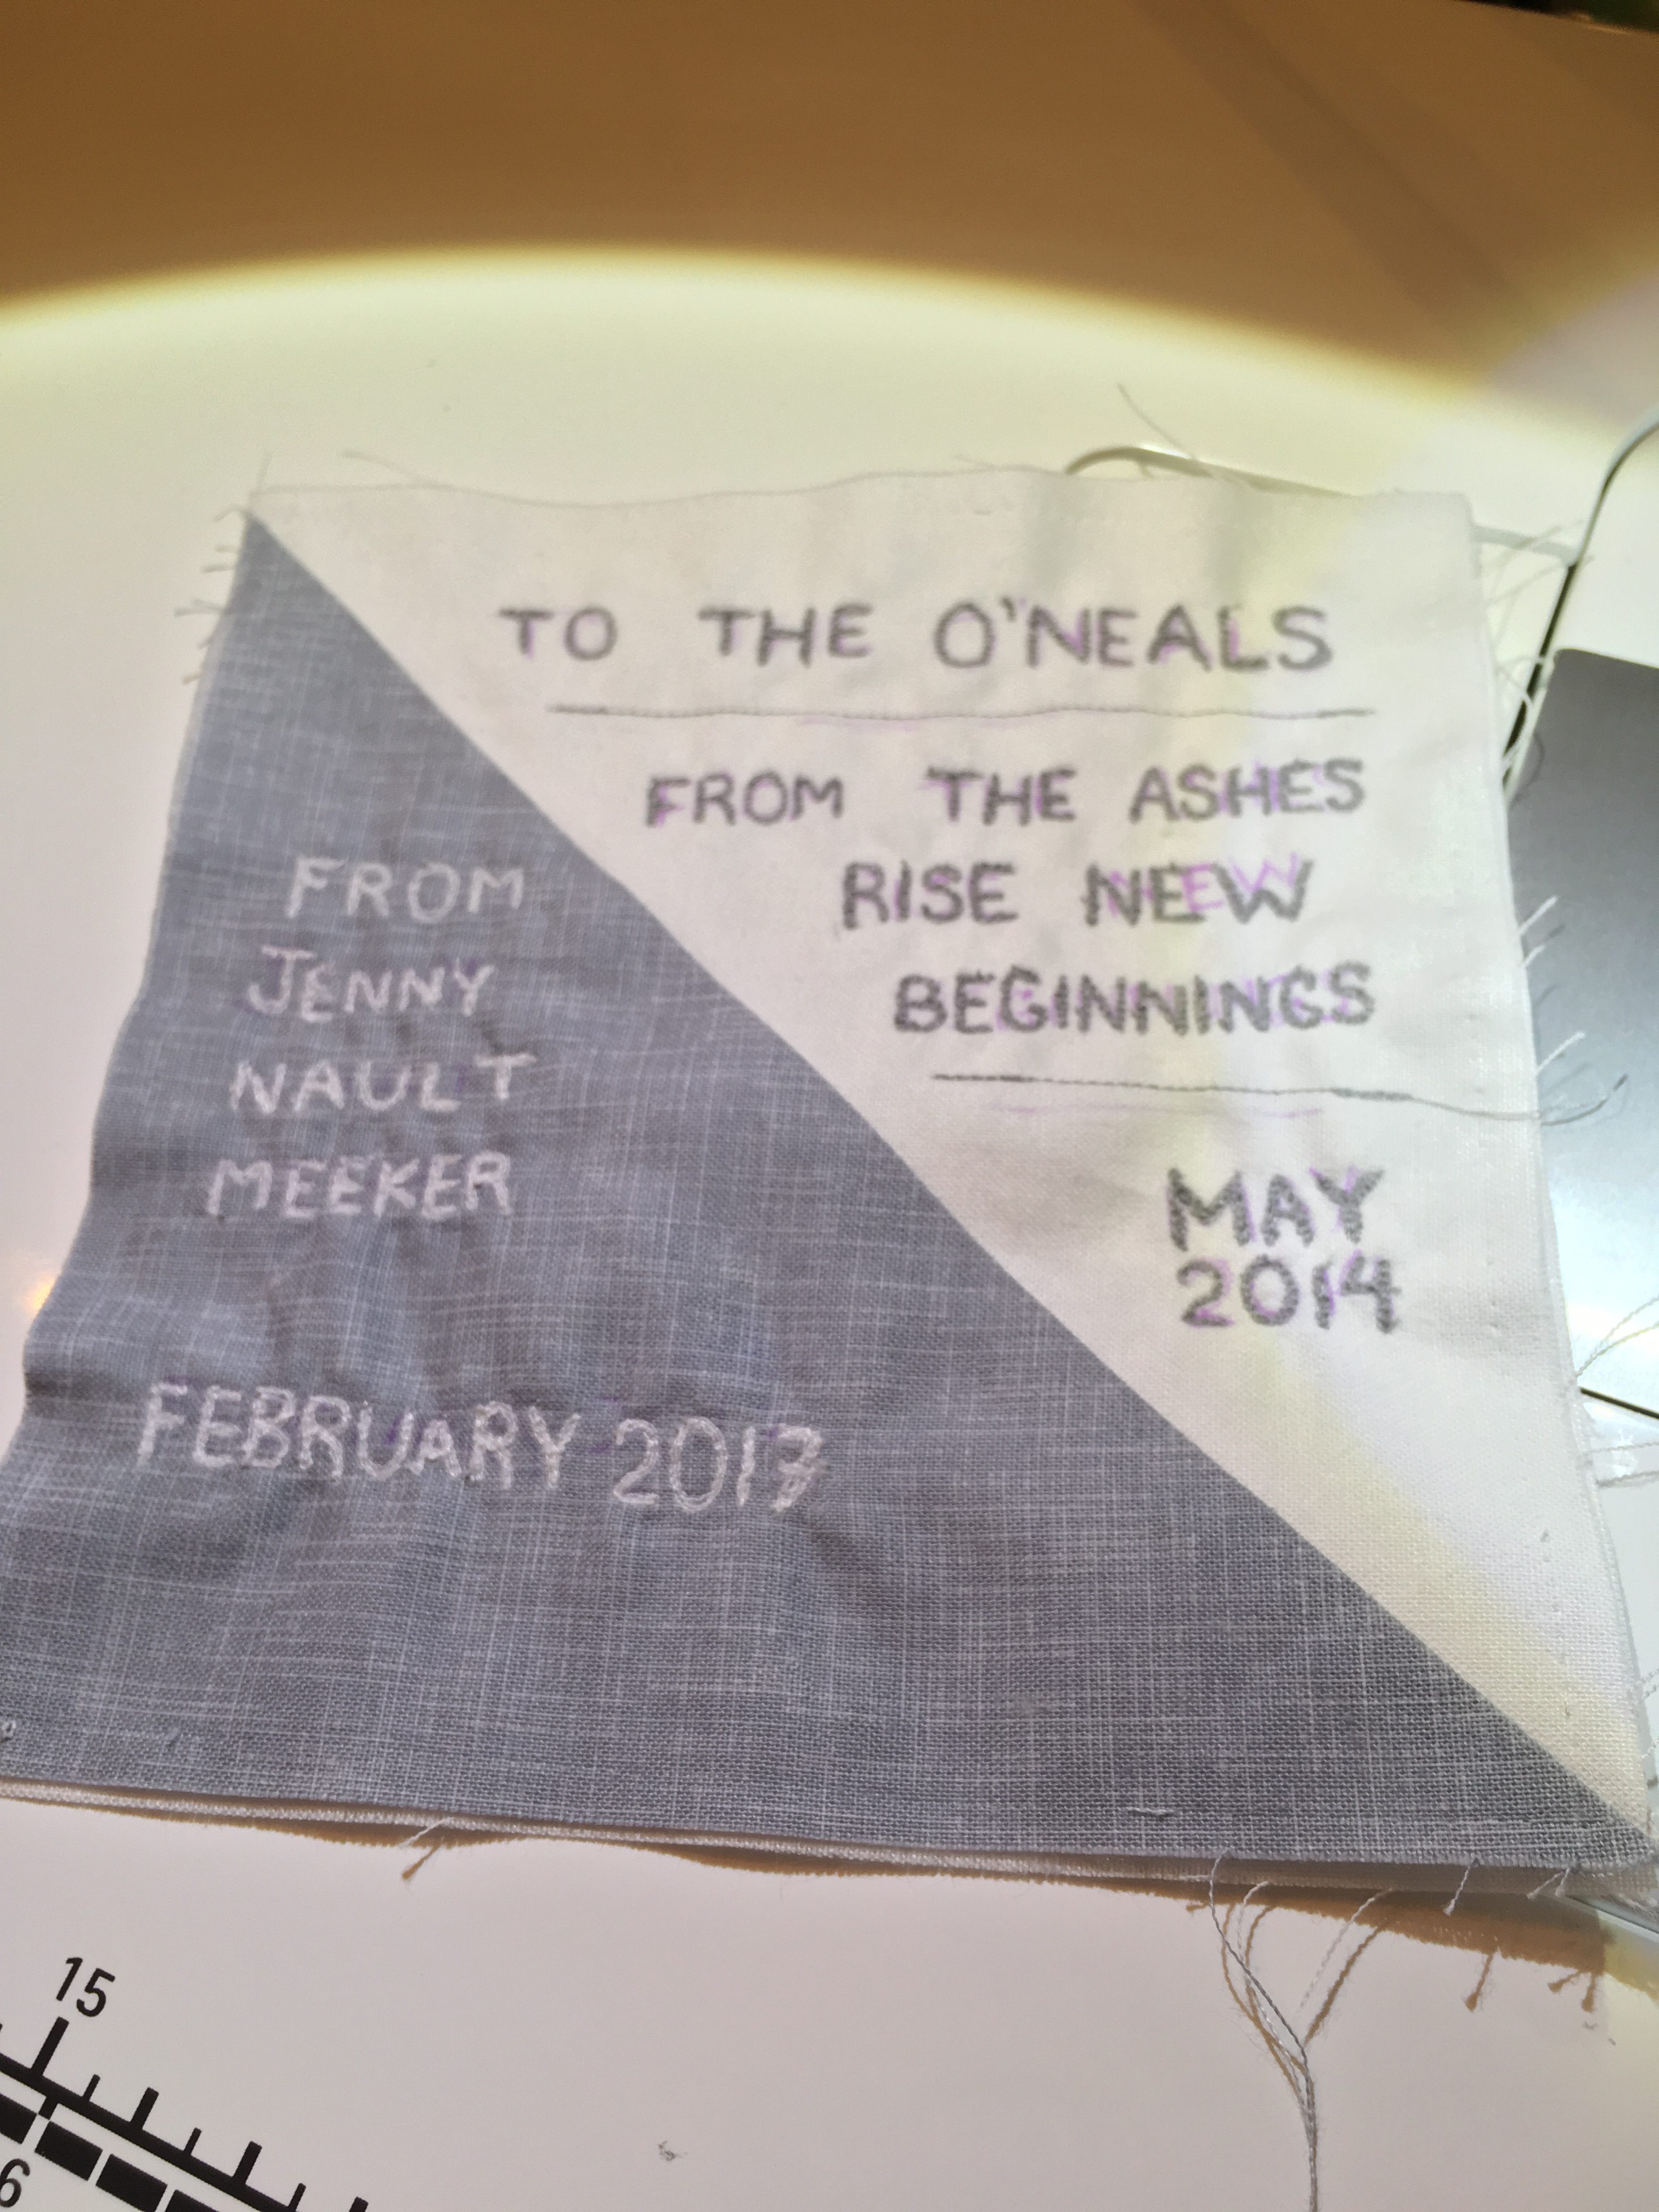
Gift Quilt Label 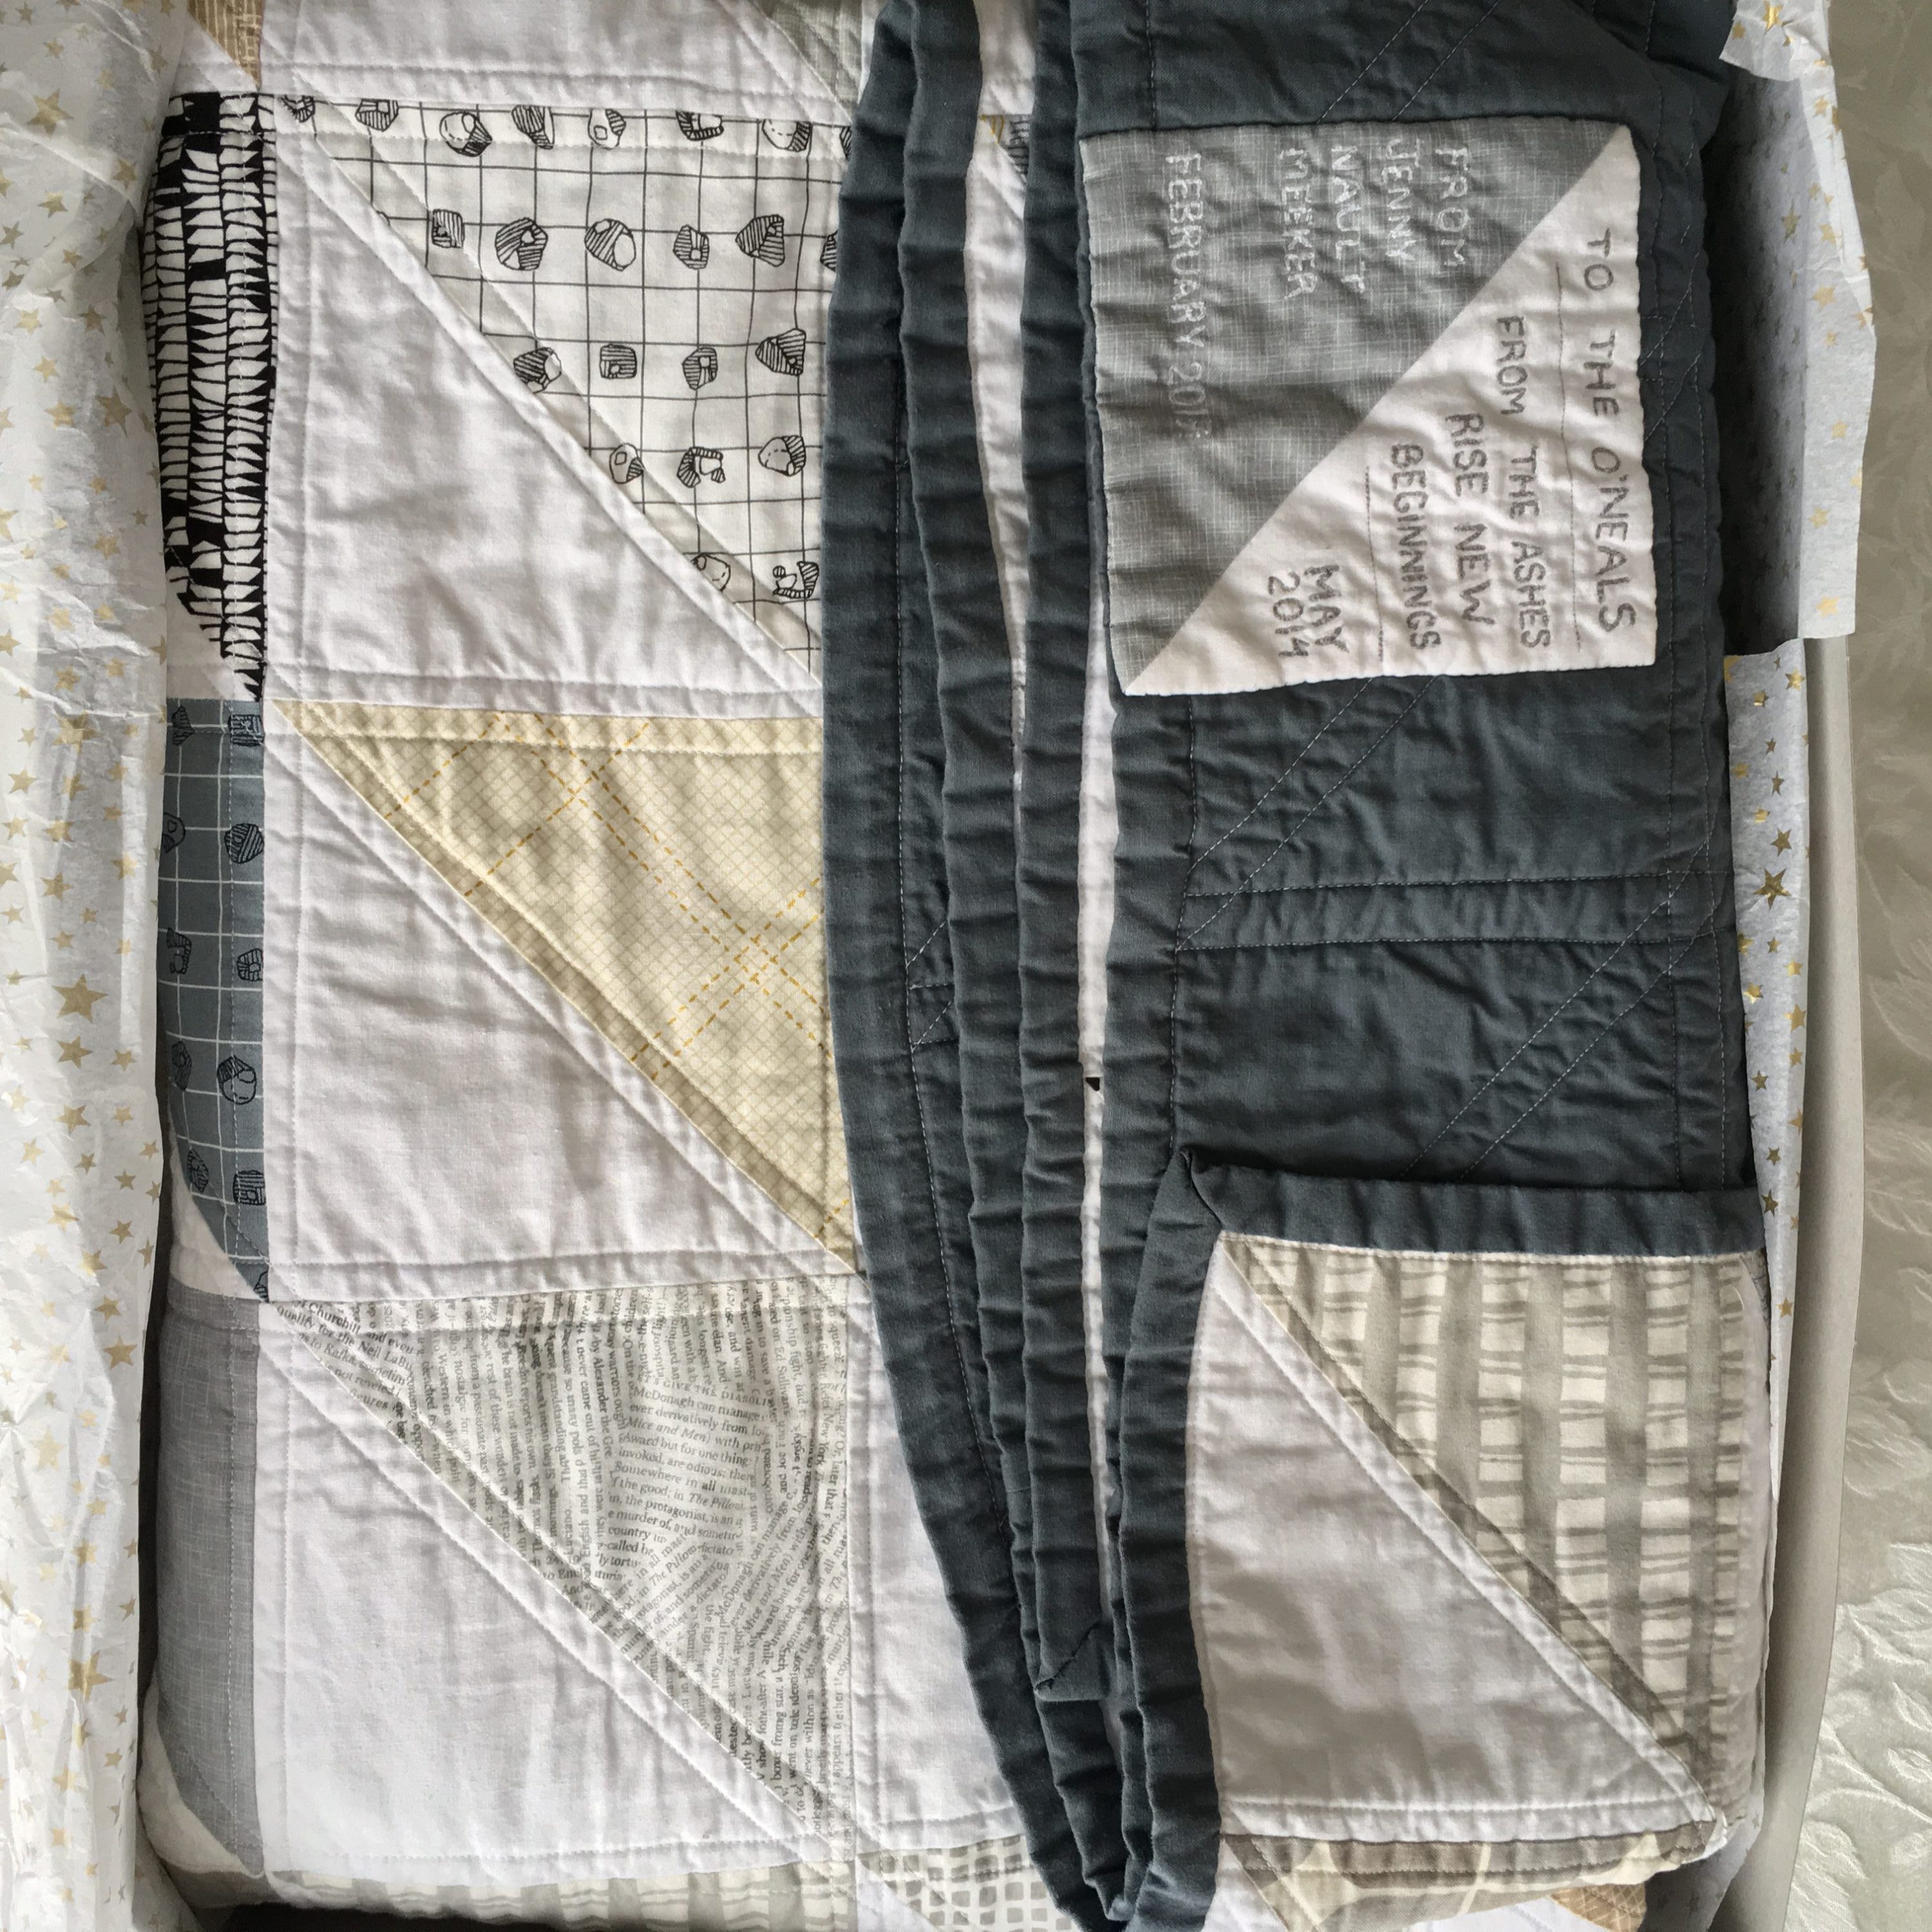
Labeled And Ready To Gift
In summation, if I started to apply an hourly rate (let’s say the federal minimum wage of $7.25USD an hour) to the making of a quilt, I’d reach a base price of $348.00USD just for a 48″ x 66″ crib sized quilt (Breakdown: Planning – 2 hours, Cutting – 4 hours, Assembling Blocks – 10 hours, Basting Layers – 4 hours, Quilting by Machine – 20 hours [conservative and includes burying threads time], Binding – 8 hours = 48 total hours). Keep in mind that the $348.00USD price tag doesn’t even take into consideration the cost of supplies like the fabric, the thread, the batting and the occasional sewing machine needle replacement (and coffee allowance). This is the main reason why most people who make quilts, just make them and then gift them away to family, friends, the postman, the random jogger in their neighborhood, and almost always to a charity cause. Giving a quilt is always more valuable than just keeping it in a pile in a closet with forty other quilts (but selling a few wouldn’t be horrible either).