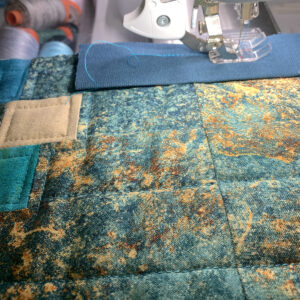
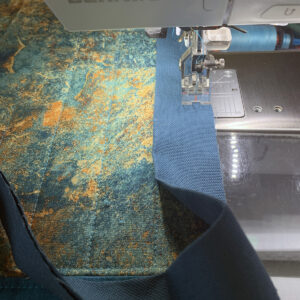
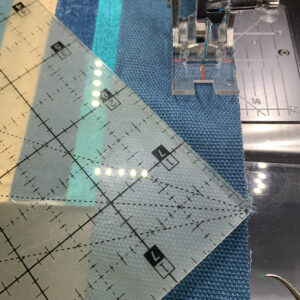
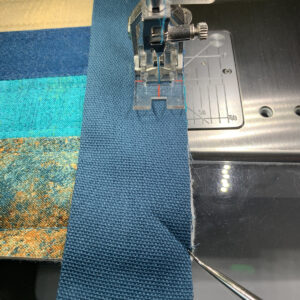
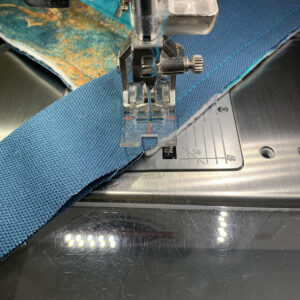
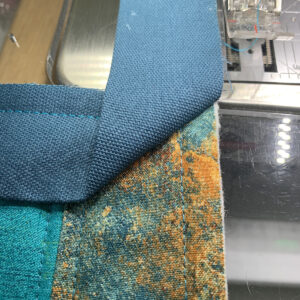
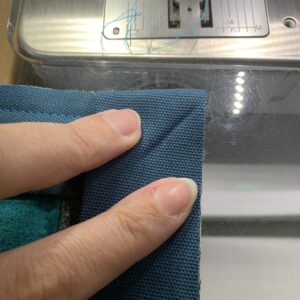
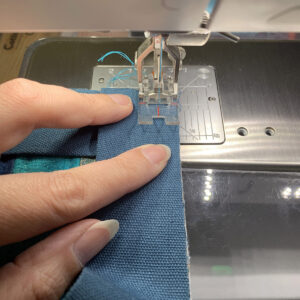
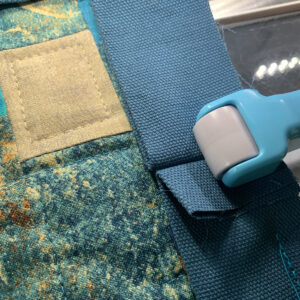
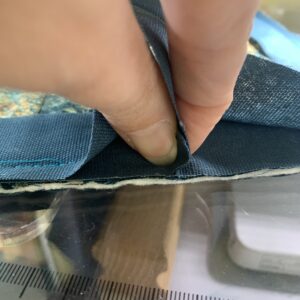
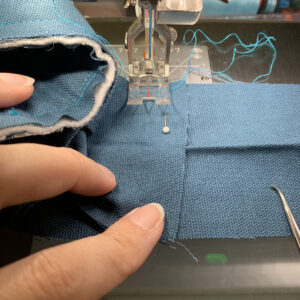
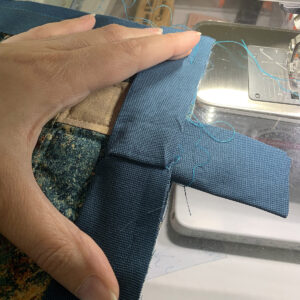
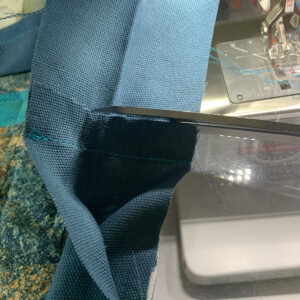
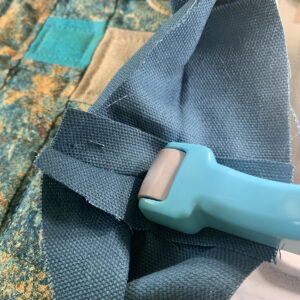
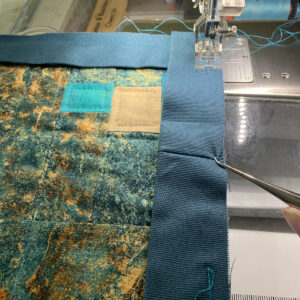
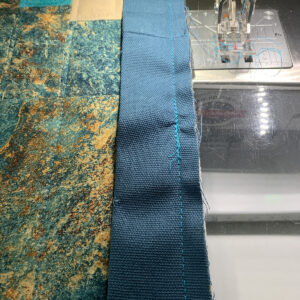
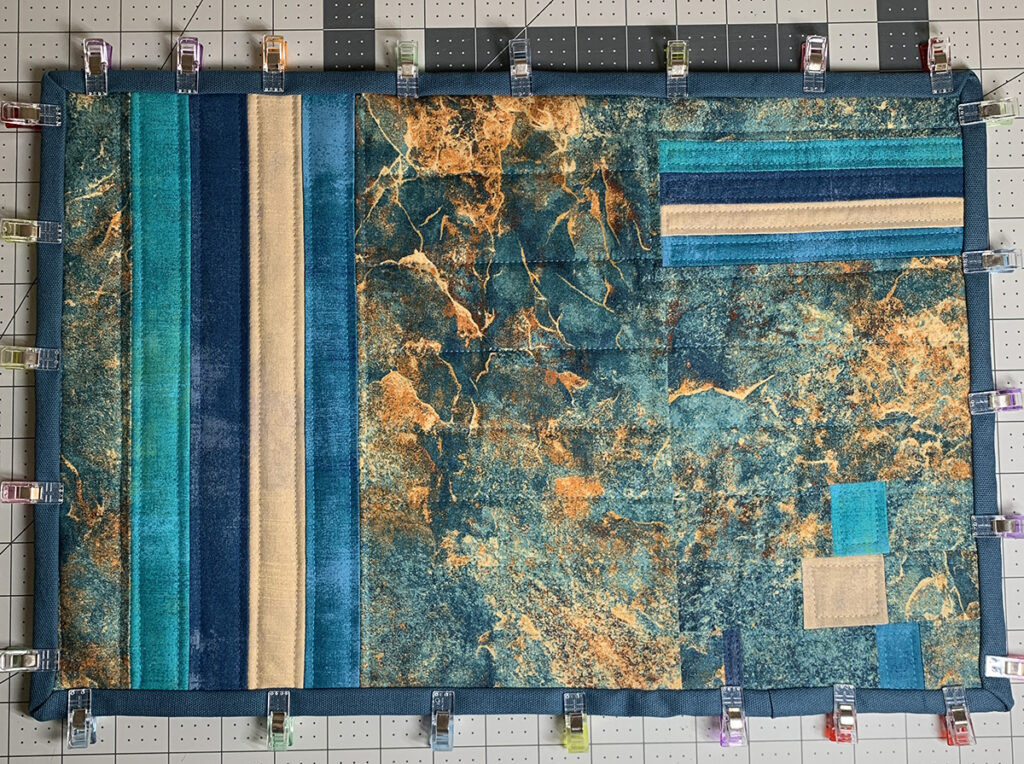
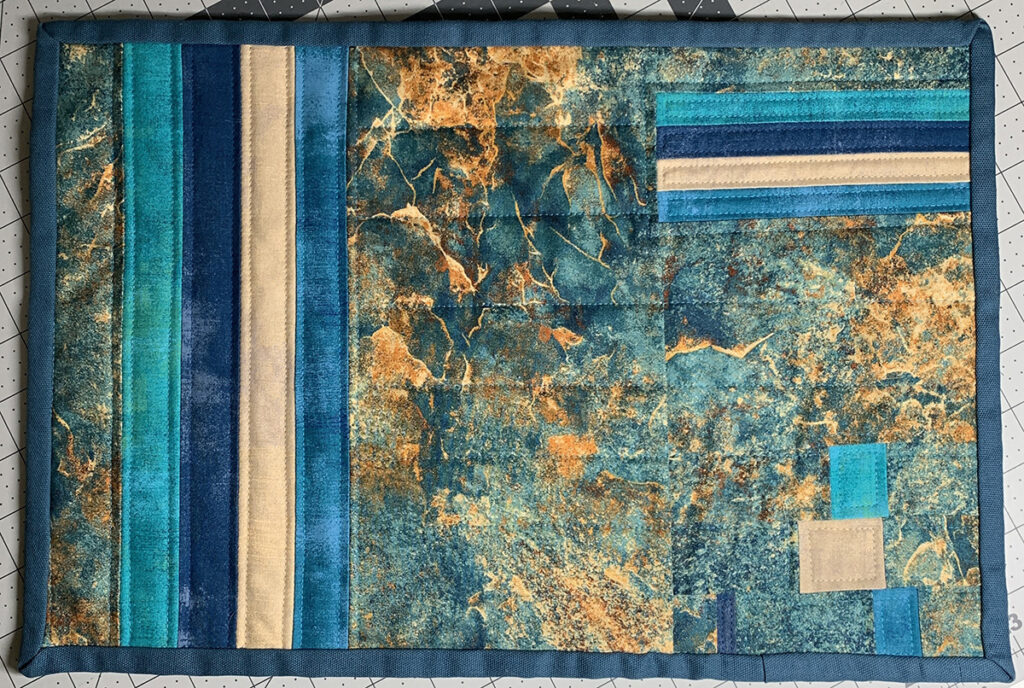
While there are several ways to bind a quilt, from self-binding to attached binding to facing, this tutorial is for attached binding that is sewn by machine to the front of a quilt, and then sewn down by hand to the back of the quilt for finishing.
Preparing Binding:
First, decide if you are going to use a 2 ½” strip or a 3” strip for making your binding. Since the method in this tutorial uses a single folded over (not the “double-folded” bias tape style) binding on the fabric grain, it will yield a ½” edging along your project if you use the 2 ½” strip, and the 3” strip will yield a¾” bound edging.
When you have decided the width you want, cut the strips in the width you need from selvage to selvage. You need to calculate the number of inches in total length of binding needed by adding together the length of four side lengths of your quilt and then adding 12” (to account for the corners and final joining steps) for the total length (if binding a mini quilt or smaller project, you may use an extra6” instead of 12”). For example, if you are making a throw sized quilt that measure 48” wide by 60”long you would calculate the total binding length needed as such: 48” + 48” + 60” + 60” + 12” = 228”total binding length.
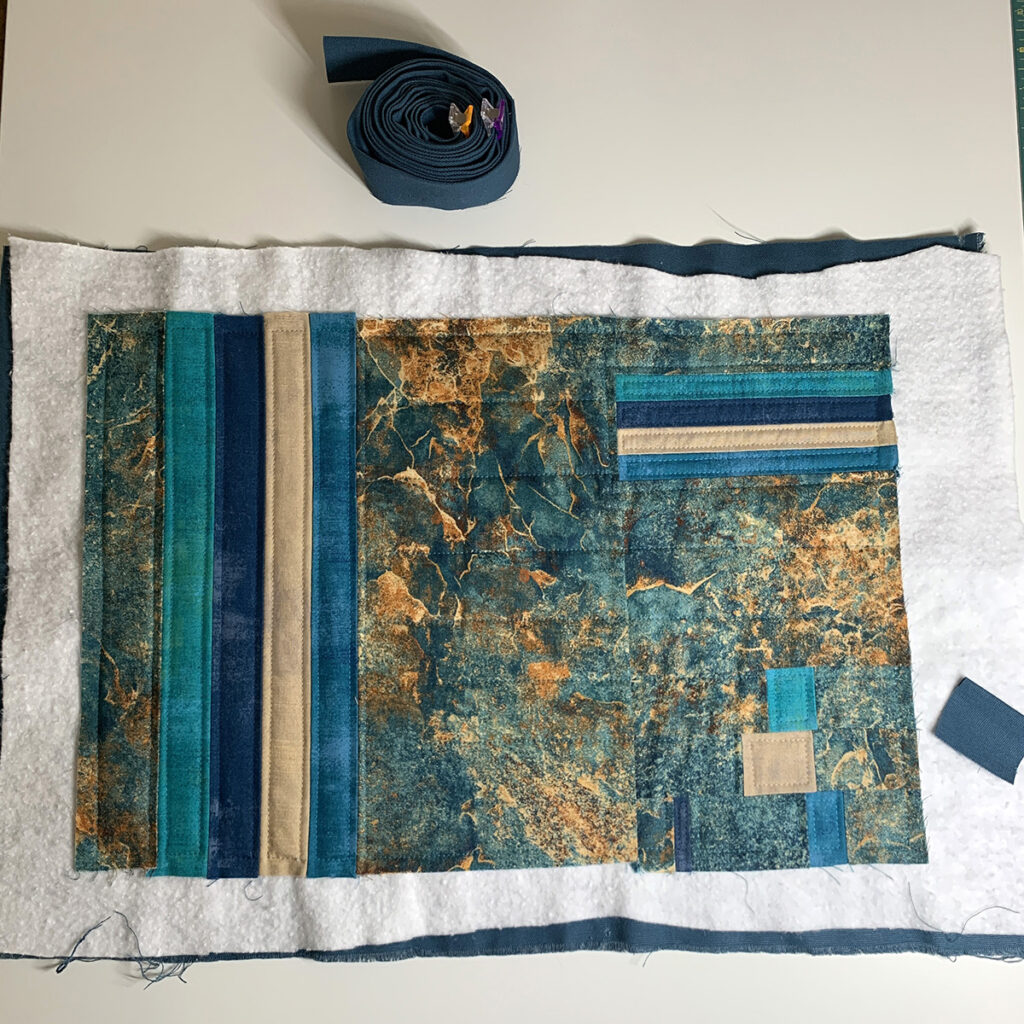
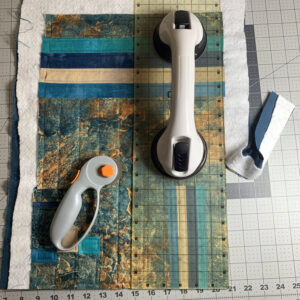
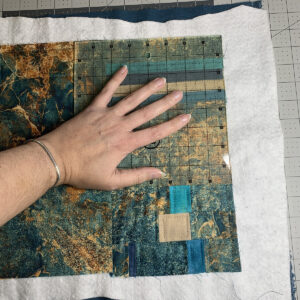
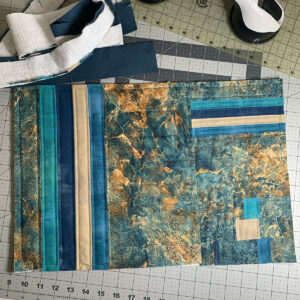
Below are the steps for attaching binding to the front of a quilt:
